9
Installation
2.
Use the
VERTICAL
adjuster to set the lens to its upper-most position.
NOTES
• If the lens is not at its upper-most position,
Projector B’s
image
may not superimpose well onto
Projector A’s
image.
• Choose CEILING and REAR settings first as needed as it may change the
image position.
(
User's Manual
→
SETUP menu
)
• Set the
HORIZONTAL
adjuster near its center position.
3.
Adjust the
Projector A
image to fit the screen using the
VERTICAL
and
HORIZONTAL
adjusters, and the
ZOOM
and
FOCUS
rings.
(
Quick Start
Guide
→
Displaying the picture
)
Adjust the image position using KEYSTONE
and
CORNER CORRECTION
as
needed. (
User's Manual
→
BASIC MENU
or
SETUP menu
)
NOTES
• Do not adjust the
ZOOM
ring to its widest position, otherwise
Projector B’s
image may not superimpose well onto
Projector A’s
image.
Adjusting
Projector B’s
image position electronically does not increase its
image size. Use the
ZOOM
ring to adjust
Projector B’s
image size slightly
larger than
Projector A’s
.
• KEYSTONE cannot be operated when CORNER CORRECTION
is in use.
To adjust the image using both KEYSTONE
and
CORNER CORRECTION
,
adjust KEYSTONE first.
•
If you are using a Simple Stack, go to
2.3 Installation of the second projector
(Projector B)
.
(
11
)
(continued on next page)
Setting up
Projector A
1.
Turn on
Projector A
.
4.
Display the menu with the
MENU
button.
(
User's Manual
→
Using the
menu function
)
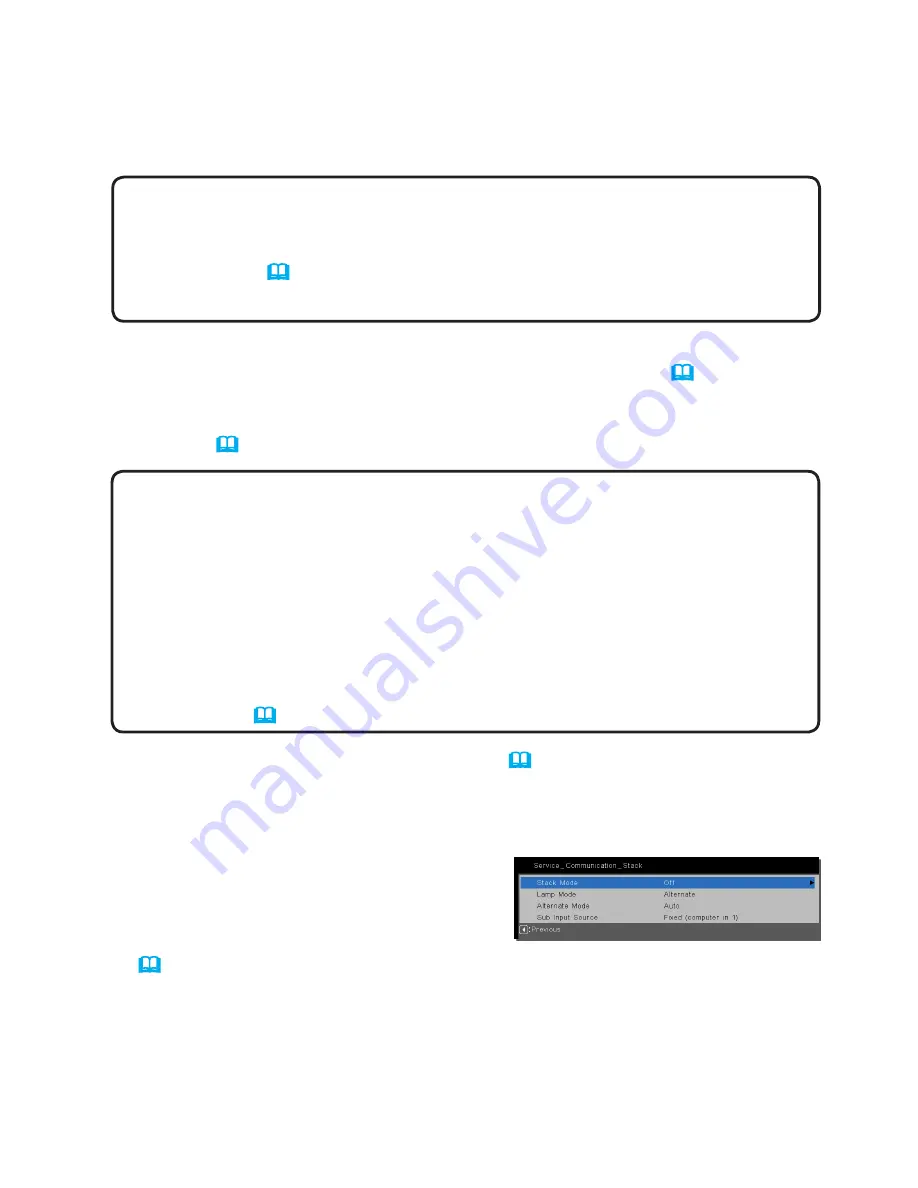
5.
Use the ▲/▼/◄/► buttons to go into the following menu.
ADVANCED MENU
> OPTION
>
SERVICE
>
COMMUNICATION
>
STACK
The STACK menu will appear on screen.
(
User's Manual
→
OPTION menu
)


