© ICSPI Corp. 2007-2021
nGauge AFM User Manual 2.0
62
9.1.1.2.
Level
The image is lighter at the bottom and darker at the top: this means that the sample or the AFM
tip was tilted during the scan in the Y direction. You can verify the tilt by clicking on the “Display
a 3D view of the data” button.
To correct for tilt, click on Data Process > Level > Plane Level, or select the plane-level shortcut
Note:
In nGauge software, you can correct for tilt (in Y) by changing the Levelling setting. This
will physically change the angle at which the tip scans across the sample. To simply correct for
the tilt in a scan, you can also click on
the “Level Image” check box while on the topography
scan page.
9.1.1.3.
Align Rows
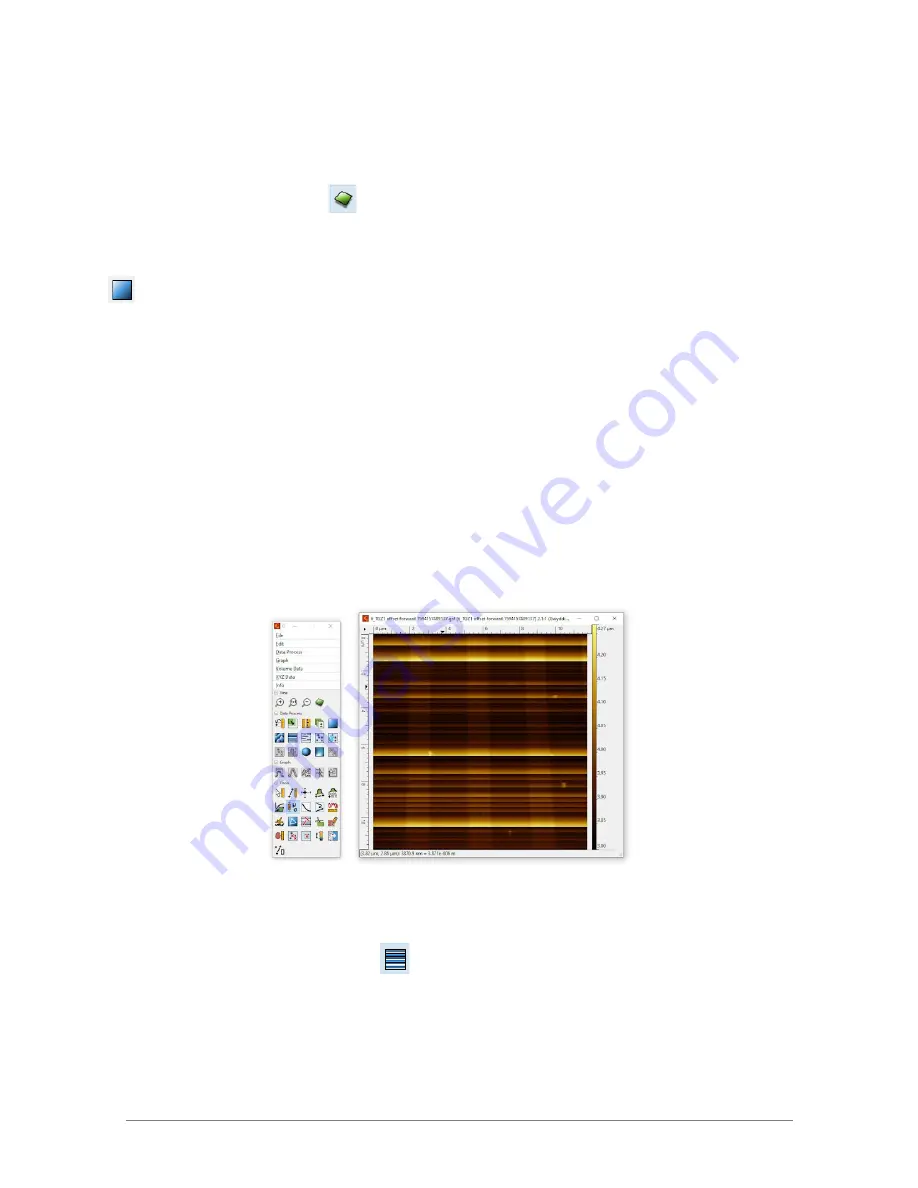
Now the image is level, but the notice that there are a lot of lines running across the X axis in
the image.
These lines are so common that there is a built-in tool in Gwyddion called Align Rows. Click on
the ‘Align Rows’ button in the toolbar
or navigate to Data Process > Correct Data > Align
Rows. There are many options, but Median of differences is a good general choice.


