


Manual
270
window. Motion can be paused by use of the Stop, Cancel or an arrow key. The Latched Manual
Key feature can be turned off by pressing the manual key again.
Return to Start
Whenever the Manual window is entered, the Transverse and Rail positions at that point are saved.
After rip cutting or other manual operations it may be desirable to return to this "start" position.
Pressing the Return to Start soft key will generate motion in the Transverse and Rail axes from the
machine‟s current position to the position saved at entry into the Manual window.
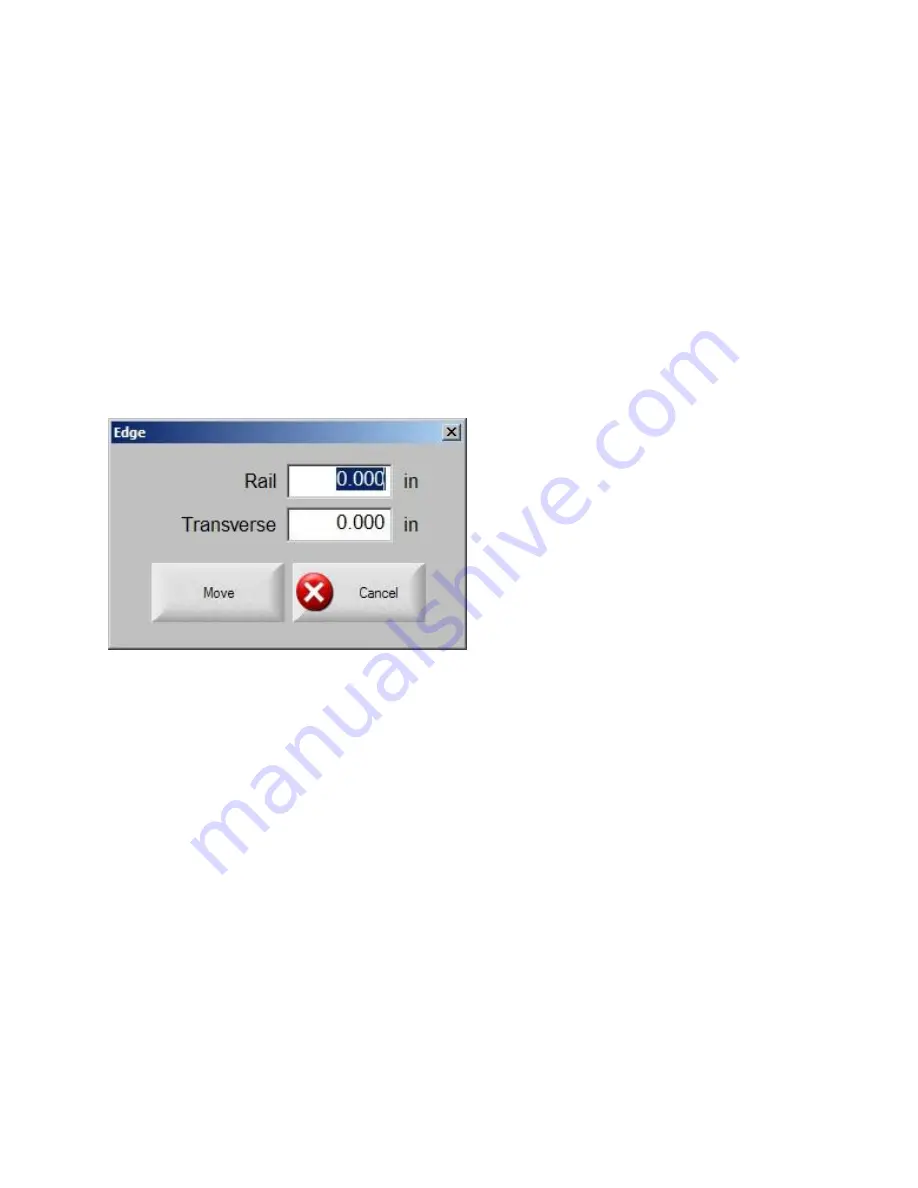
Move Distance
When Move Only is displayed in the Manual Mode window, the second soft key from the left changes
to Move Distance, allowing manual moves of an exact distance to be performed. After pressing Move
Distance, the control prompts the operator for Traverse and Rail distance values for machine motion.
Enter the desired values and press ENTER. The cutting device then moves the entered distance in a
straight line without executing any cut logic.
Values are entered the same way as described in the Cut Distance paragraphs above.
As with any automatic motion, you may press STOP on the front panel at any time to bring the
machine smoothly to a stop before the programmed motion is complete.
Cut Distance
When Rip Cut mode is selected in the Manual Mode window, the second soft key from the left
changes to Cut Distance, allowing rip cuts of an exact distance to be performed. After pressing Cut
Distance, the control prompts the operator for Traverse and Rail distance values for machine motion.
Enter the desired values and press ENTER. After executing the cut logic sequence, the cutting device
then moves the entered distance in a straight line.
Summary of Contents for Edge TI
Page 24: ...Table of Contents XXII...
Page 41: ...Overview 17 Alpha Numeric Keypad Numeric Keypad...
Page 54: ...Overview 30...
Page 83: ...Setups 59 Water Jet Press the Timing Diagram soft key to view the timing diagram from setups...
Page 88: ...Setups 64...
Page 116: ...Shape Manager 92...
Page 128: ...Files 104...
Page 280: ...Part Options 256...
Page 317: ...Diagnostics 293 DriveTop from Indramat...
Page 402: ...Phoenix Link 378...
Page 420: ...Sensor THC 396...
Page 428: ...Command THC 404...
Page 436: ...Motion Overview 412 Motion Tuning Watch Windows Position and Following Error may be displayed...
Page 470: ...Program Codes 446...
Page 478: ...Automated Plasma Interface 454 Inputs...
Page 479: ...Automated Plasma Interface 455 Inputs...
Page 480: ...Automated Plasma Interface 456 Outputs...
Page 496: ...Automated Plasma Interface 472...
Page 520: ...MicroEdge 496...
Page 532: ...Edge Ti 508 Optional Motor Information...
Page 540: ...Edge Ti 516...
Page 546: ...Voyager III 522 Examples of possible circuits Output Input 24 VDC Com...
Page 557: ...Networking 533 7 Double Click on the network interface connected to your LAN...
Page 558: ...Networking 534...
Page 561: ...Networking 537...
Page 562: ...Networking 538 13 Double click on the System 14 Select the Computer Name tab...
Page 572: ...Networking 548...
Page 573: ......


