INSTALLATION
5
■
■
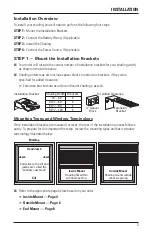
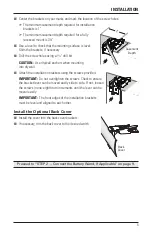
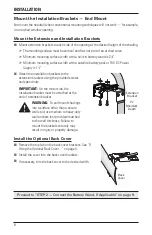
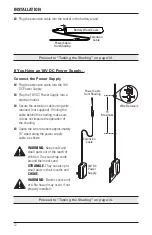
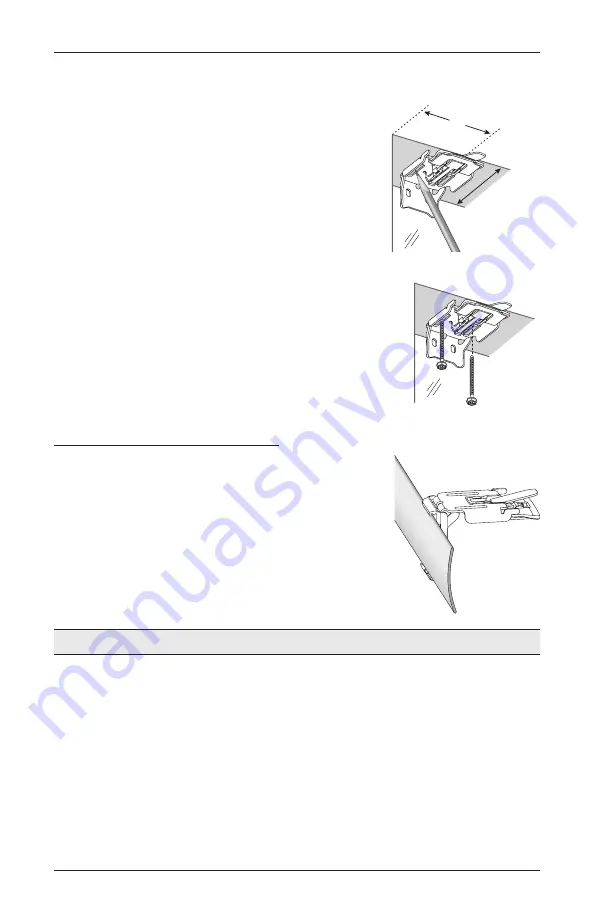
Center the brackets on your marks and mark the location of the screw holes.
■
➤
The minimum casement depth required for installation
brackets is 1".
■
➤
The minimum casement depth required for a fully
recessed mount is 3
3
⁄
4
".
■
■
Use a level to check that the mounting surface is level.
Shim the brackets, if necessary.
■
■
Drill the screw holes using a
3
⁄
32
" drill bit.
CAUTION:
Use drywall anchors when mounting
into drywall.
■
■
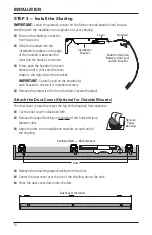
Attach the installation brackets using the screws provided.
IMPORTANT:
Do not overtighten the screws. Check to ensure
the bracket lever can be moved easily side to side. If not, loosen
the screws in one-eighth turn increments until the lever can be
moved easily.
IMPORTANT:
The front edges of the installation brackets
must be level and aligned to each other.
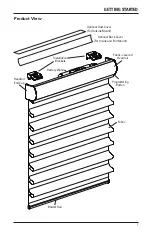
Install the Optional Back Cover
■
■
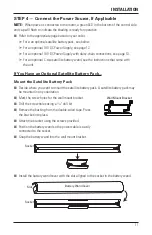
Install the cover into the back cover brackets.
■
■
If necessary, trim the back cover to the desired width.
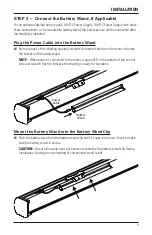
Proceed to “STEP 2 — Connect the Battery Wand, If Applicable” on page 9.
2"
Casement
Depth
Back
Cover
Summary of Contents for Pirouette PowerView
Page 1: ...Installation Operation Care Pirouette Window Shadings PowerView Motorization...
Page 29: ...Notes...
Page 30: ...Notes...
Page 31: ......


