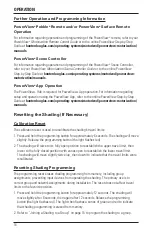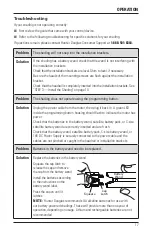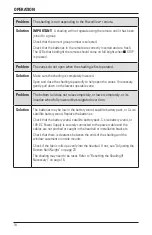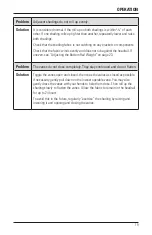
INSTALLATION
7
■
■
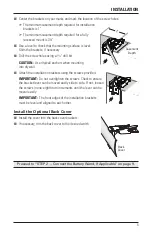
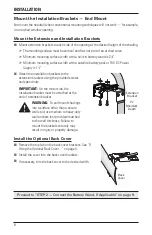
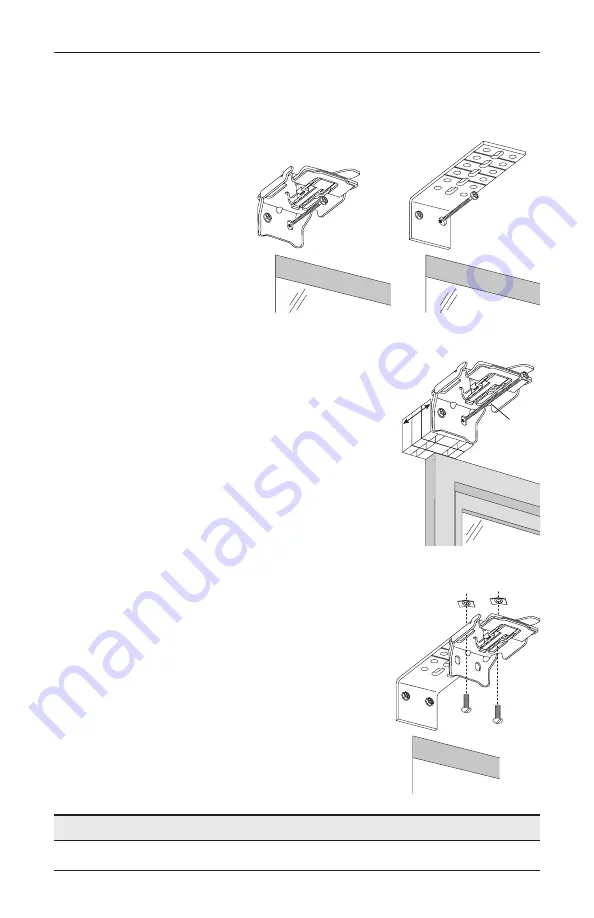
Drill the screw holes using a
3
⁄
32
" drill bit.
CAUTION:
Use drywall anchors when mounting into drywall.
■
■
Attach the installation or extension brackets using the screws provided.
IMPORTANT:
The top of the
installation brackets or extension
brackets must be level with their
front edges aligned.
■
■
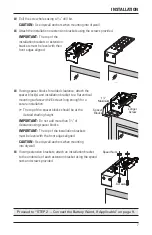
If using spacer blocks for added clearance, attach the
spacer block(s) and installation bracket to a flat vertical
mounting surface with #6 screws long enough for a
secure installation.
■
➤
The top of the spacer blocks should be at the
desired shading height.
IMPORTANT:
Do not add more than 1
1
⁄
2
" of
clearance using spacer blocks.
IMPORTANT:
The top of the installation brackets
must be level with the front edges aligned.
CAUTION:
Use drywall anchors when mounting
into drywall.
■
■
If using extension brackets, attach an installation bracket
to the underside of each extension bracket using the speed
nuts and screws provided.
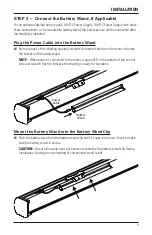
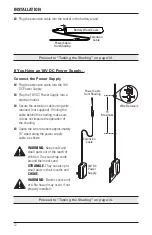
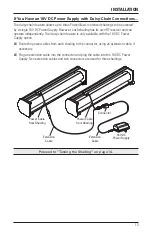
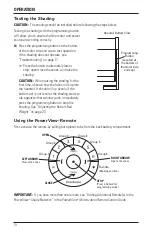
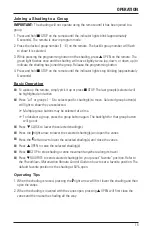
Proceed to “STEP 2 — Connect the Battery Wand, If Applicable” on page 9.
1
1
∕
2
"
Maximum
Spacer
Blocks
Longer
Screw
Speed Nuts
Screws
Summary of Contents for Pirouette PowerView
Page 1: ...Installation Operation Care Pirouette Window Shadings PowerView Motorization...
Page 29: ...Notes...
Page 30: ...Notes...
Page 31: ......


