NOTE:
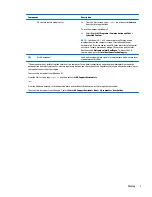
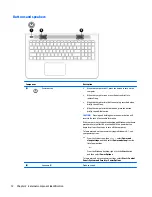
The computer fan starts up automatically to cool
internal components and prevent overheating. It is normal for
the internal fan to cycle on and off during routine operation.
(7)
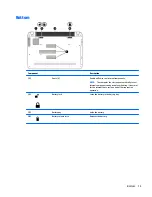
Security cable slot
Attaches an optional security cable to the computer.
NOTE:
The security cable is designed to act as a deterrent, but
it may not prevent the computer from being mishandled or
stolen.
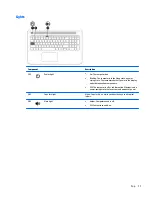
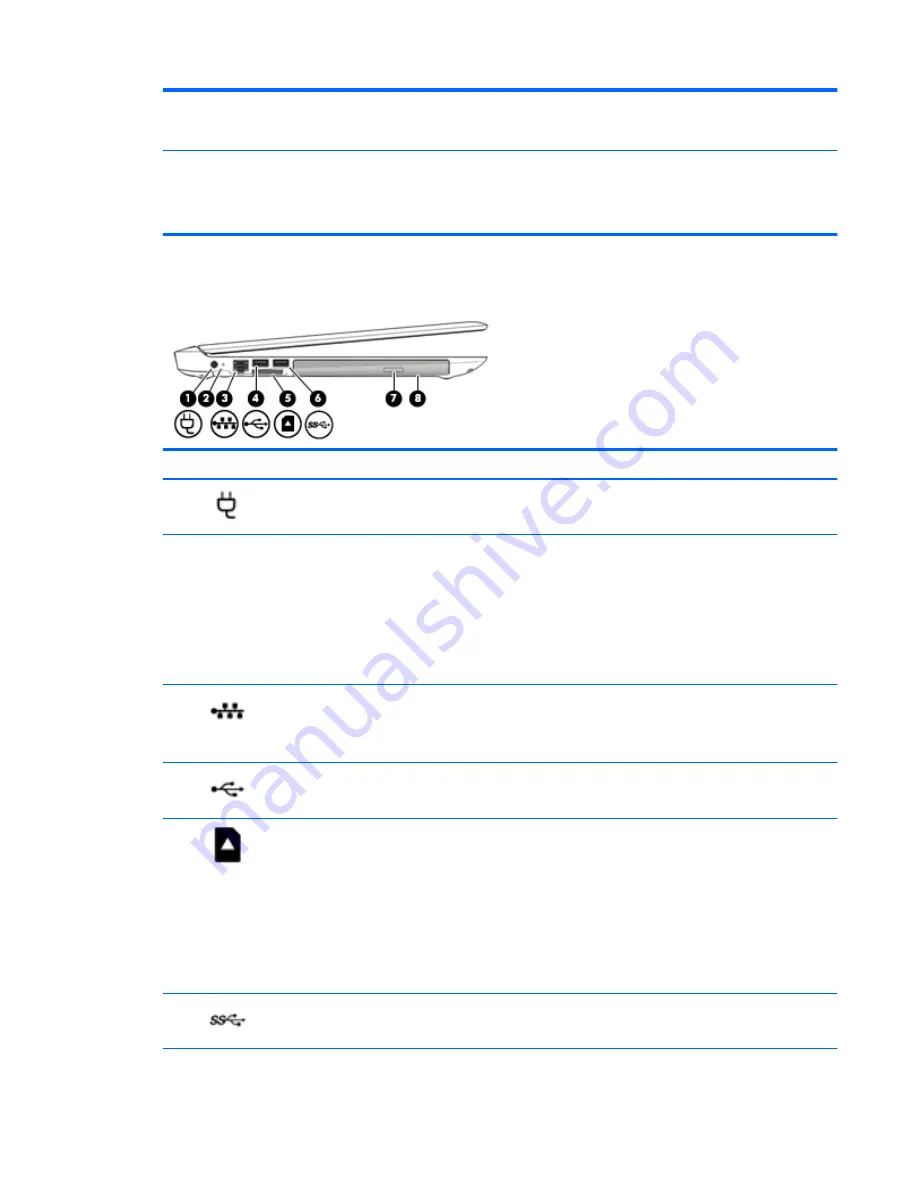
Left side
Component
Description
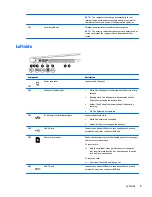
(1)
Power connector
Connects an AC adapter.
(2)
AC adapter/battery light
●
White: The AC adapter is connected and the battery is fully
charged.
●
Blinking white: The AC adapter is disconnected and the
battery has reached a low battery level.
●
Amber: The AC adapter is connected and the battery is
charging.
●
Off: The battery is not charging.
(3)
RJ-45 (network) jack/status lights
Connects a network cable.
●
White: The network is connected.
●
Amber: Activity is occurring on the network.
(4)
USB 2.0 port
Connects an optional USB device, such as a keyboard, mouse,
external drive, printer, scanner or USB hub.
(5)
Memory card reader
Reads optional memory cards that enable you to store, manage,
share or access information.
To insert a card:
▲
Hold the card label-side up, with connectors facing the
slot, insert the card into the slot, and then push in on the
card until it is firmly seated.
To remove a card:
▲
Press in on the card it until it pops out.
(6)
USB 3.0 port
Connects an optional USB device, such as a keyboard, mouse,
external drive, printer, scanner or USB hub.
Left side
9
Summary of Contents for Pavilion 2159m
Page 1: ...HP Pavilion Notebook AMD Maintenance and Service Guide ...
Page 4: ...iv Safety warning notice ...
Page 8: ...14 Recycling 97 Index 99 viii ...
Page 12: ...4 Chapter 1 Product description ...
Page 32: ...24 Chapter 3 Illustrated parts catalog ...
Page 40: ...32 Chapter 5 Removal and replacement procedures for Customer Self Repair parts ...
Page 80: ...72 Chapter 8 Using Setup Utility BIOS in Windows 8 1 ...
Page 88: ...80 Chapter 10 Backing up restoring and recovering in Windows 8 1 ...
Page 100: ...92 Chapter 12 Specifications ...
Page 104: ...96 Chapter 13 Power cord set requirements ...
Page 106: ...98 Chapter 14 Recycling ...
Page 110: ...102 Index ...


