


WEBVISION™
5
95-7769—01
To delete selected objects:
1.
Select the object that you want to delete from the
graphic.
2.
Click
Delete Selected
objects. The selected object is
deleted.
To copy graphics:
1.
Click the
button. The
Copy Graphics From
dialog
box appears.
2.
Click
Delete Selected
objects. The selected object is
deleted.
Schedules
Schedules define the days and times when an occupancy
event must occur. Schedules are weekly calendars for
occupancy mode changes. Schedules also contain special
event information such as holidays or unplanned events.
NOTE: You can have a maximum of 50 schedules in
WebVision.
You can create, modify or delete a schedule only if you have
these privileges assigned to you.
There are three occupancy modes:
•
Occupied
– A period of time when the controlled
environment is considered to be occupied. It requires a
closer control for comfort, health, and safety.
•
Unoccupied
– A period of time when the controlled
environment is considered to be unoccupied. It is used to
reduce energy consumption.
•
Standby
– A period during the normal occupied period
when the space may not be occupied. It is used for energy
saving programs.
•
No Event
– WebVision displays the default state as
Occupied when no event is configured.
NOTE: Apart from the Contractor (who has all the privileges
in WebVision) all the users who add new schedules
have access to all the schedules created by them.
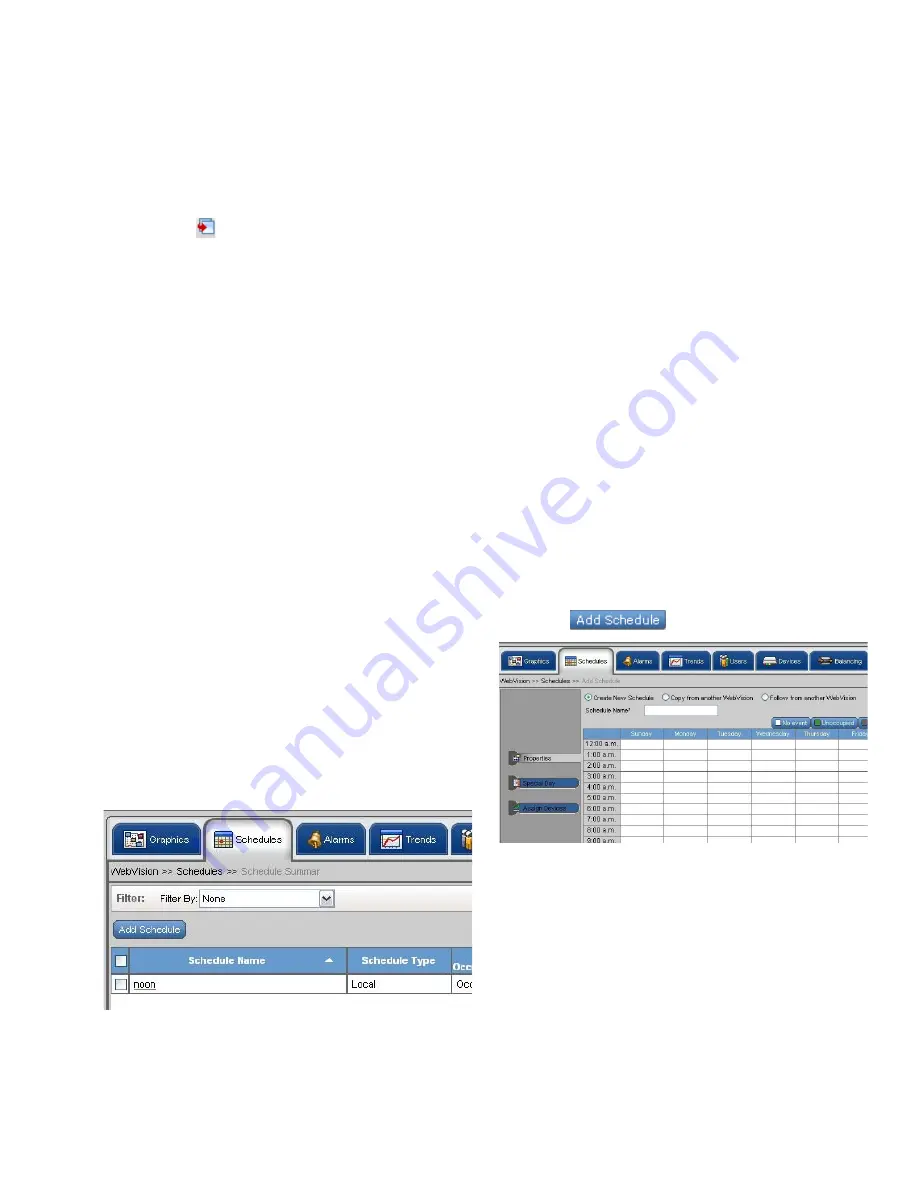
To view schedules:
1.
Click the
Schedule
tab. A list of schedules appear with
the following details in a tabular format:
Fig. 9. Schedule Tab.
TIP:
Use Filters to quickly search the required Schedules.
Use one of the following filter options to search for the
required schedule:
• Schedule Name
• Current Occupancy State
TIP:
To quickly search the schedules, type the first letter of
schedule name or occupancy state, (as the case may
be) in the
Keyword
text box and type *. This lists all the
names starting with the first letter that you have written
in the
Keyword
text box.
•
Schedule Name
– Indicates the name of the schedule.
•
Schedule Type
– Indicates if the schedule is configured in
the local system or followed from a remote system.
•
Current Occupancy State
– Indicates the occupancy state
as defined by the schedule at the moment.
NOTE: A maximum of 100 devices can be assigned to a
schedule.
•
Next Occupancy State
– Indicates the occupancy state for
the next defined schedule.
•
Time Remaining (minutes)
– Indicates the time remaining
in switching to next occupancy state.
•
Replicate
– Click Replicate to replicate the settings.
Add/Edit Schedules
You can add a maximum of 50 schedules.
NOTE: All fields marked with an asterisk (*) are mandatory.
To create a new schedule:
1.
Click the
Schedule
tab. A list of schedules appears.
2.
Click .
The
Properties
page appears.
Fig. 10. Schedule Properties page.
3.
Select the
Create New Schedule
option.
4.
Type a schedule name in the Schedule Name field and
provide a description in the Description field.
5.
Select the cells by dragging over the cells. Cells can be
selected horizontally and vertically. After selecting the
cells, click on the schedule occupancy state button to
indicate the state on the selected cell.
6.
Click
Apply
to apply the schedule.
7.
Click
Finish
to save the settings.
NOTE: Click
Edit Time
and type the Start Time and End
Time. You can change the start and end time of the
selected area.


