VISTA-128FBPN Installation and Setup Guide
6-14
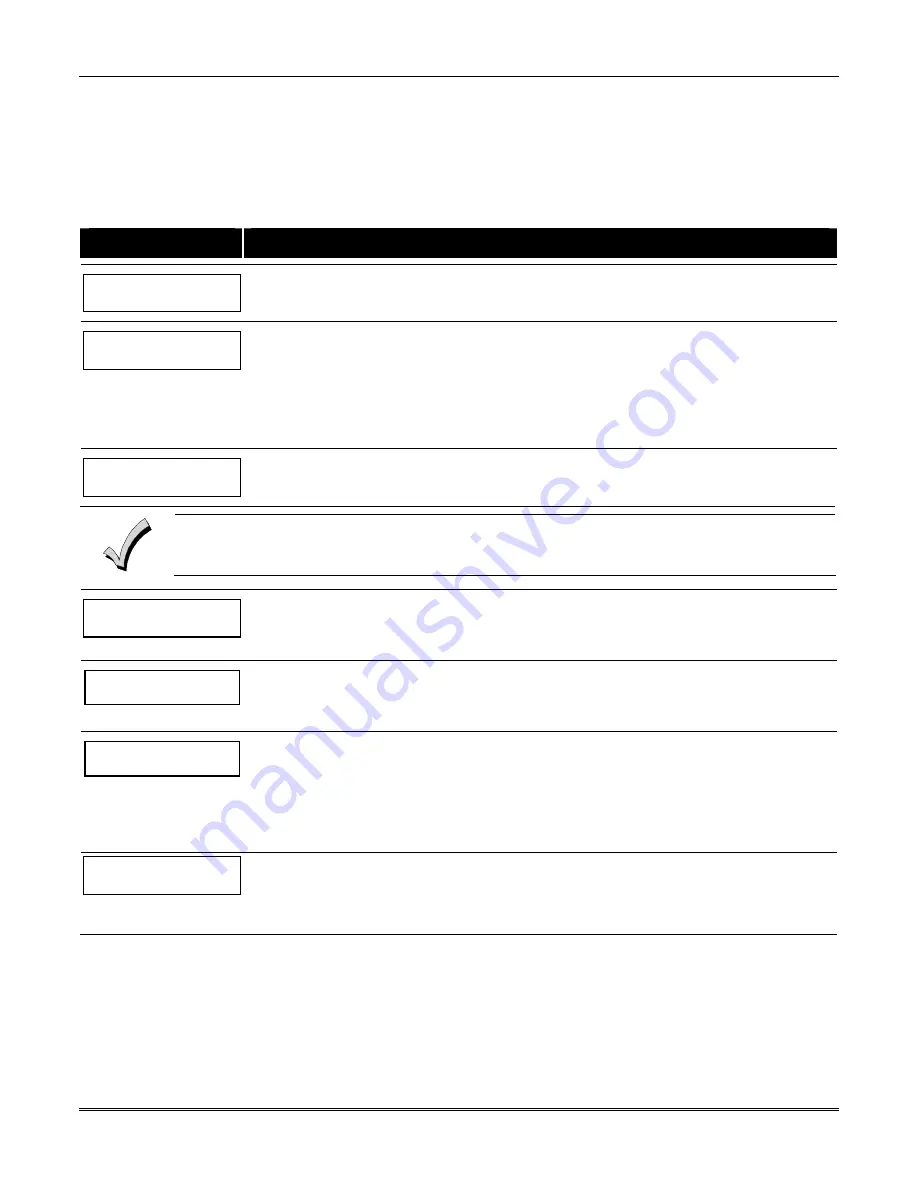
User Scheduling Menu Mode
The system provides up to 20 “timers” available to the end user to control output devices. The output devices themselves
are programmed into the system by the installer during
Output Programming
in the
#93 Menu Mode
. The end user
needs only to know the output device number and its alpha descriptor.
The installer may set certain outputs to be “restricted” during
Output Programming
(this prevents the end user from
controlling doors, pumps, Notification Appliance Circuits, etc.)
To enter this mode, the user enters
User Code + [#] + 83.
PROMPT
EXPLANATION
Output Timer # ?
01-20, 00=Quit 01
Enter the output timer number to be programmed (01-20). Press [
✳
] to accept entry and move to the next
prompt.
Enter 00 to quit and return to normal operating mode.
06 07:00P 11:45P
PORCH LITE 04
If that timer number has already been programmed, a summary screen appears. In this example:
06 = Timer #
07:00PM = Start Time
11:45PM = Stop Time
PORCH LITE = Descriptor for Output Device # 4
04 = Output Device # affected by this timer
Press [
✳
] to continue.
06 ENTER OUTPUT#
PORCH LITE 04
Enter the desired output number (01-96). As the number is entered, the descriptor for that output device is
displayed.
Press [
✳
] to continue.
Entering 00 as the output number deletes the timer (Timer 06, in this example) and displays an output
descriptor of “None.” Output devices are programmed via #93 Menu Mode.
06 ON TIME ?
07:00 PM
The cursor is positioned on the tens of hours digit of the ON time. Enter the desired hour. Press [
✳
] to move
to the minutes field. The minutes are entered in the same manner. The AM/PM indication is toggled by
hitting any key from 0-9 while the cursor is under the AM/PM position.
Press [
✳
] to continue.
06 OFF TIME ?
11:45 PM
The cursor positioned on the tens of hours digit of the OFF time. Enter the desired hour. Press [
✳
] to move
to the minutes field. The minutes are entered in the same manner. The AM/PM indication is toggled by
hitting any key in the 0-9 range while the cursor is under the AM/PM position.
Press [
✳
] to continue.
06 DAYS? MTWTFSS
HIT 0-7 x x
To select the days to be activated, enter 1-7 (Monday = 1). An “x” appears under that day, indicating the
output for that day is active. Entering a day’s number again deactivates that day. Pressing 0 toggles all
days on/off.
The outputs are in effect only for the days highlighted with the letter “x” under them. As the week progresses,
the selected days are reset to the inactive state, unless the permanent option is selected (next screen
prompt).
When completed, press [
✳
] to continue.
06 Permanent ?
0 = NO,1 = YES 0
Selecting “Permanent” (1) means that this schedule will be in effect on a continuous basis. Selecting 0
means that this schedule will be in effect for one week only. The letter “x” under the day is then cleared, but
all other entries for the output device remain programmed.
Press [
✳
] to accept entry.
The system quits User Scheduling Mode and returns to normal operating mode.
Summary of Contents for VISTA-128FBP
Page 2: ......
Page 8: ...viii ...
Page 62: ...VISTA 128FBPN Installation and Setup Guide 4 10 ...
Page 98: ...VISTA 128FBPN Installation and Setup Guide 8 2 ...
Page 108: ...VISTA 128FBPN Installation and Setup Guide 10 6 ...
Page 116: ...VISTA 128FBPN Installation and Setup Guide C 2 ...
Page 120: ...VISTA 128FBPN Installation and Setup Guide D 4 ...


