


Section 6 – Scheduling Options
6-5
PROMPT
EXPLANATION
Access Sched. ?
1 = YES 0 = NO
0
Enter 1 to program access schedules. Refer to
Limitation of
Access Schedules Programming
later in this
section for detailed procedures.
Enter 0 to move to the “Quit?” prompt.
Quit ?
1 = YES 0 = NO
0
Enter 1 to quit
#80 Scheduling Menu Mode
and return to normal operating mode.
Enter 0 to make any changes or review the scheduling programming options. If you press 0, the “Time
Window?” prompt is displayed.
Time Windows
The system provides 20 time windows that are defined
with start and stop times. These windows are used for
various open/close and access schedules, as well as for
output controls, and are the basis of the scheduling
system. These windows are shared among all 8
partitions.
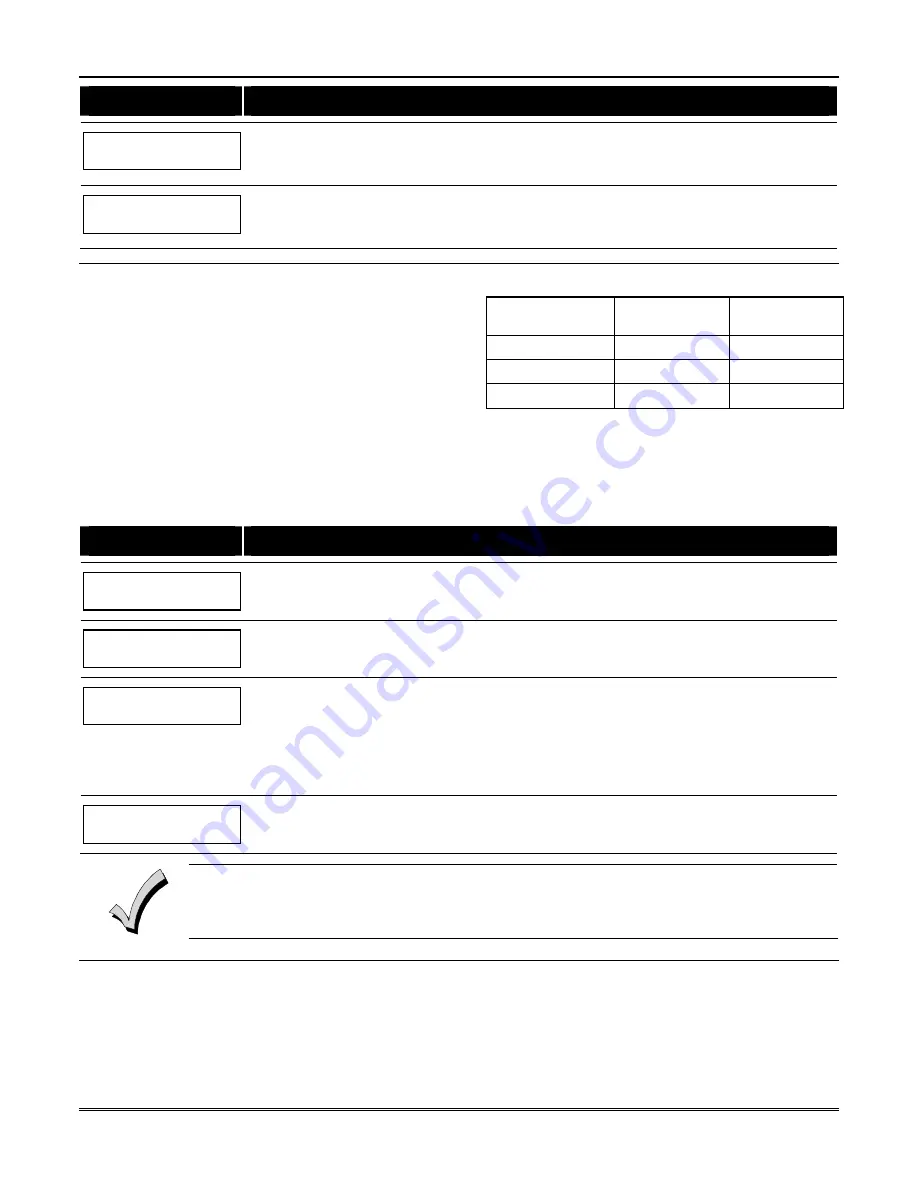
Time Windows Worksheet
The following worksheet is an example of the worksheet
found in the
Programming Guide.
This worksheet will
help you define time windows and scheduling aspects of
this system before you program them. Note that time
windows
can
span midnight; for example, from 11 PM
to 1 AM.
Time Window
Number
Start Time
(HH:MM)
Stop Time
(HH:MM)
1
2
3…..20
A time window must have a start and a stop time.
Time Windows Programming
Enter Scheduling Mode by entering
Installer Code +
[#] + [80]
. The keypad displays the
Time Window
Programming
prompt.
PROMPT
EXPLANATION
Time Window ?
1 = YES 0 = NO
0
Enter 1 at this main menu prompt to program time windows.
Time Window # ?
01-20, 00 = Quit 01
Enter the 2-digit time window number (01-20) to be programmed.
Press [
✳
] to accept the entry. Enter 00 + [
✳
] at the “Time Window #?” prompt to quit time window
programming and display the “Quit ?” prompt.
01 TIME WINDOW
00:00AM 00:00AM
If you entered a time window number, the cursor is now positioned on the tens of hours digit of the start of
window entry.
Enter the desired start of window hour and press [
✳
]. The cursor moves to the minutes position. Enter the
desired minutes and press [
✳
]. Toggle the AM/PM indication by pressing any key 0-9 while the cursor is
under the A/P position and then press [
✳
]. Repeat this to program the stop of window entry.
When the entry is completed, the “Time Window #?” prompt is displayed again.
Enter the next time window number to be programmed and repeat the procedure.
Quit ?
1 = YES 0 = NO
0
Enter 0 at the Quit ? prompt to return to the main menu choices and continue programming.
Enter 1 to quit Scheduling Menu Mode.
Because the time windows are shared among all partitions, it is important to make sure that changing a
time window does not adversely affect desired actions in other partitions.
Summary of Contents for VISTA-128FBP
Page 2: ......
Page 8: ...viii ...
Page 62: ...VISTA 128FBPN Installation and Setup Guide 4 10 ...
Page 98: ...VISTA 128FBPN Installation and Setup Guide 8 2 ...
Page 108: ...VISTA 128FBPN Installation and Setup Guide 10 6 ...
Page 116: ...VISTA 128FBPN Installation and Setup Guide C 2 ...
Page 120: ...VISTA 128FBPN Installation and Setup Guide D 4 ...


