25
SECTION II: INSTALLATION AND MAINTENANCE
II.9.2.1
Filling and/or topping up the refrigerant
The units are factory-tested with sufficient top-up for operation.
When filling or topping up, consider the environmental and operating
conditions of the machine.
With the unit running, the refrigerant fluid can be added in the low
pressure section, in front of the evaporator, using the specific pressure
couplings. Watch the liquid indicator while adding the fluid, to make
sure it is perfectly clear without bubbles.
The gas must be topped-up as follows, after any maintenance has
been performed on the cooling circuit and after having washed the
circuit thoroughly:
install an anti-acid intake filter to the compressor and run the unit for
at least 24 hours;
check the acidity degree and if necessary, change the refrigerant
fluid and oil and let the unit run for at least 24 hours;
remove the anti-acid filter cartridge.
II.9.2.2
Instructions on how to drain the cooling
circuit
Drain the refrigerant from the cooling circuit completely with approved
equipment and recover the refrigerant from both the high and low-
pressure sides and in the liquid line. Use the load connections in every
section of the cooling circuit. In order to drain the refrigerant fluid
completely all the circuit lines must be drained. The fluid must not be
disposed of into the atmosphere as it causes pollution. It should be
recovered in suitable cylinders and delivered to an authorised collection
centre.
II.9.2.3
Restoring compressor oil level
With the unit switched off, the oil level in the compressors must partially
cover the sight-glass on the level matching tube. The level is not always
constant as it depends on the ambient temperature and the percentage
of refrigerant in the oil.
With the unit running and in nominal conditions, the oil level must be
clearly visible through the sight-glass and must be flat without any
ripples.
An additional topping-up of the oil can be carried out after pumping-out
the compressors, using the pressure connection on the compressor
inlet. For information on the amount and type of oil refer to the label on
the compressor or contact the service centre.
II.9.3
Repairing and replacing components
Always refer to the wiring diagrams enclosed with the appliance
when replacing electrically powered components. Always take care to
clearly label each wire before disconnecting, in order to avoid making
mistakes later when re-connecting.
When the machine is started up again, always go through the
recommended start-up procedure.
After maintenance has been performed on the unit, the liquid-
humidity indicator (LUE) must be monitored. After the machine has
been running for at least 12 hours, the cooling circuit must be perfectly
"dry", with the LUE green, otherwise, the filter must be replaced.
II.9.3.1
Inspecting the Water circuit
Check the water differential pressure switch
: with the unit
running, slowly close the shut-off valve placed by the user on the unit
water inlet pipe. If, during the test phase, the shut-off valve closes
completely without tripping the differential pressure switch, switch off
the unit immediately by pressing the ON/OFF key on the control panel
and replace the component.
Bleeding air from the chilled water system
: air trapped inside the
water circuit is let out by using the bleed valves inside and outside the
unit. Always check the pressure of the water system and pressurise
with top-up water, if necessary.
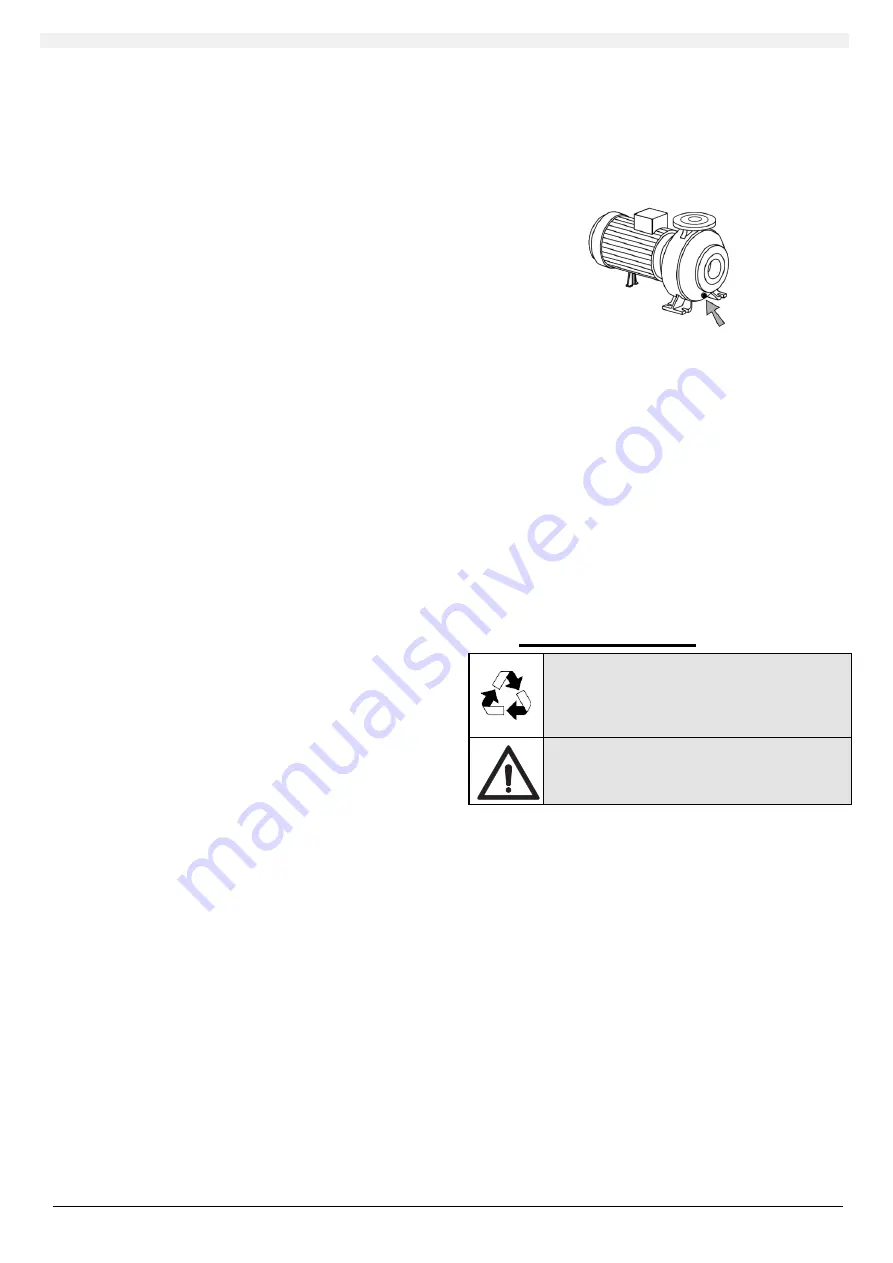
Draining the water system:
if it is necessary to drain the unit, with
the unit switched off, use the shut-off valves on the water inlet and
outlet pipes. In the models with a buffer tank (ASP1-ASP2-ASDP1-
ASDP2), use the drain near the water connections together with the
shut-off valves. In the models equipped with pumps, use the drain on
the pump together with the shut-off valves.
Pump inspection:
every 5000 operating hours of the pump, the
electronic board indicates an alarm without stopping the unit. This is a
warning that the pump requires inspection. The inspection consists in
cleaning the external part and checking its overall condition.
II.9.3.2
Replacing the drier filters
Pump-out the low pressure side of the circuit to replace the drier
filter (see PUMP-OUT).
Once the filter has been replaced, evacuate the low pressure circuit
again to eliminate any trace of non-condensable gases, which could
have entered the system while replacing the filter.
It is recommended to verify that there are no gas leaks before
restarting the normal operating conditions of the unit.
II.9.3.3
Eliminating humidity from the circuit
If, during machine operation, humidity appears in the cooling circuits,
the refrigerant must be drained completely and the cause of the
problem eliminated. To eliminate the humidity, the maintenance
technician must dry out the circuit by pumping it out up to 70 Pa to then
filling the refrigerant as indicated on the plate on the unit.
II.10
DISMANTLING THE UNIT
SAFEGUARD THE ENVIRONMENT!
The environment is valuable for all of us and it is
our duty to respect it.
We always safeguarded the environment.
When the unit is dismantled it is important to
strictly comply with the following instructions.
DANGER!
The machine contains potentially hazardous parts
inside. Always contact specialised companies and
personnel to dismantle it.
It is recommended to have the unit dismantled by a firm authorised for
the disposal of scrap machinery/products.
The entire machine is composed of materials considered as secondary
raw materials and the following requirements must be complied with:
the compressor oil must be removed, recovered and delivered to a
body authorised to collect spent oil;
refrigerant gas cannot be disposed of into the atmosphere. It must
be recovered with approved equipment, using suitable cylinders and
delivered to an authorised collection centre;
the drier filter and the electronic components (electrolytic
condensers) are considered special waste, and must be delivered to a
specific authorised body;
the expanded polyurethane rubber insulation material of the water
exchanger and the soundproofing sponge that covers the panels must
be removed and treated as municipal waste.
Summary of Contents for EQU-PF 2100
Page 60: ...NOTE...


