PCL 600
Operators Manual
v 2.0
46
8.4.2
Cut the ‘ToolCalMid’ calibration piece
1
Place the piece of material on the infeed conveyor so that it can be grabbed by the gripper.
2
On the remote control touch screen activate the ‘Robot high power’. Select the ‘Calibration’ screen.
Disable the ‘Safety lock’. Home the gripper, sideways loading chains and clamps.
3
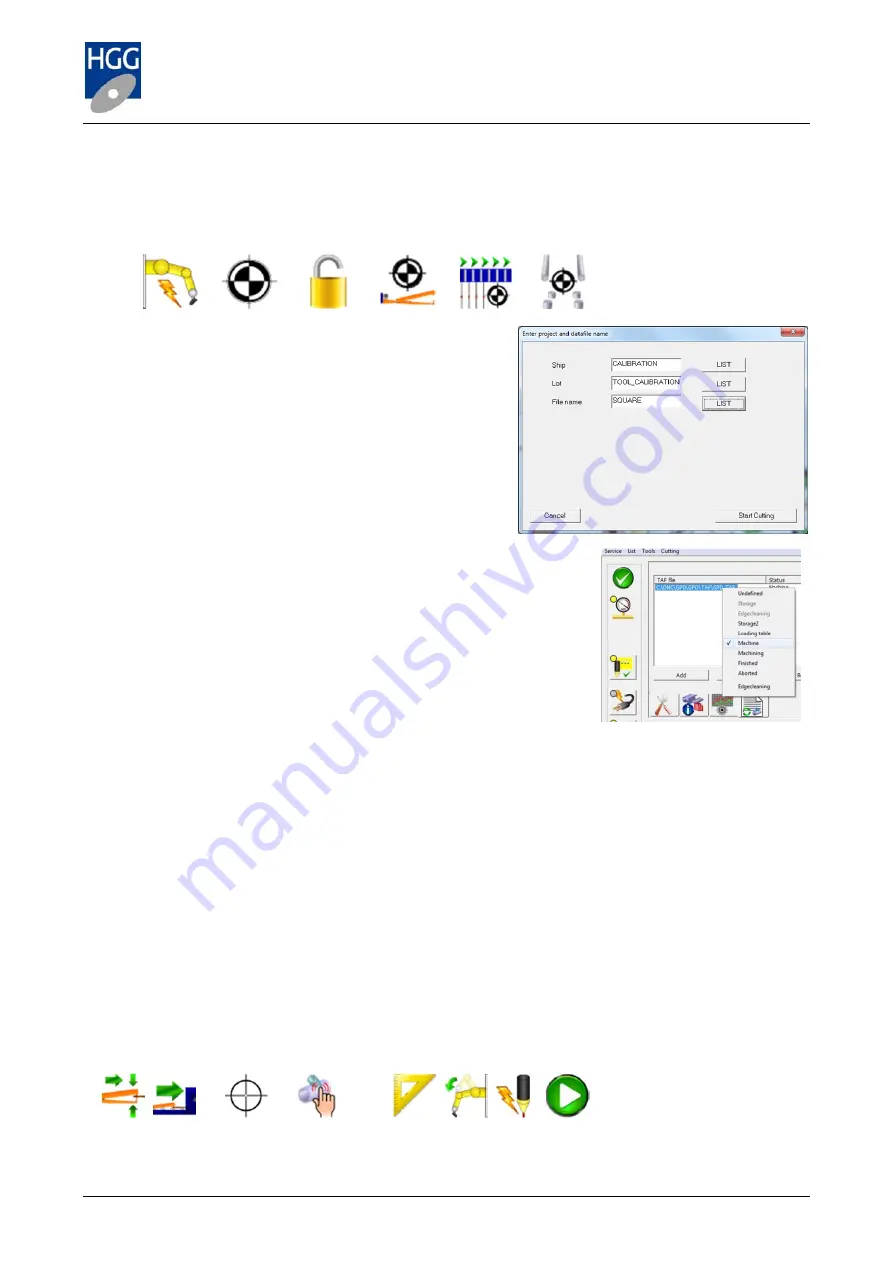
On the remote control select the ‘Cutting’ screen. The
cutting file created in ProCAM is a GPD file. To open
the file go to the ‘Cutting’ menu at the top right of the
menu bar. Select ‘GPD’. The select file window will
open. In the ‘Ship’ field click on ‘LIST’ and select the
‘Project’ name you chose (in the example
‘Calibration’). In the ‘Lot’ field, select the ‘Assembly’
name you chose (in the example ‘Tool Calibration’). In
the ‘File name’ field select the part name you chose
(in the example ‘Square’). Click on ‘Start Cutting’.
4
The file will now appear in the ‘Auto cut list’. If the list
is not visible, select it by clicking on the mode selection button.
You will notice that the file has been given a different name. This
is because the machine always operates with TAF files (raw
material).
5
To inform the machine of the location of the material, right click on
the file name in the auto cut list. The ‘Status’ menu will open. The
material is on the infeed conveyor, this location is ‘Machine’ in the
status menu (see image right).
6
You are now ready to begin the cutting process. In the ‘Cutting’ section of the touch screen click on
‘Search and grip material’. When the light remains on, click on ‘Move to cutting cell’ (the light will be
flashing).
7
The material will move to the cutting cell and stop at the end of the infeed conveyor. Press ‘Initialise’.
The material will be pushed into the cell.
8
It is not necessary to cut the TestPiece macros at the start and end of the part. On the right hand
side of your screen click on the ‘Select cut’ button. You will see four cuts in the list. These represent:
1 the start cut (TestPiece), 2 the small inside square, 3 the larger outside square and 4 the end cut
(TestPiece(2)). Select set 2.
9
In the ‘Cutting’ section of the touch screen, select ‘Measure’. The material is clamped and measured.
Select ‘Approach’, the robot arm approaches the material at the initialisation point of the first cut.
Select ‘Ignite’ to ignite the plasma torch. Select ‘Play’ to begin the first cut.
10 When completed the robot arm will be lifted from the material. Select ‘Measure’ to proceed with cut
3, the outside square. Select ‘Approach’. Select ‘Ignite’. Select ‘Play’.
Sequence:
6
7
8
9/10


