78
User Manual Version 3.1
2. Connect the
PC to the
printer
•
Make sure that your printer is turned off.
•
Connect the printer with the USB cable to your PC.
•
Turn on the printer. Check if the printer shows
OnlinUSB
in the
bottom line of the main display.
If not press the Ok key to turn the printer online.
If the printer shows
OnlinTCP
in the bottom line of the main
display use the menu
PRINTER CONFIG. > BOOT DEFAULTS >
COMMUNICATION
to select the
USB
interface
.
•
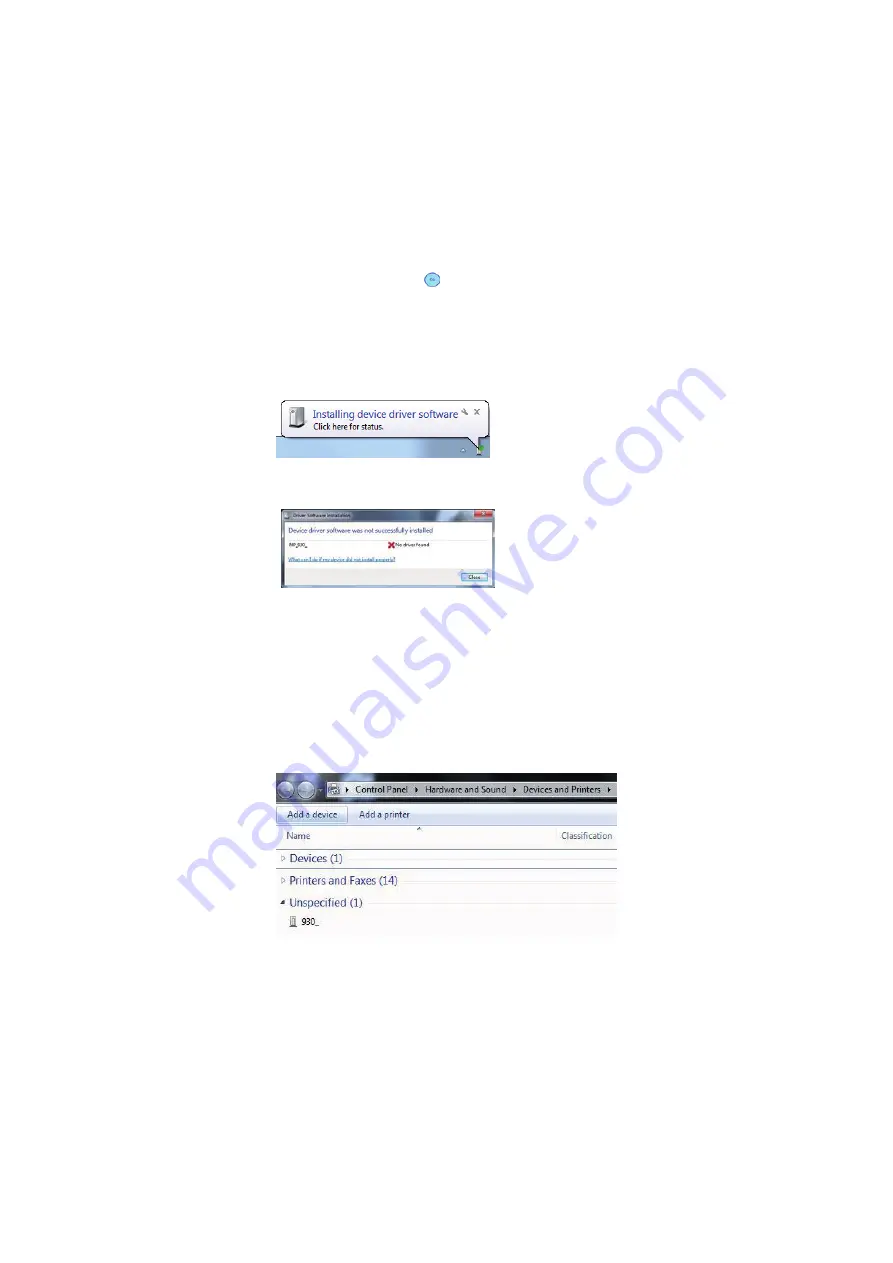
Wait for the automatic detection of the new hardware.
•
By clicking on the message box, Windows will display a status
window.
•
Windows 7 is not able to locate the printer drivers on the CD-ROM
or in the Internet automatically. Therefore you have to install the
printer driver manually.
3. Install the
driver
manually
•
Click on the Windows button and “Devices and Printers”
•
The detected printer is listed under the category “Unspecified”.
Right-click on it and select “Properties”.
•
Go to the tab “Hardware” and see the listed device functions (see
Figure 36). Double-click on the printer (Type: Other devices);
another properties window will open.
•
Select the button “Change Settings” (administrator rights
required). The window will flicker once.
•
Switch to the tab “Driver” and select the button “Update driver”
(see Figure 37). The “Update Driver Software” Wizard will appear.


