D
A5
Thread
cutter
symbol
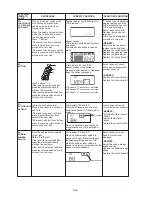
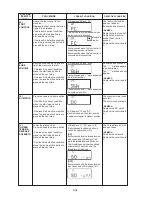
CORRECT CONDITION
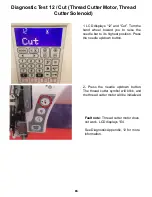
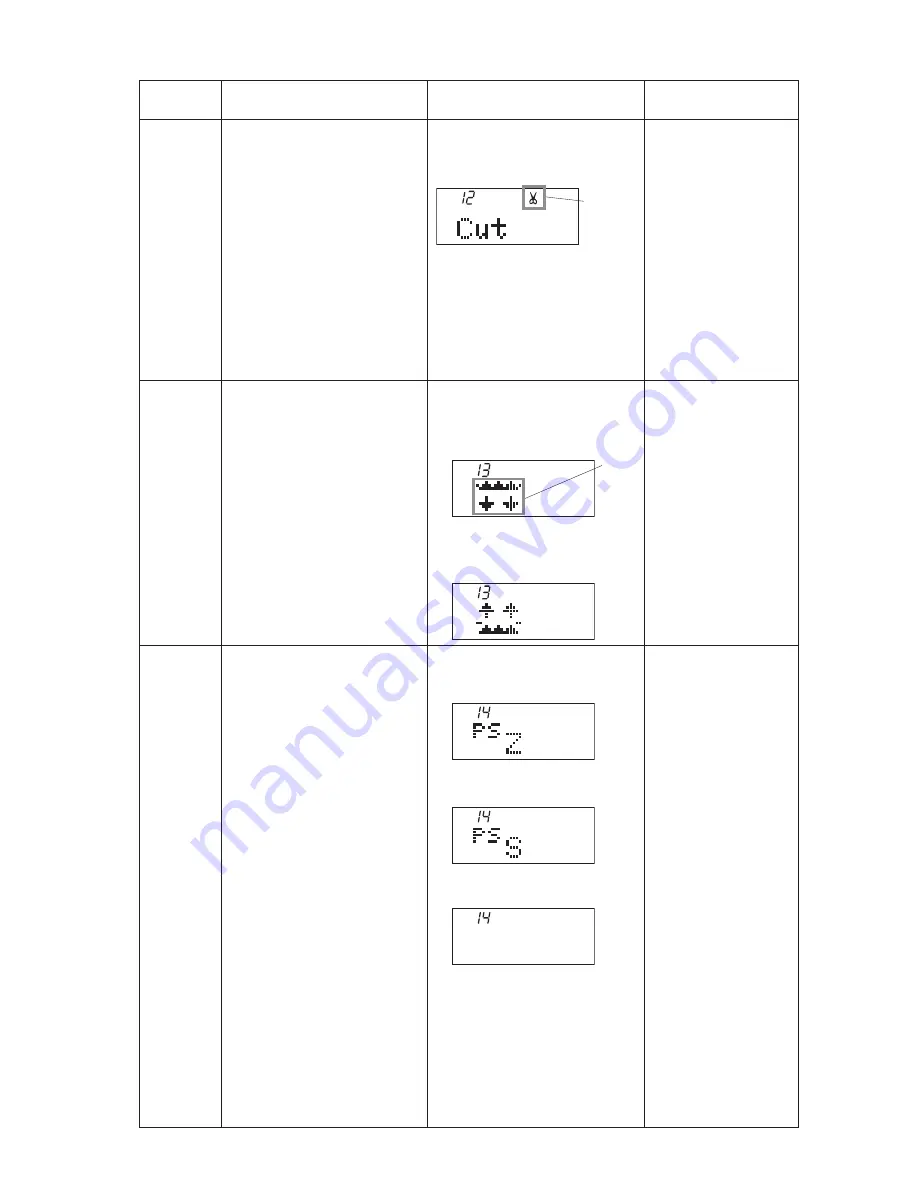
LCD displays “12” and “Cut”.
The thread cutter symbol will blink, and
thread cutter motor will be initialized.
STEP AND
ITEMS TO
CHECk
12)
THREAD
CUTTER
MOTOR,
THREAD
CUTTER
SOLENOID
PROCEDURE
Turn the handwheel toward you to
raise the needle bar at its highest
position. Press the needle up/down
button.
If the result is correct condition,
press the start/stop button to
proceed the next step.
If the result is defective condition,
press the reverse stitch button to
proceed the next step.
DEFECTIVE CONDITION
Thread cutter motor does
not work.
LCD displays “E4”.
–REMEDY–
Replace the thread cutter
motor.
Adjust the sensor plate
position.
Replace the printed
circuit board A.
13)
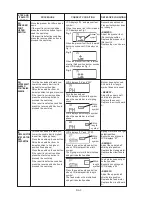
FEED DOG
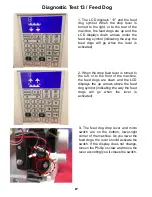
Turn the drop feed lever to the
right.
Turn the drop feed lever to the left.
If the result is correct condition,
press the start/stop button to
proceed the next step.
If the result is defective condition,
press the reverse stitch button to
proceed the next step.
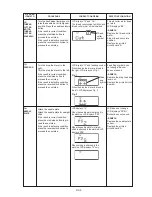
LCD displays “13” and feed dog symbol.
When the drop feed lever is turned to
the right, LCD displays as Fig. 1.
When the drop feed lever is turned to
the left, LCD displays as Fig. 2.
Fig. 1
Feed
dog
symbol
Fig. 2
14)
NEEDLE
PLATE
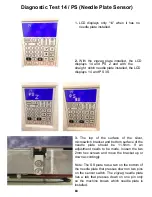
LCD displays “14”.
When the needle plate is attached to
the machine, LCD displays “PSZ”.
When the needle plate for straight
stitch is attached to the machine, LCD
displays “PSS”.
When nothing is attached to the
machine, LCD displays “14” only.
Attach the needle plate.
Attach the needle plate for straight
stitch.
If the result is correct condition,
press the start/stop button to pro-
ceed the next step.
If the result is defective condition,
press the reverse stitch button to
proceed the next step.
Feed Dog
symbol does
not change.
Buzzer
does not sound.
–REMEDY–
Replace the drop feed dog
lever unit.
Replace the printed circuit
board A.
LCD does not change.
LCD displays “PSErr”.
Buzzer does not sound.
–REMEDY–
Replace the needle plate
sensor.
Replace the printed
circuit board A.

