Top Cover Removal
(1 of 2)
1.
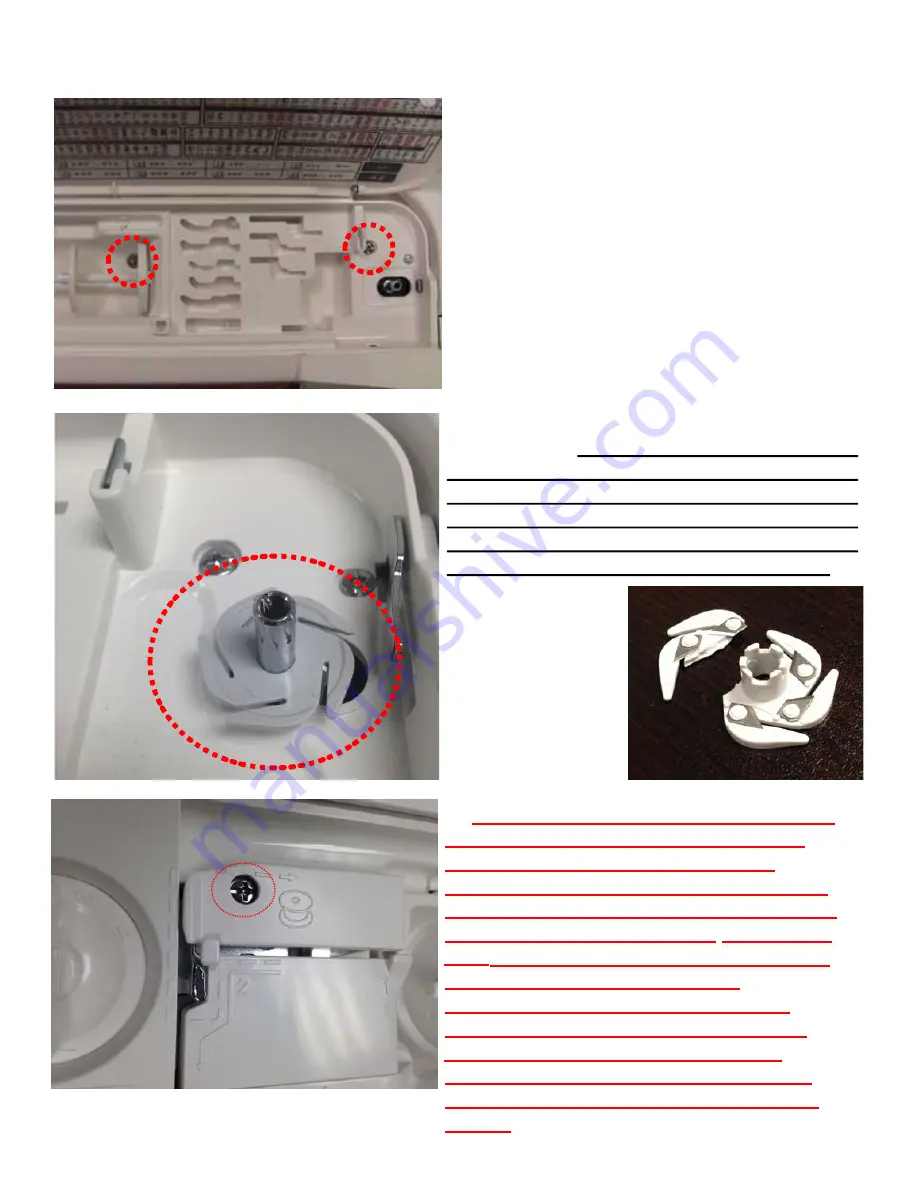
Put the handle down and lift up the top
cover lid. Locate the large Phillip’s screw
directly behind and to the left of the bobbin
winder and the screw directly under the
horizontal spool pin. Remove the screws
completely and lay them inside the cover.
2.
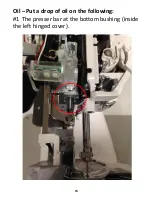
Remove the bobbin cutter from the bobbin
winder post.
Important note: use a small
flat screw driver
or L shaped hex tool
to pry
up on the center underside of the cutter.
Do not pull up on
one
outer edge with your
finger
or
s
crew
driver because this will
break off the outside edges of the cutter!
1
3.
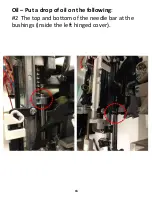
Important Note: Do not try to remove
this screw! It
adjusts the height of the
pre-tension so the bobbin will wind
evenly. When the screw is screwed in or
out it also changes the pre-tension on the
bobbin. The
screw has a nut on the back
side.
It was set in the factory and should
be correct unless someone has
inadvertently changed it
;
e.g. tried to
loosen it to remove the top cover. See
HQ Stitch Technical Bulletin #0001:
HQ Stitch 710 Pre-Tension Information,
Preventing Bobbin Winding and Sewing
Issues.


