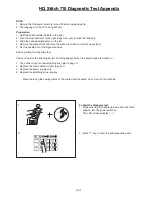
Diagnostic Test 02 / Key (Button)
Note on each step
: if the test result is the
correct condition, press the start/stop button to
proceed to the next step. If the result is a
defective condition, press the reverse stitch
button to proceed to the next step. This will
track the defective conditions on the screen
when finished. You will be able to toggle
through the defective conditions at the end by
pressing the start stop button to see which
number tests failed – no failures = 00..
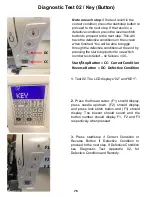
2.
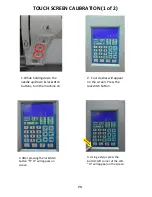
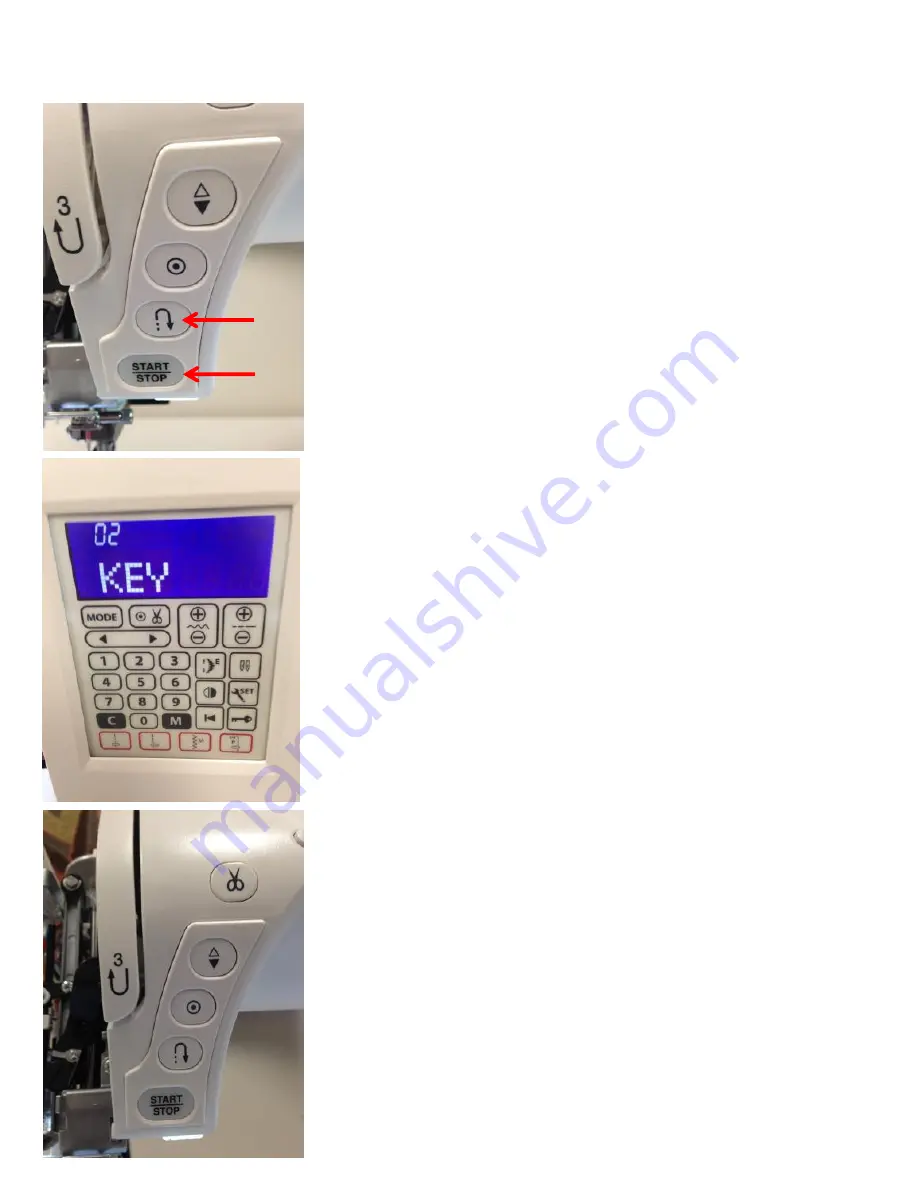
Press the thread cutter, (F1) should display,
press needle up/down, (F2) should display,
and press lock stitch button and (F3) should
display. The buzzer should sound and the
button number should display F1, F2 and F3
respectively when pressed.
3.
Press start/stop if Correct Condition or
Reverse Button if Defective Condition to
proceed to the next step. If Defective Condition
see Diagnostic Test Appendix, 02, for
Defective Condition and Remedy.
7
6
Start/Stop Button = CC: Correct Condition
Reverse Button = DC: Defective Condition
DC
CC
F1
F3
F2
1
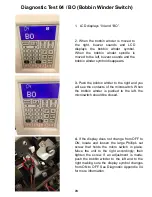
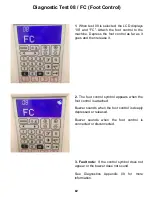
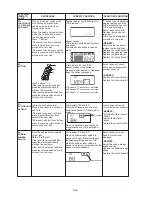
. Test 02, The LCD displays “02” and “KEY”.

