27
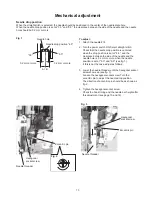
No clearance
To check:
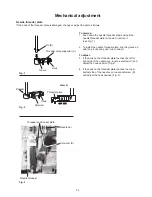
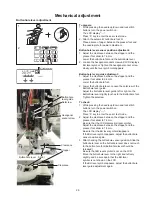
1. Attach the dual feed foot (see page 29).
2. Attach the needle #14.
3. Turn the power switch on and select straigh stitch.
(Be sure that the machine is not locked.)
Turn the drop feed lever to drop the feed dog.
Press the adjusting key and set the stitch length at "0".
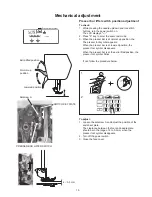
4. Turn the upper feed adjusting dial to set the dial at "0".
5. Press the needle up/down button twice to raise the
needle.
* In order to initialize the feed dog position, press the
needle up/down button twice and reset the needle
position even though needle position is set at raised
position.
6. Lower the presser foot.
Turn the power switch off.
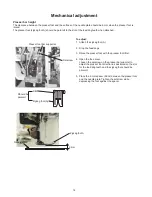
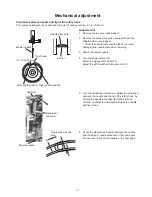
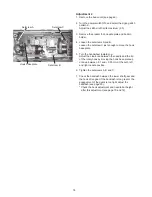
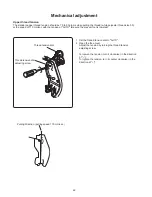
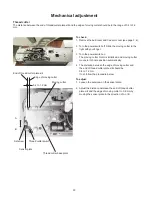
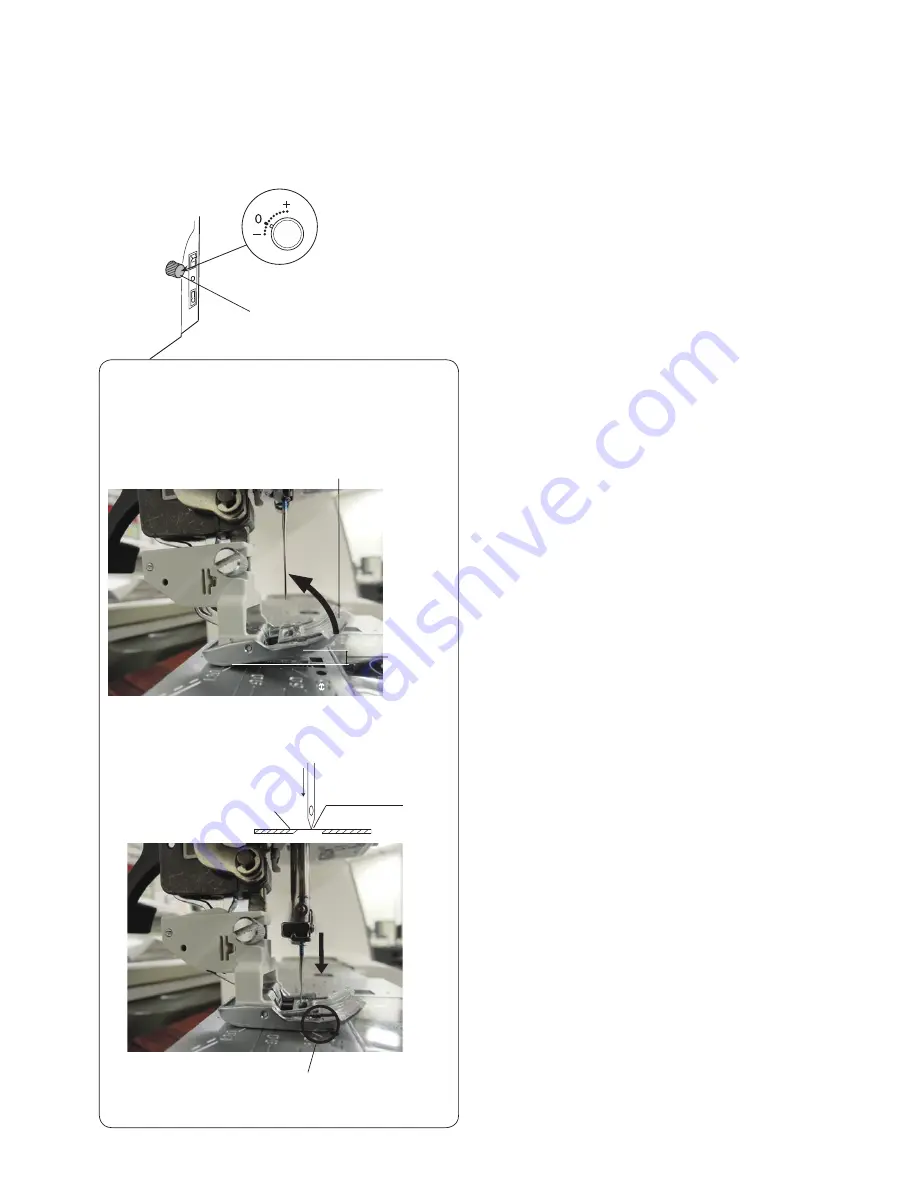
7. Raise the toe of the dual feed foot in the direction of
arrow as Fig. 3. Keep the toe of the dual feed dog
raised.
Mechanical adjustment
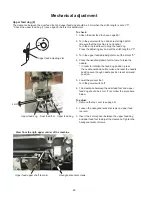
Upper feed dog (3)
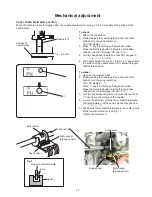
The tip of the needle height should be 0 to 1 mm above the surface of the needle plate when the toe of the dual feed
foot touch the needle plate.
Fig. 2
Fig. 3
Fig. 4
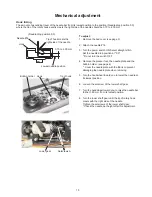
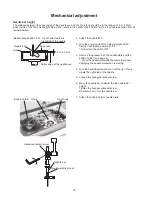
Upper feed adjusting dial
The surface of needle plate
0 to 1 mm away
from the needle
plate
Clearance
Toe of the dual feed foot
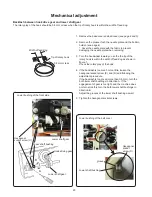
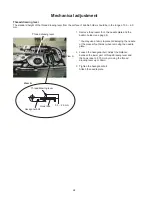
8. Turn the handwheel toward you. There should be no
clearance between the edge of the dual feed foot and
needle plate when the tip of the needle reaches 1 mm
or less above the surface of the needle plate.
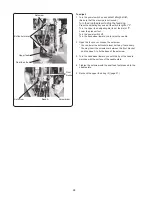
9. If not, follow the procedure in page 28.

