

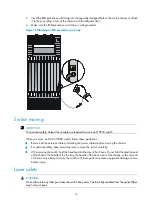


28
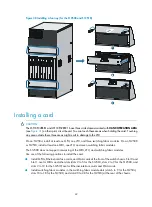
Figure 25
Installing the rear air filter
(1) Ventilation panel
(2) Rear air filter
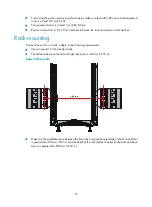
Installing an air filter on an S12518
1.
Use a Phillips screwdriver to loosen the screws at both sides of the plastic panel and remove the
panel.
2.
Insert the air filter into the rear of the chassis along the slide rails, and then fasten the screws at both
sides of the air filter.
Figure 26
Installing an air filter
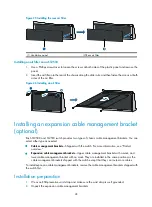
Installing an expansion cable management bracket
(optional)
Each S12508 and S12518 switch provides two types of chassis cable management brackets. You can
select either type as needed.
•
Cable management brackets
—Shipped with the switch. For more information, see "Product
overview."
•
Expansion cable management brackets
—Upper cable management bracket with a mark, and
lower cable management bracket with no mark. They are installed in the same positions as the
cable management brackets shipped with the switch except that they can route more cables.
To install expansion cable management brackets, remove the cable management brackets shipped with
the switch first.
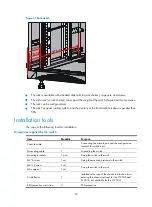
Installation preparation
1.
Wear an ESD-preventive wrist strap and make sure the wrist strap is well grounded.
2.
Unpack the expansion cable management brackets.
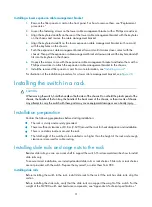
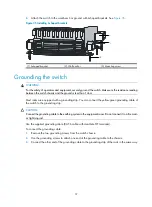
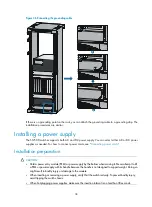
Summary of Contents for S12500 Series
Page 40: ...30 Figure 28 Installing an upper expansion cable management bracket 1 2 3 4 5 6 7...
Page 109: ...99 Figure 74 Replacing a card for the S12504 A Card to be removed B Card to be installed...
Page 149: ...139 Figure 85 Loopback operation on an optical transceiver...
Page 164: ...154 Figure 100 Example of a device label...


