308607
89
Horizon Form #2
Use Form #2 as a guide for inputting the control mod-
ule and fluid names.
Name the Master Control Module
NOTE:
The first screen you access will be the Master
Control Module screen CM#01. The Cursor will be in
the name field as the Master Control Module number is
always #01. The other difference in the Master Control
Module screen is that there is no DELETE option.
1. Type the name for the control module. The name
can be up to 10 characters and should describe
the location of the control module to ease opera-
tion.
2. Press ENTER on the keypad to input the name
and move the cursor to the bottom line.
3. The cursor will be at ADD. If there are more control
module names to add, press ENTER. If all the
control module names have been entered, go to
Step 7.
Name Slave Control Modules
4. The cursor will be in the CM# field. The control
module number will automatically increment up by
1 as you add modules or you can type the number
manually.
NOTE:
The control module number must correspond
with the numbers setup on the control module DIP
switch.
5. Press ENTER on the keypad to move the cursor to
the NAME field.
6. Follow Steps 1 to 3 until all the control module
names have been entered.
7. When all the control module names have been
entered, use the
#
or
"
keys to move the cursor to
EXIT and press ENTER.
NOTE:
Use the
#
or
"
keys to move the cursor to
DELETE if you need to delete control module entrees.
8. After EXIT is entered, the SAVE SETUP verifica-
tion screen will appear.
9. Scroll to YES by pressing the
#
or
"
key.
10. Press ENTER on the keypad to save the setup
options and go to the FLUID DATA screen.
Enter Fluid Data
1. The cursor will be in the fluid number (FL01) field.
The fluid number will automatically increment up
by 1 as you add fluids or you can type the number
manually.
2. Press ENTER on the keypad to move the cursor to
the NAME field.
3. Type the name of the fluid (up to 10 characters)
and press ENTER.
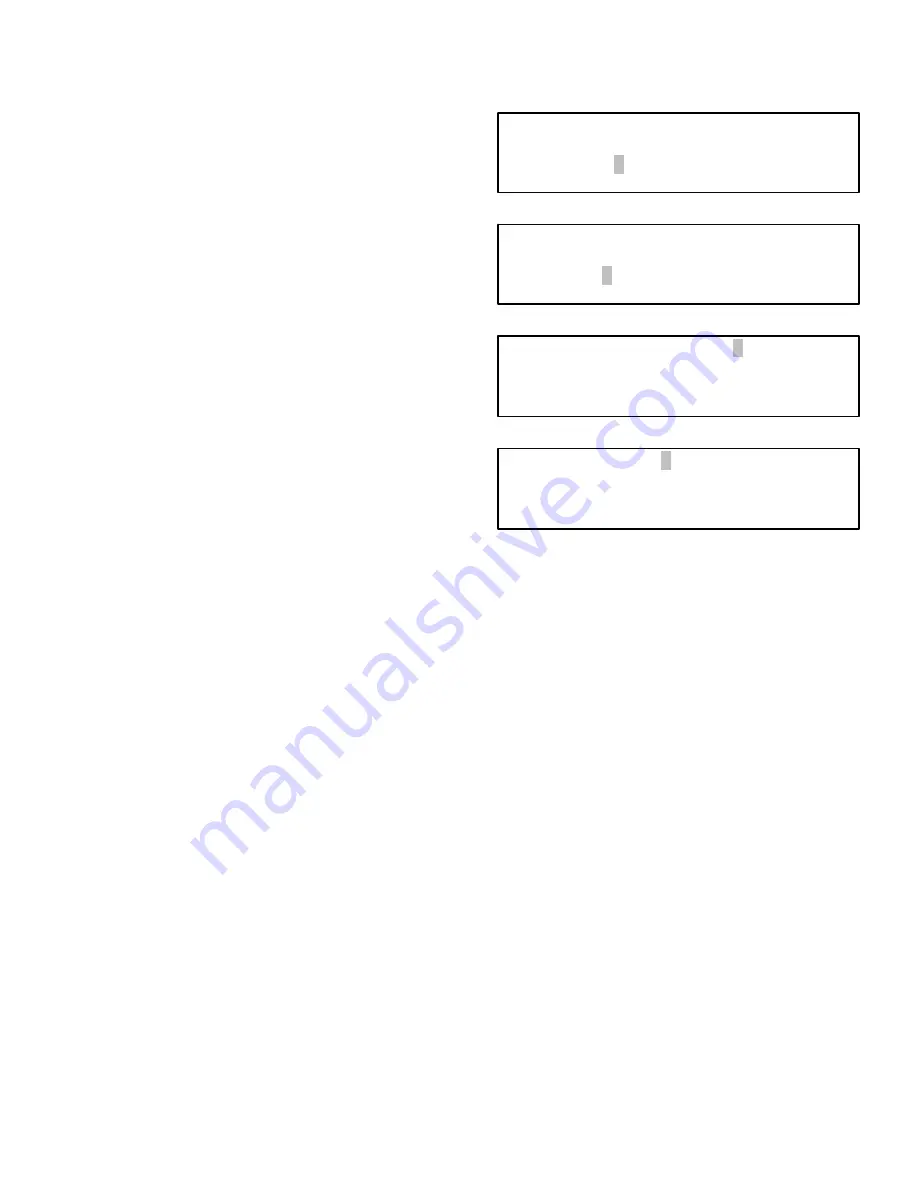
MASTER CONTROL MODULE Screen
NAME CONTROL MODULES
CM#01 (MASTER CM)
NAME: OFFICE _ _ _ _
ADD
EXIT
SLAVE CONTROL MODULE Screen
NAME CONTROL MODULES
CM#02 (SLAVE CM)
NAME: BAY 1 _ _ _ _ _
ADD
EXIT
DELETE
SAVE SETUP Verification Screen
SAVE SETUP:
"
YES
" #
WARNING:
SAVE WILL CANCEL
ACTIVE/WAITING JOBS
FLUID DATA Screen
FLO1 NAME: 5/30 OIL _ _
UNITS: QUARTS
# "
ORDER: 01
ADD
EXIT
DELETE
4. The cursor moves to the UNITS field. Scroll
through the available units of measurement by
pressing the
#
or
"
key, and stop at the value
needed, then press ENTER.
NOTE:
There are four units of measurement available:
quarts, liters, gallons, and pints. The unit has to be set
individually for each fluid.
5. The cursor moves to the ORDER number field.
The order number determines the order that fluids
are displayed during RUN operations. The default
setting is to display the fluids in the order of the
fluid numbers.
6. Type in the order number if it is different than the
number displayed.
NOTE:
It is recommended that the ORDER number not
be changed during the initial setup.
7. Press ENTER to move to the bottom line. The
cursor will be at ADD. If there are more fluids to
add, press ENTER.
8. When all the fluids have been entered, use the
#
or
"
keys to move the cursor to EXIT and press
ENTER.
NOTE:
Use the
#
or
"
keys to move the cursor to
DELETE if you need to delete fluid entrees.
9. After EXIT is entered, the SAVE SETUP verifica-
tion screen will appear.
10. Scroll to YES by pressing the
#
or
"
key.
11. Press ENTER on the keypad to save the setup
options and go to the DISPENSE AREA screen.
Summary of Contents for Horizon Fluid Management Systems
Page 81: ...308607 81 Appendix...
Page 97: ...308607 97 Blank Forms...


