


Chapter 7
137
Gerber CAT | UV Web Pages
P83173A RevA
7/19/10
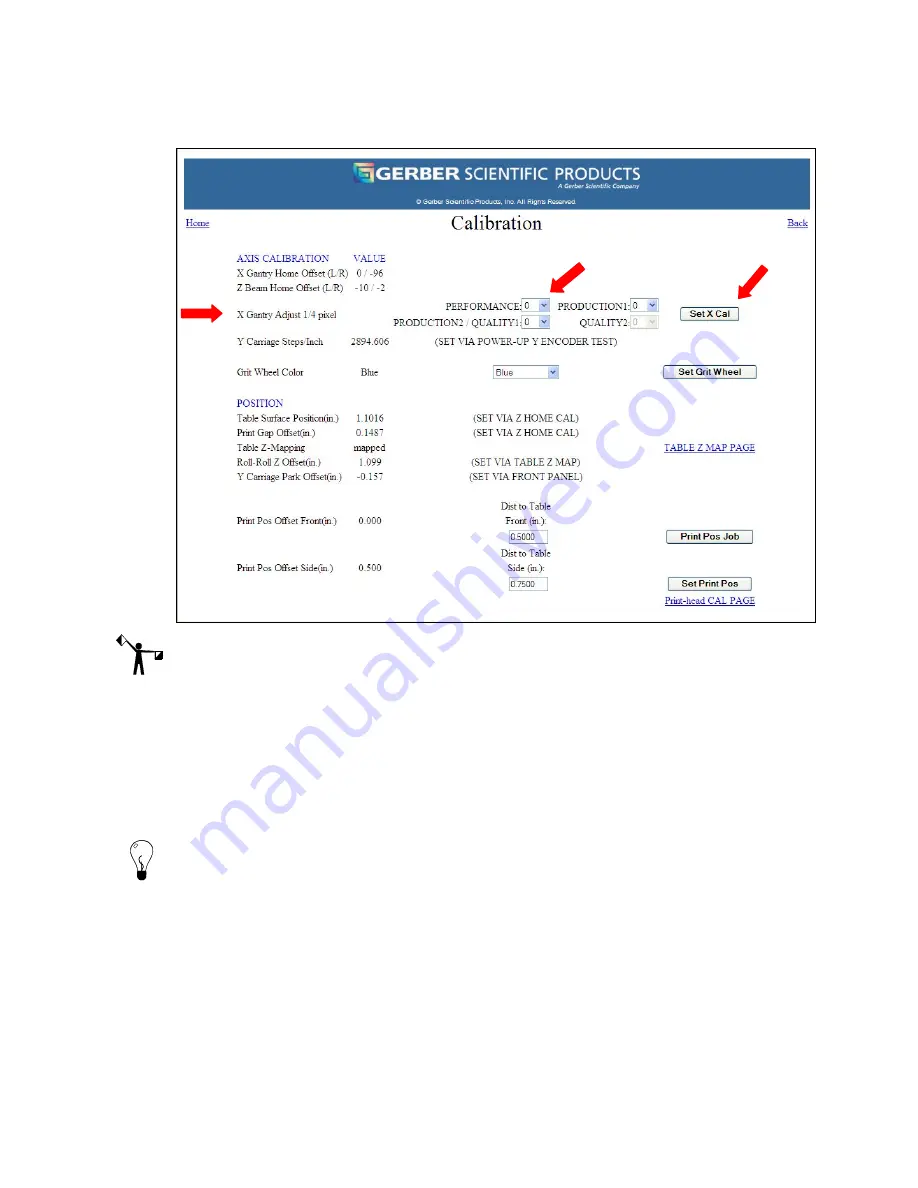
NOTE: The setting default is “0.” The change made will remain in effect unless altered again
by the operator. The change will NOT take effect unless the SET X CAL box is clicked on.
3
In order to obtain desired print job dimensions after adjusting X Gantry values away
from zero, you must resize the job. Resize the job by printing the job after the new X
Gantry values have been set, measure the actual size of the new print, and then
calculate the percent difference between desired size and actual size of the job.
4
Change the job in the design to reflect this percent difference in order to achieve
desired end print dimensions, and then re-RIP.
Tip: If print gaps (notable white space between passes) are occurring in the print, choose
negative values. If over-printing is occurring (notable dark passes) are occurring in the print,
choose positive value.
Calibrating the location of a printed image (Print Pos Offset Front and Side)
This procedure describes how to calibrate the location of a printed image relative to the material
alignment marks that will be printed on a piece of scrap material. Calibration ensures that jobs
will print in the correct location. After printing and measuring the calibration job, the values are
added to the
Print Pos Offset Front and Side
fields on the Calibration web page.


