Chapter 6
107
Printer Maintenance
P83173A RevA
7/19/10
.
13
When the purge is complete the screen prompts you to
Close ‘‘INK COLOR’’ valve 1. Open
valve 2. Press ENTER when done.
Use the 2mm Allen wrench to close valve #1 and open
valve #2. Press ENTER when done. The working icon displays while the GerberCAT
Flush drips from valve #2.
NOTE:
The Front Panel may display
Depressurizing, please wait...
depending upon how
quickly valves are closed/opened and ENTER is pressed.
14
The screen prompts you to
Close All Purge Valves. Press ENTER when done.
15
Close valve, press ENTER, and repeat previous steps for all colors.
16
When all line filling/flushing is complete, the system prompts you to
Clean the Purge
Block. Press ENTER when done.
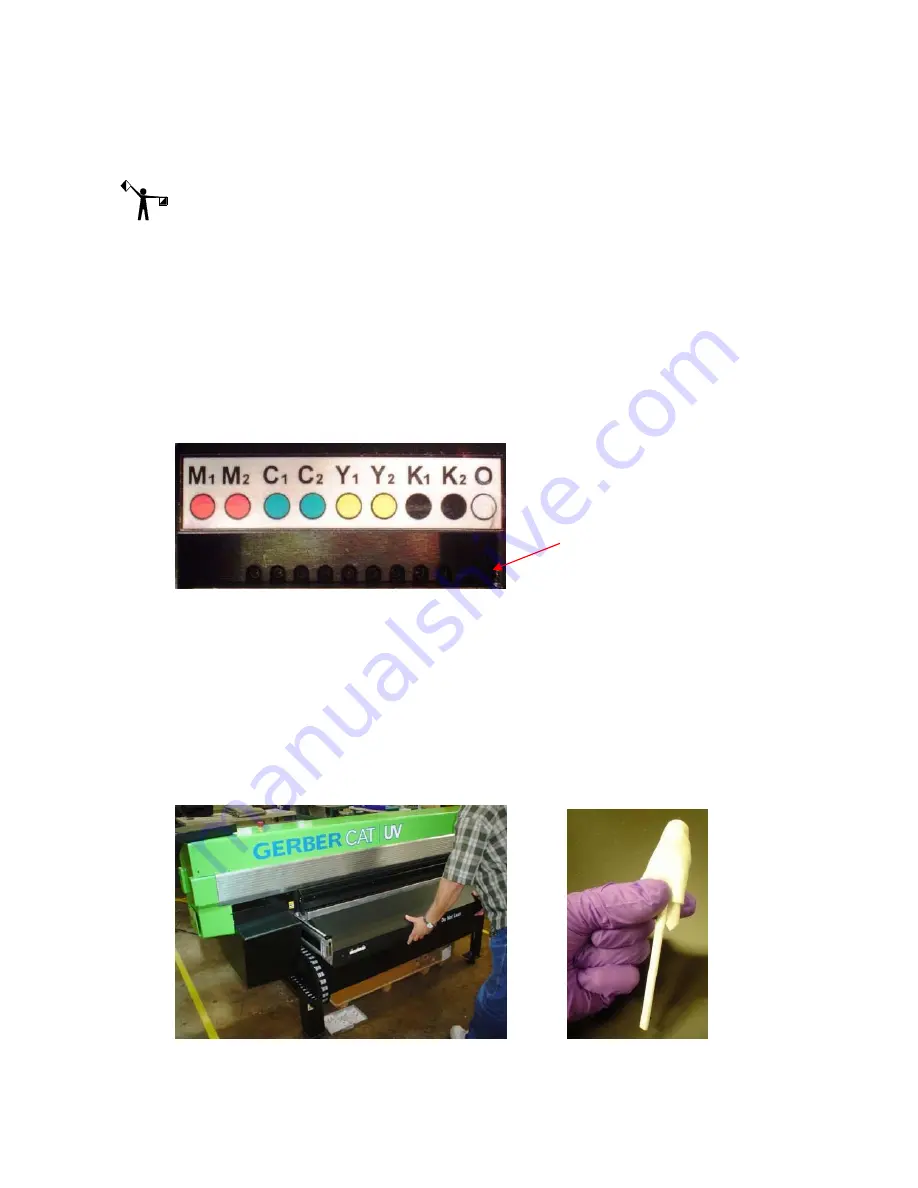
Moisten a swab by applying 1 drop per side of Daily
Maintenance Solution to clean the purge block, which is located directly under the
purge valves. Be sure to swab the entire underside, not just the outer edge. Do this to
remove any remaining ink and flush and prevent it from dripping and/or curing on
the Purge Block. Press ENTER when done.
17
The printer begins automatic maintenance of the ink delivery system. This process
takes a few minutes and a progress bar displays.
18
When finished, the system prompts you to
Replace Head Access Door.
19
Dispose of used wipes and swabs according to local laws and regulations.
20
After the head access door is installed the screen prompts you to
Lower shelf and swab
printheads. Raise shelf when done
.
21
Lower the Maintenance Shelf by pushing down in the middle of the shelf. Do not push
on either end of the shelf as it causes the shelf to twist.
22
Place 3-5
drops of Daily Maintenance Solution onto a new Anticon-covered swab.
After purging, use a Daily
Maintenance Solution-moistened
swab to wipe the Purge Block
directly under the valves.


