owners
manual
wk2000 se
Page31
The fl oppy and the hard disk
FLOPPY DISK HANDLING TIPS
If this is the fi rst time you use a Floppy Disk and do not feel comfortable about handling such delicate magnetic aids,
read this section very carefully.
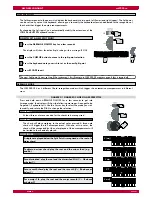
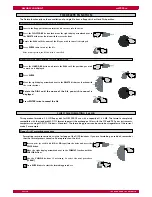
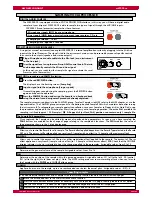
Inserting a Floppy disk into the drive
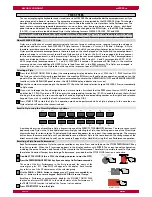
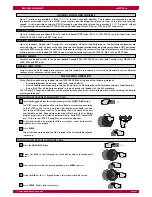
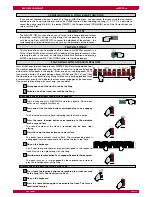
Floppy Disks are inserted in the disk drive with the label side up, and the metallic shutter fi rst in. Push the disk
smoothly and fi rmly until it clicks into place. Hold the disk straight and avoid forcing it in while inserting.
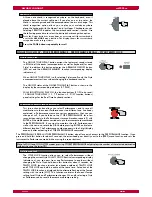
Ejecting a Floppy disk
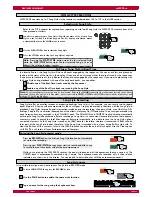
Before ejecting a Floppy Disk, make sure that the operation led in the drive is OFF, and that WK2000 SE display
shows no disk operation being in progress. To extract the Disk, press the eject button and remove the disk.
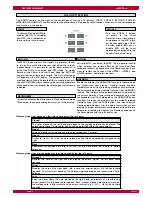
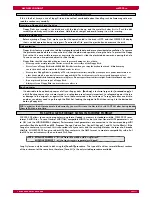
Disk protection
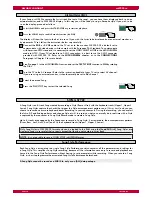
Floppy disks feature a protection tab that safeguard valuable data and prevent accidental cancellation. To remove
the protection and be able to write on the disk, slide the plastic tab upwards, closing the hole. To protect the Floppy
Disk so that it is not possible to erase or overwrite the contents, slide the plastic tab downwards, opening the hole.
You can use a pen or a pointed object to slide the tab.
Floppy Disks should be handled with great care, to prevent damage or loss of data.
• Never open the metal protection shutter or touch the soft surface of the Floppy Disk.
• Never leave a Floppy Disk inside WK2000 SE disk drive when you carry the keyboard around. Vibrations may
cause the drive head to scratch the disk and make it useless.
• Never place Floppy Disks in proximity of TV sets, computer monitors, amplifi er, loudspeakers, power transformers or
other device which is a potential source of magnetic fi eld. The disk contents could be seriously damaged or lost.
• Never leave the disks in extremely warm or cold places. Do not expose them to direct sunlight. Protect them from dust or dirt.
• Do not place objects on top of a Floppy Disk.
• Always return a Floppy Disk in a protective case after use.
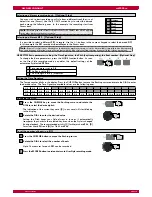
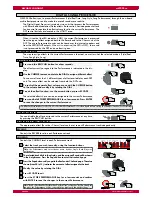
It is advisable to keep back-up copies of all your fl oppy disks.
[Back-up]
is technical jargon for
[a second copy]
of
a disk. Backup copies of your data stored in a safe place are extremely important, to safeguard against the loss
or damage to the originals, or against the loss of data contained in the instrument. To copy data from one disk to
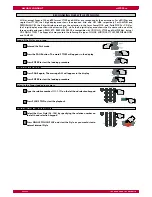
another, you always need to go through the RAM fi rst, loading the original to RAM then saving it to the destination
back-up fl oppy disk.
NB.
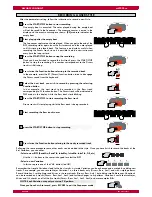
in order for the ALL procedure to load correctly, you must fi rst save the fi les to disk with SAVE ALL after having loaded
them to RAM one at a time.
Back-up copies
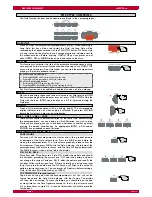
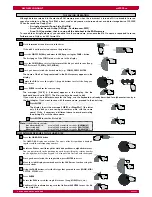
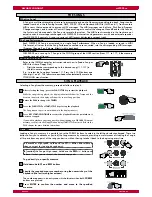
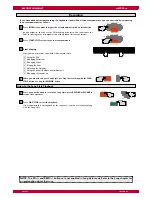
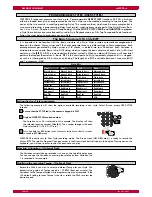
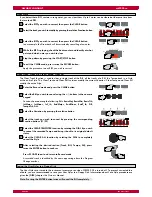
WK 2000 SE allows to convert a proprietary song format loaded in memory in standard midifi le. WK2000 SE saves
format 0 MIDI Files. To save General MIDI (GM) compatible MIDI Files, be sure that General MIDI parameter is set
to ON (see the MIDI/GENERAL chapter). Performance track parameters are converted to the corresponding MIDI
controllers (Bank Select MSB and LSB, Program Change, Volume, Pan, Control Change 91 and 93 for the Effects). If the
Song also contains a Lyrics track, this is converted into Lyric events, and the resulting fi le takes the form of a Karaoke
MidiFile. All WK2000 SE Songs saved as MIDI Files conform to the GMX format, to maintain compatibility with all of
the WK Series instruments with an on-board Disk Drive.
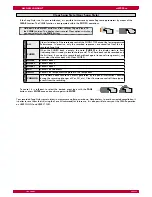
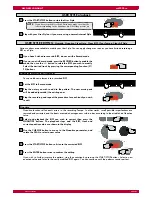
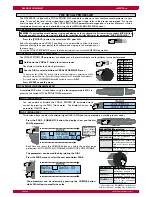
TO SAVE A GEM FORMAT SONG IN MIDIFILE FORMAT
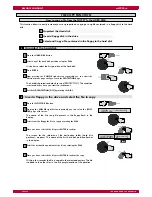
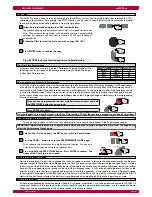
Song Styles can only be saved to disk using the
[Save All]
procedure. This type of fi le utilises several different sections
of the instrument at the same time, therefore, [Save All] is the only suitable procedure available.
NOTE: MIDIFILE FORMAT 0
: all the tracks are mixed onto a single track.
MIDIFILE FORMAT 1
: all the tracks remain separate (multi-track).

