GE M
EDICAL
S
YSTEMS
D
IRECTION
2392751-100, R
EVISION
3
V
IVID
™ 4 S
ERVICE
M
ANUAL
Chapter 7 - Diagnostics/Troubleshooting
7-105
7-5-4-3-5 Video Test
When
PC Diagnostics
is selected in the left pane of the
Diagnostics
page, the following video
diagnostic tests can be performed. These tests use 18 test patterns to fill the video buffer, testing
your graphics acceleration and text output
•
Video Test (All):
Test the system’s video capabilities. This involves testing the memory, testing
the graphics acceleration and testing the text output. You can follow the tests being performed
on the monitor. This test can be cancelled at any time by pressing <
Esc>
on the keyboard.
•
Video Memory:
Tests the video memory by filling the video buffer with 18 test patterns, one
pattern at a time. These tests fill the entire screen with a single color.
•
Video Data Transfer:
Tests the graphics acceleration part of the video controller. This test fills
the screen with black and white concentric squares, and rectangles of various sizes and colors.
If errors are detected, the locations of the problems are displayed.
•
Video Text Output:
Prints a text string in random sizes and colors to test the video device
driver and video controller.
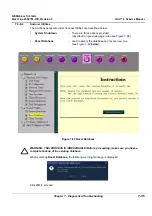
7-5-4-3-6 Frame Grabber Test
Testing for proper operation of the Frame Grabber Board is achieved by performing the Video
Grabbing Test. For details, refer to the
on page 4 - 4. For information regarding
the video grabbing calibration procedure, refer to
7-5-4-3-7 PCI Board Configuration Test
A Peripheral Component Interconnect (PCI) bus is a fast standard bus that is common in Pentium
systems. When
PC Diagnostics
is selected in the left pane of the
Diagnostics
page, PCI diagnostic
tests can be performed to ensure that the PCI bus is working up to speed. The motherboard is
scanned to verify the configuration space and to ensure that the diagnostics can communicate with
the board.
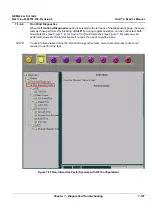
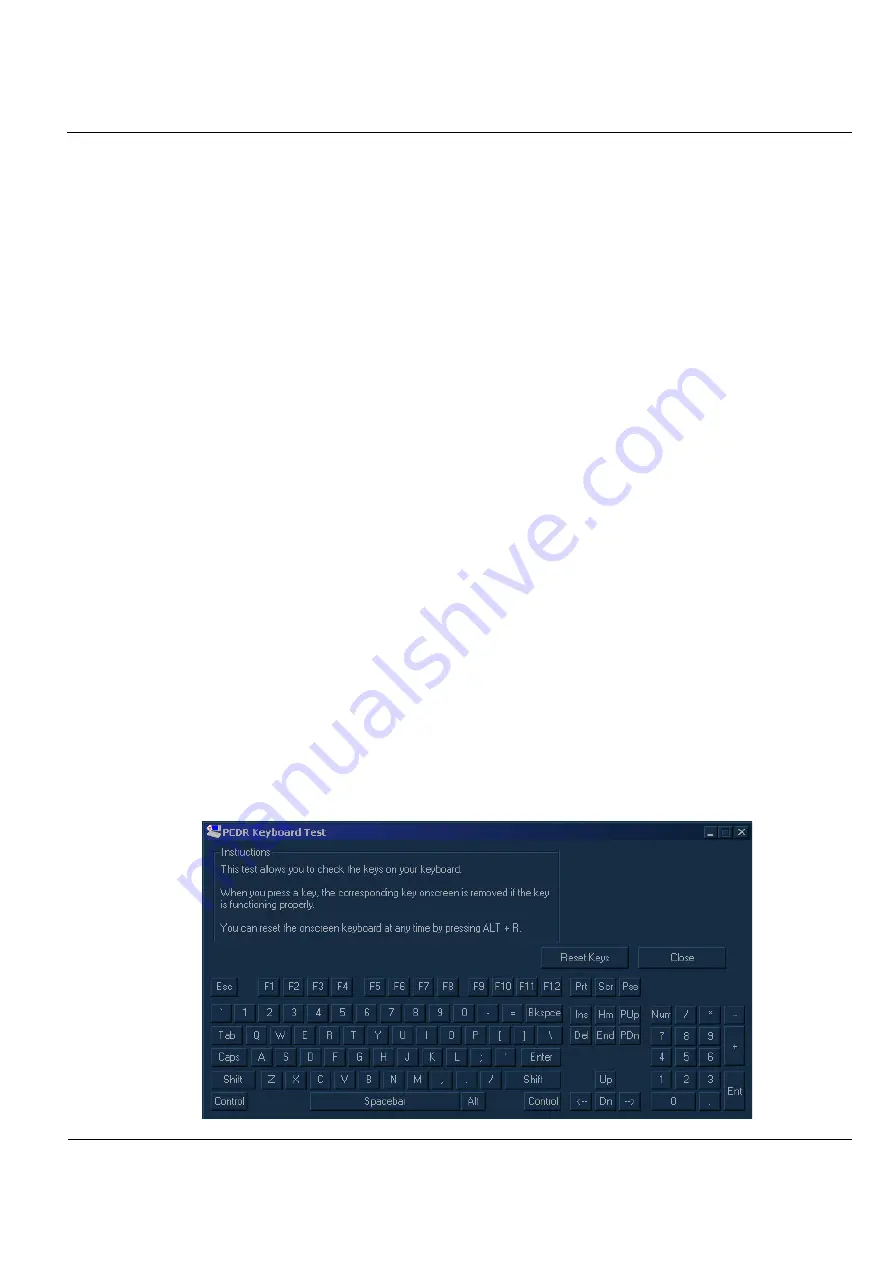
7-5-4-3-8 Keyboard Test
When
PC Diagnostics
is selected in the left pane of the
Diagnostics
page, the keyboard diagnostic
tests can be performed. After selecting your keyboard type from the drop-down list, click the
Test
button. The
PCDR Keyboard Test
window is displayed, showing all the keyboard keys. Press each
key on the keyboard once and ensure that the corresponding keys on-screen are removed from
view. If a key is not removed, that key may be damaged and need to be replaced or repaired. Click
the
Reset
button to reset the keyboard, or click the
Close
button to exit the test.
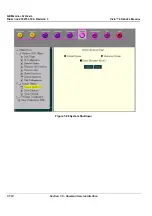
Figure 7-79 PCDR Keyboard Test Window

