Puma III User Manual
Automatic-Aligning System
5-8
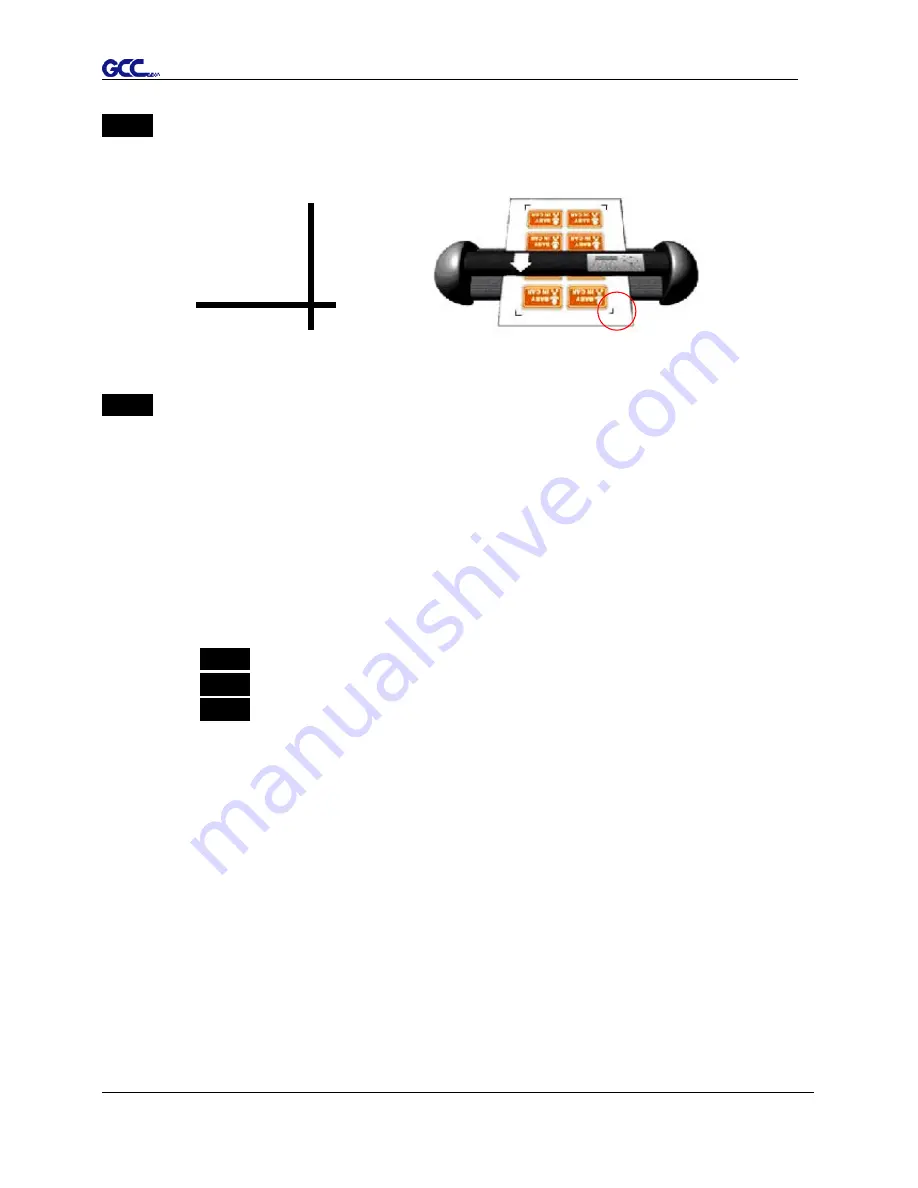
Step 4
Load the printout onto cutter
■ The Origin Mark is is different from the rest registration marks. Please make sure the
media is fed with correct direction.
Step 5
Cut the Contour
■ Send out the command from software to perform the contour cutting job.
5.6
Tips for AAS
For getting better results of contour cutting, there are some tips below for your reference.
Keep light sources simple and avoid illuminating from the sides of cutter.
Before operating AAS, change the maximum paper size in Puma IIIdriver property.
Step 1
Find the
Puma III model
in the “Printer & Fax” folder of your PC.
Step 2
Open the Properties window and select the “Paper” tab.
Step 3
Change the maximum Paper Size of X to
1200
mm.
Adjust the cutting speed to between 300~600mm/sec.
Avoid the registration marks locating on the tracks of pinch rollers.
Make sure the edge of the media is not bent up when detecting registration marks.
Summary of Contents for P3-132S
Page 1: ...V 22 2016 Dec Puma III Series User Manual http www GCCworld com...
Page 48: ...Puma III User Manual Installation 2 37...
Page 143: ...Puma III User Manual GreatCut Plug In A 5 Step 4 Click Multi Copy on GreatCut under File...
Page 158: ...Puma III User Manual SignPal 12 Instruction A 6...
Page 165: ...Puma III User Manual SignPal 12 Instruction A 6...


