Puma III User Manual
Automatic-Aligning System
5-4
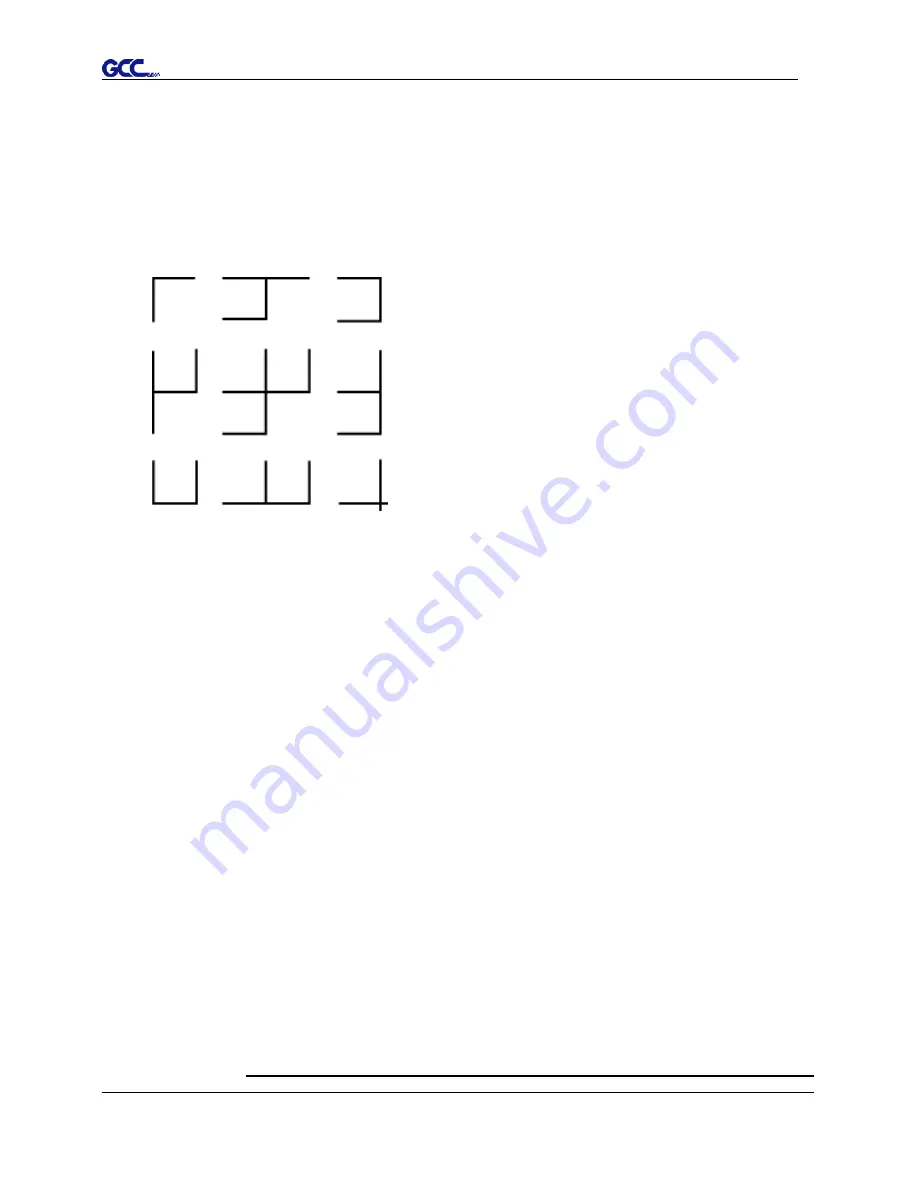
3. Multiple Copies
The function is used to duplicate images to let you cut quantities of images at a time.The
AAS II sensor will automatically scan registration marks for each individual image to
ensure the contour cutting precision.
Command:
Esc.D3;(XCopies);(YCopies);(Space):
Layout:
5.3
Printer Test
Before performing AAS contour cutting, it’s recommended to print out a test file that you
can find in the enclosed Installation CD to make sure the AAS II cutting accuracy of
Puma III.
There are two testing files for AASII:
1. AAS II_X_Y_Offset_Caberation_A4 .eps (A4 size)
2. AAS II_X_Y_Offset_Caberation_600_600 .eps (Default setting, it is recommended
for testing)
Print out the testing graphic. ( Please use high precision printer)
Load the graphic to Puma III and sent the file to test the cutting job
If there are any adjustments to be made, you can change the offset value by
following the steps:
■ Measure the offset values from the printed line and the actual cutting line.
■ Enter the AAS Offset under MISC function for the values you just measured,
then press Enter
■ Test the cutting again
■ AAS II offset X and Y value is defined as following:
Horizontal line is defined as X and vertical is defined as Y (when facing
Summary of Contents for P3-132S
Page 1: ...V 22 2016 Dec Puma III Series User Manual http www GCCworld com...
Page 48: ...Puma III User Manual Installation 2 37...
Page 143: ...Puma III User Manual GreatCut Plug In A 5 Step 4 Click Multi Copy on GreatCut under File...
Page 158: ...Puma III User Manual SignPal 12 Instruction A 6...
Page 165: ...Puma III User Manual SignPal 12 Instruction A 6...


