174
Copying
Making Copies From the ADF (DocuPrint CM215
f/CM215 fw Only)
IMPORTANT:
•
Do not load more than 15 sheets on the ADF or allow more than 15 sheets to be fed to the document output
tray. The document output tray should be emptied before it holds more than 15 sheets or your source
documents may be damaged.
NOTE:
•
To get the best scan quality, especially for color or gray scale images, use the document glass instead of the ADF.
•
A computer connection is not required for copying.
•
You cannot load the following documents in the ADF. Be sure to place them on the document glass.
To make copy from the ADF:
1
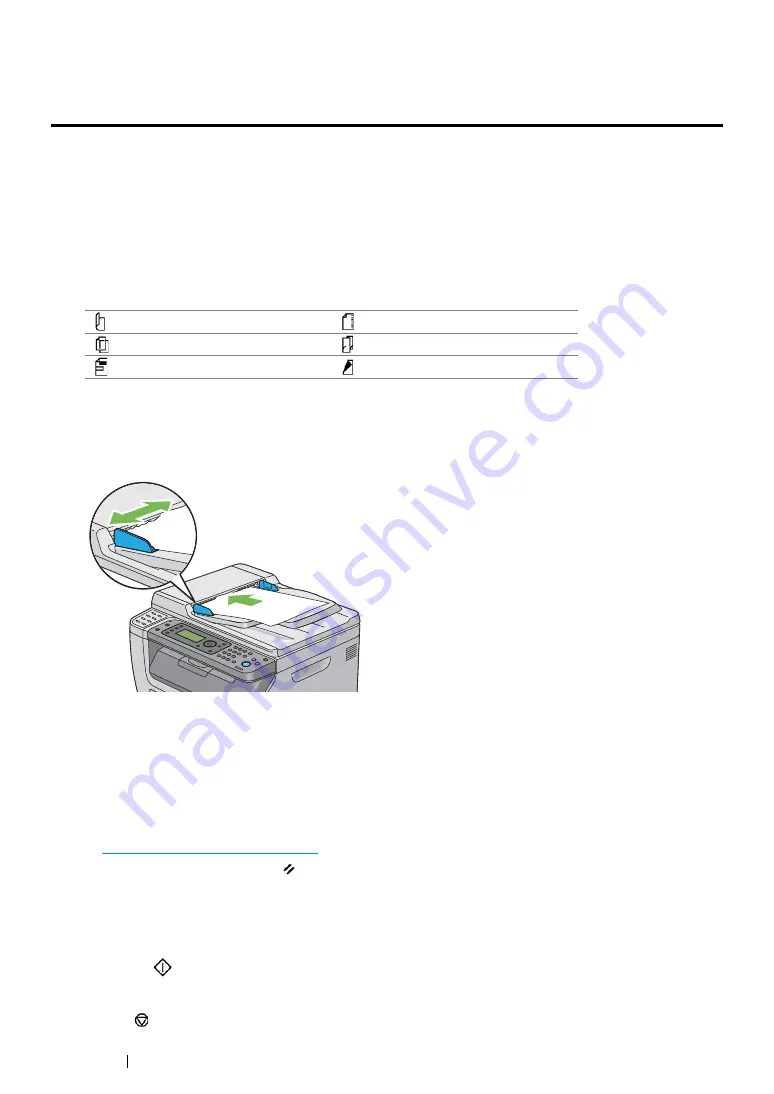
Load up to 15 sheets of 64 gsm documents facing up on the ADF with top edge of the documents
in first. Then adjust the document guides to the correct document size.
NOTE:
•
Be sure to adjust the document guides before copying a legal-size document.
2
Press the
Copy
button.
3
Customize the copy settings such as number of copies, copy size, and image quality.
See also:
• "Setting Copy Options" on page 175
To clear the settings, use the
(
Clear All
) button.
NOTE:
•
The options automatically return to default statuses when the next copy service is initiated or the auto
clear timer expires.
4
Press the
(
Start
) button to begin copying.
NOTE:
•
Press the
(
Stop
) button to cancel a copy job at any time while scanning a document.
Curled originals
Pre-punched paper
Lightweight originals
Folded, creased or torn originals
Cut and paste originals
Carbon paper
Summary of Contents for DocuPrint CM215 b
Page 1: ...1 DocuPrint CM215 Series User Guide ...
Page 4: ...4 Preface ...
Page 32: ...32 Product Features ...
Page 42: ...42 Specifications ...
Page 66: ...66 Printer Management Software ...
Page 126: ...126 Printer Connection and Software Installation ...
Page 168: ...168 Printing Basics ...
Page 192: ...192 Copying ...
Page 272: ...272 Faxing DocuPrint CM215 f CM215 fw Only ...
Page 330: ...330 Troubleshooting 4 Lower the levers to their original position 5 Close the rear cover ...
Page 333: ...Troubleshooting 333 7 Lower the levers to their original position 8 Close the rear cover ...
Page 380: ...380 Troubleshooting ...
Page 406: ...406 Maintenance ...
Page 410: ...410 Contacting Fuji Xerox ...
Page 415: ...Index 415 Y Your Fax Number 268 286 ...
Page 416: ...416 Index ...
Page 417: ......


