Printer Connection and Software Installation
53
Configuring USB Connection Settings
1
Confirm that the USB cable is connected to the computer and the printer, and the printer is turned on.
NOTE:
•
For Windows Vista, Windows Server 2003, or Windows Server 2008, if
Found New Hardware Wizard
appears, click
Cancel
.
2
Click
USB
on the
Select a connection Method
screen.
The Plug and Play installation starts and the required driver and software are automatically installed.
3
Click
Finish
to exit the wizard when the
Ready to Print!
screen appears. If necessary, click
Print Test Page
to
verify installation.
Using Installer to Install Software
If the printer connection via USB/Wireless is already configured and you want to perform the driver and software
installation only, follow the procedure below.
If you have executed the steps in "Using Installer to Set Up Connection and Install Software" on page 51, the
following procedure is not necessary.
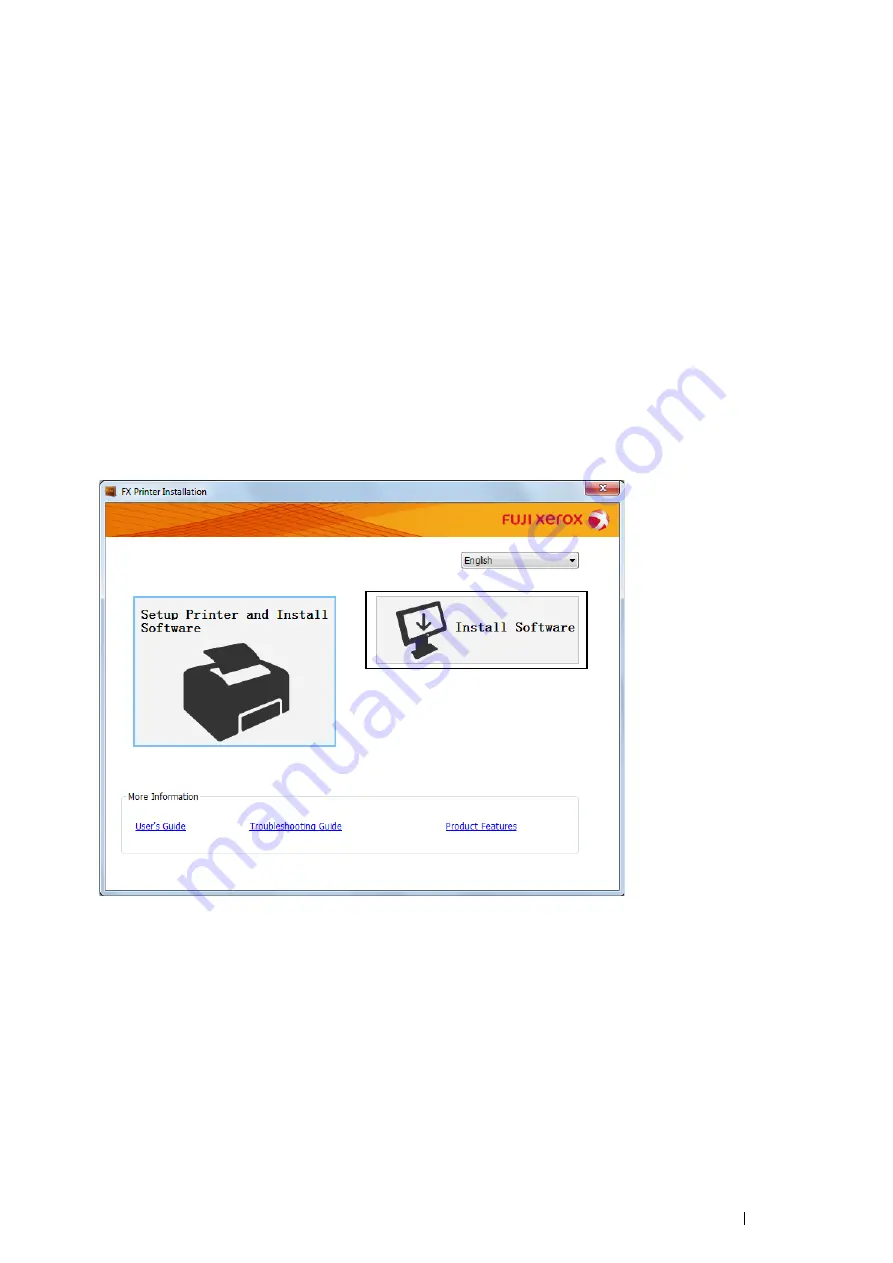
1
Click
Install Software
.
2
If you agree to the terms of the
License Agreement
, choose
I accept the terms of the license agreement
,
and then click
Next
.
3
Choose an installation type, and then click
Next
.
For the printer connected to your computer using the USB cable, select
Personal Installation
.
For the printer connected to a wireless network, select
Network Installation
.
4
Follow the instructions displayed on the screen to complete the installation.


