Rip
F
ence
G
uide
B
ar
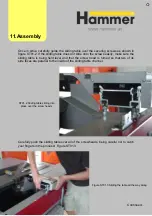
Once the tables are in place and adjusted correctly, the rip fence guide bar can be
installed. Start by lining up the screws on the guide bar with holes provided in the
chassis and the extension tables. Make sure that the arrangement of the screws,
nuts and washers is the same as that displayed in the exploded assembly diagram.
Also adhere to the height information given in the diagram for the rip fence (from the
cast iron table).
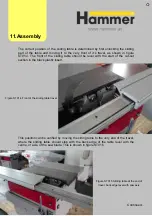
The procedure is the same for round
(
800mm rip capacity) or rectangular (700mm rip
capacity) section.
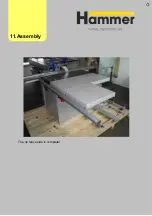
(showing round guide bar)
Continued…
11.Assembly
Summary of Contents for Hammer
Page 1: ...Machine Setup Guide InstallVersion1 09...
Page 5: ...15 Completion You re Good To Go 16 FAQ s 17 Links Contact Details Contents 3...
Page 32: ...The rip fence side is complete 11 Assembly...
Page 74: ...Figure SS03 2 End position 2 Adjustments Alignme nt Link SS03 continued...
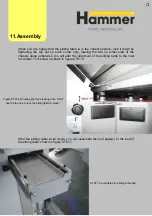
Page 79: ...Figure SS07 3 Crosscut stop and block adjustment Adjustments Alignme nt Link SS07 continued...


