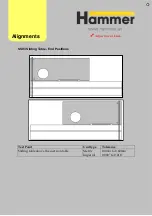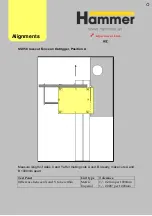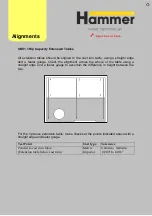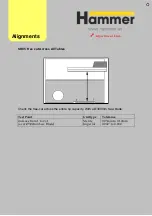
It may be blatantly obvious if the back tooth is touching the workpiece, in which case,
follow the link to the adjustment page.
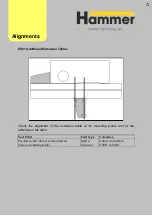
Very carefully, rotate the saw blade and look to see of the back tooth of the saw is
touching the workpiece. Rotate the blade until you find the closest point to the
workpiece. There should be less than a hairs breadth between the sawblade and the
workpiece at the back tooth at this point. It should not however, be touching the
workpiece. Adjust the freecut as necessary (follow link).
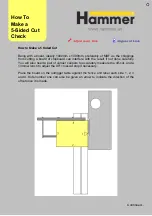
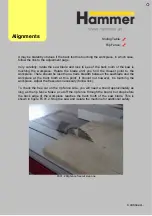
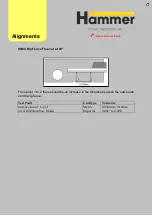
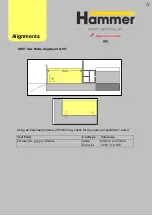
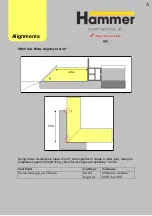
To check the free cut on the rip fence side, you will need a board approximately as
long as the rip fence. Make a cut off the rip fence through the board, but stop before
the back edge of the workpiece reaches the back tooth of the saw blade. This is
shown in figure FC01.2. Stop the saw and isolate the machine for additional safety.
FC01.2 Rip fence freecut step one
Alignments
Continued…
Rip Fence:
Sliding Table:
Summary of Contents for Hammer
Page 1: ...Machine Setup Guide InstallVersion1 09...
Page 5: ...15 Completion You re Good To Go 16 FAQ s 17 Links Contact Details Contents 3...
Page 32: ...The rip fence side is complete 11 Assembly...
Page 74: ...Figure SS03 2 End position 2 Adjustments Alignme nt Link SS03 continued...
Page 79: ...Figure SS07 3 Crosscut stop and block adjustment Adjustments Alignme nt Link SS07 continued...


