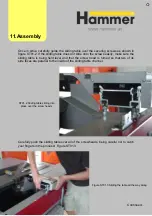
Once in situe, carefully guide the sliding table over the securing screws as shown in
figure ST01.2. If the sliding table does not slide onto the screws easily, make sure the
sliding table is being held level and that the screw head is turned so that two of its
side faces are parallel to the inside of the sliding table channel.
ST01.2 Sliding table sliding into
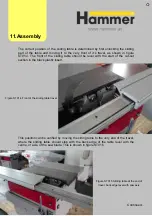
Carefully push the sliding table over all of the screwheads, being careful not to catch
your fingers in the process! Figure ST01.3
Figure ST01.3 Sliding the table all the way along
place over the screw heads
Continued…
11.Assembly
Summary of Contents for Hammer
Page 1: ...Machine Setup Guide InstallVersion1 09...
Page 5: ...15 Completion You re Good To Go 16 FAQ s 17 Links Contact Details Contents 3...
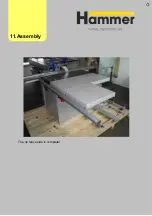
Page 32: ...The rip fence side is complete 11 Assembly...
Page 74: ...Figure SS03 2 End position 2 Adjustments Alignme nt Link SS03 continued...
Page 79: ...Figure SS07 3 Crosscut stop and block adjustment Adjustments Alignme nt Link SS07 continued...


