DXP DVI, DXP DVI Pro, and DXP HDMI Series • Matrix Software
74
2.
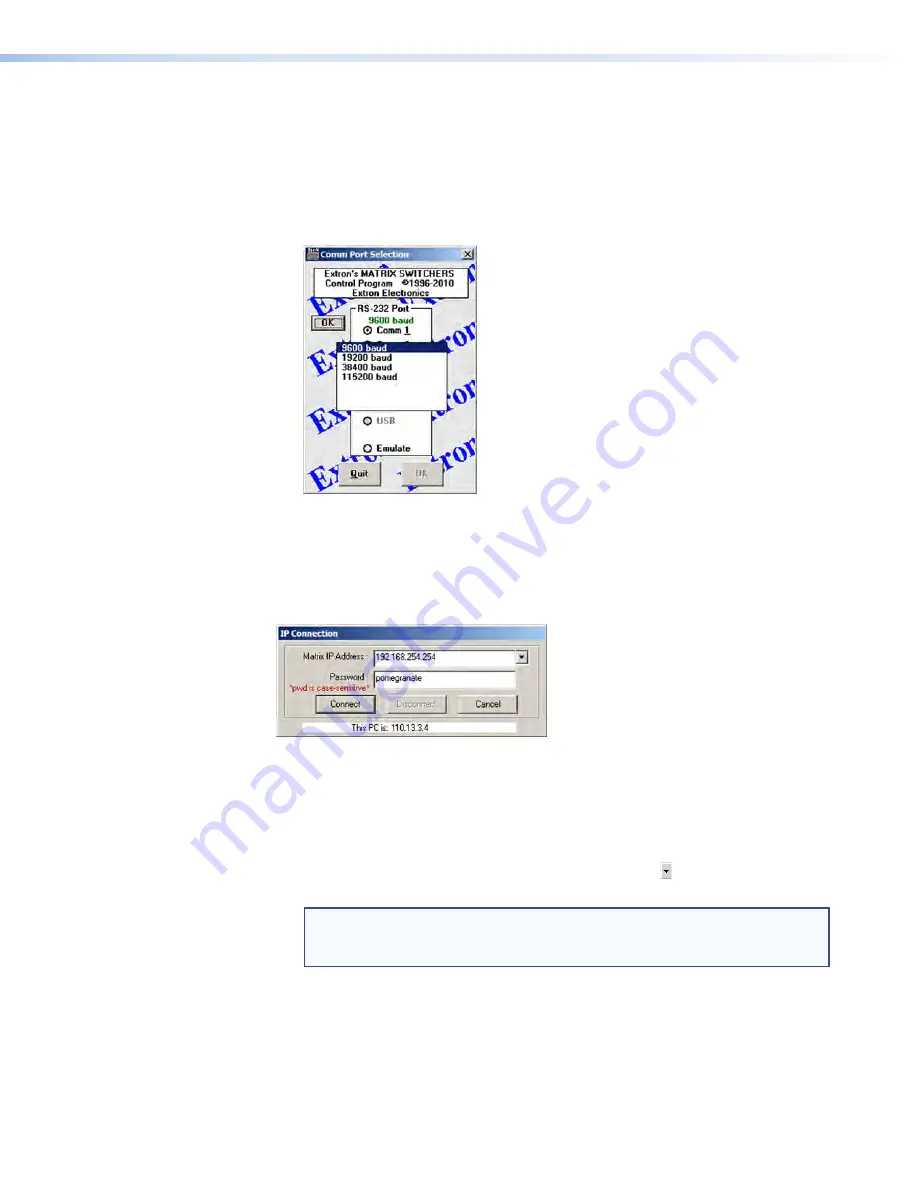
Choose the communication port through which the DXP is connected to the
computer:
•
If you selected a Comm port
, check the baud rate displayed in the Comm Port
Selection window. To change the baud rate, click the
Baud
button to display the
baud rate pop-up list. (After you click it, this button changes to
OK
.) Double-click
on the desired baud rate (available rates are 9600, 19200, 38400, and 115200;
the default is 9600), then click
OK
and proceed to step
4
.
Figure 72.
Baud Rate Pop-up List
•
If you selected
IP
[LAN]
, click
OK
and proceed to step
3
.
•
If you selected
Emulate
, click
OK
and see “
Using Emulation Mode
” on
page
99
.
3.
If you selected
IP
[LAN]
in step 2
, the IP
Connection window opens.
Figure 73.
Address and Password Entry for IP Connection
a.
Check the
Extron
IP
Address
field in the IP Connection window. The field
displays the last IP address entered.
If the IP address is correct
: Proceed to step
3b
.
If the address is not correct:
Either click in the
Extron
IP
Address
field and
enter the IP address or click on the scroll down button ( ) and select from among
the recently used addresses.
NOTE:
If your local system administrators have not changed the value, the
factory-specified default address,
192.168.254.254
, is the correct
value for this field.
b.
If the DXP is password protected, click in the
Password
field and enter the
appropriate administrator or user password.


