51
4.3 Test Parameters
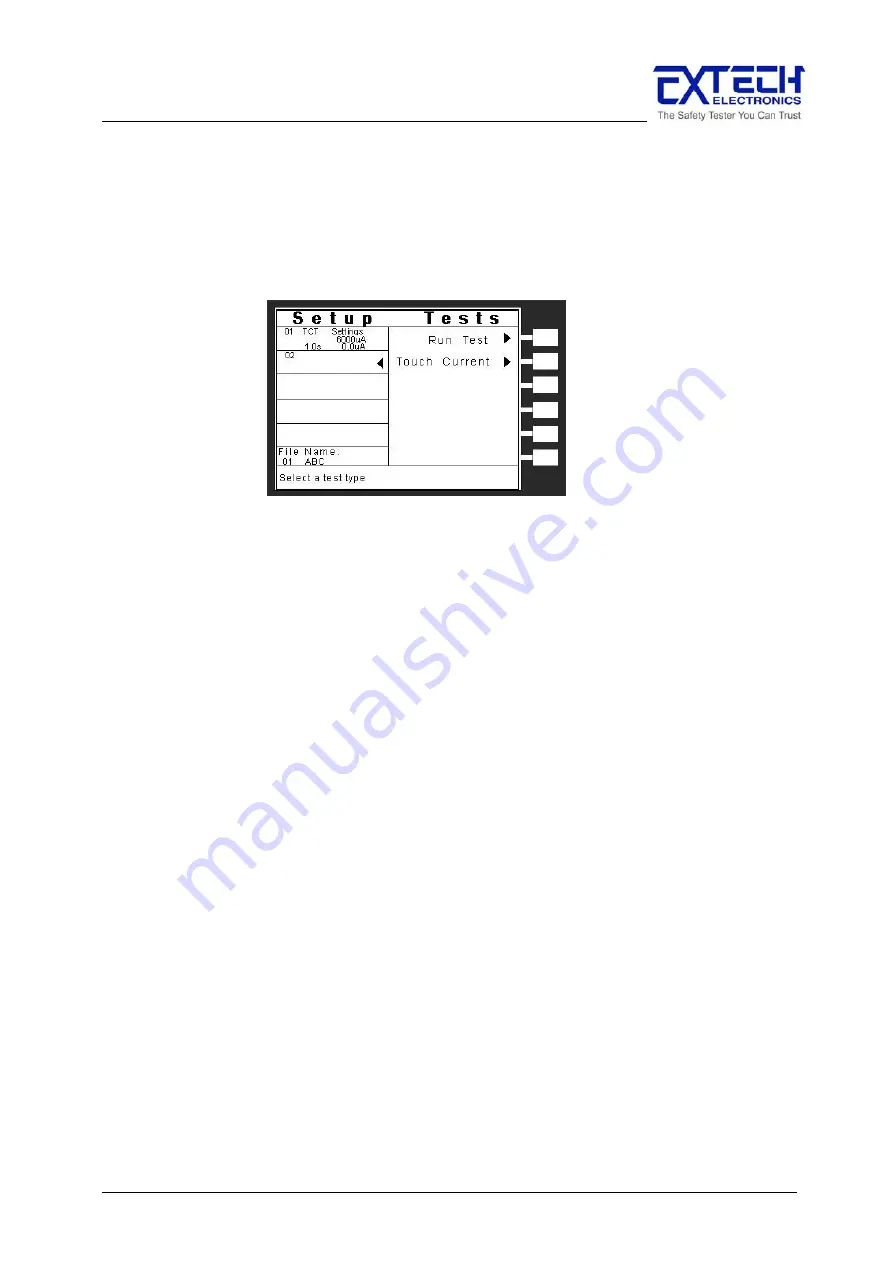
From the Setup Tests screen, press the “Add” soft key. The Setup Test, Tests Selection
screen will now be displayed. From this screen, you may choose what type of test to perform,
Touch Current, or RUN Test. If you have OPT.754, you will also have the Run Test selection.
The Setup Test, Tests Selection screen will appear as follows:
Test Parameter Notes
Once you begin typing a new number, the parameter will blank and the cursor will begin
blinking. This indicates that the parameter is being edited. Once a parameter is edited, it is
necessary to complete the edit either by pressing the ENTER key to accept the new number or
the EXIT key to escape from the edit and return to the original number. The one exception to
this rule is the scanner parameter. The scanner parameter will not blank when being edited.
When the ENTER key is pressed to accept a parameter change the highlighted area of the
display will automatically move to the next parameter.
The lower left corner of the Test parameter-setting screen displays the “Range” of the
parameter that is highlighted. Use this as a guide when setting your parameters. All softkey
functions in the parameter menus toggle between two conditions and no data entry is required
i.e. The frequency softkey toggles between 50Hz and 60Hz.
Pressing the “Default” soft key will set all of the test parameters to the preset default
parameters. Once the default soft key is pressed, it is necessary to complete the edit either by
pressing the ENTER key to accept the parameter overwrite or the EXIT key to escape from the
edit and return to the original values. Refer to section 4.4 for the preset default parameters.
When multiple screens of steps are programmed into a file, you may use the left and right
arrow keys to scroll through pages of screens.


