Installing the Hardware
1.
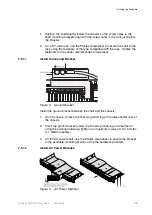
Position the shelf directly below the chassis so the screw holes in the
shelf mounting brackets align with the screw holes in the rack just below
the chassis.
2.
On a 19" wide rack, use the Phillips screwdriver to secure the shelf to the
rack using the fasteners of the type compatible with the rack. Tighten the
fasteners to the vendor recommended torque level.
2.5.1.1
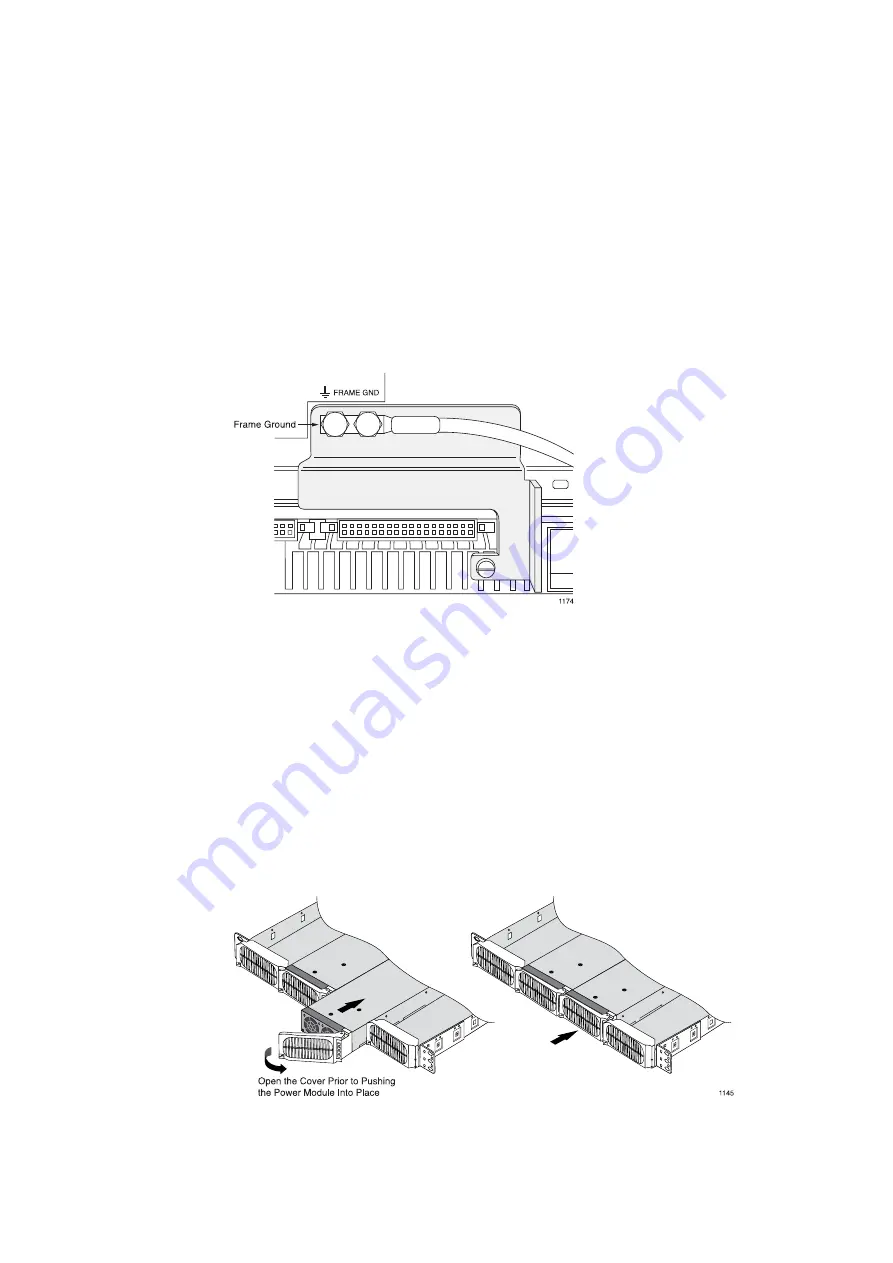
Install the Ground Bracket
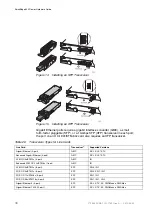
Figure 8
Ground Bracket
Install the ground bracket between the shelf and the chassis:
1.
On the chassis, remove the chassis ground lug at the lower-center rear of
the chassis.
2.
Stack the ground bracket under the chassis ground lug and reattach it
using the existing hardware; tighten to a maximum torque of 15.0 inch-lbs
(1.7 Newton-meters).
3.
On the AC power shelf, use the Phillips screwdriver to secure the bracket
to the available mounting position using the hardware provided.
2.5.1.2
Install AC Power Modules
Figure 9
AC Power Modules
29
27/153 30-CRA 119 1170/1 Uen A
|
2010-04-09
Summary of Contents for SmartEdge 600
Page 1: ...SmartEdge 600 Router Hardware Guide Release 6 3 INSTALLATION 27 153 30 CRA 119 1170 1 Uen A ...
Page 6: ...SmartEdge 600 Router Hardware Guide 27 153 30 CRA 119 1170 1 Uen A 2010 04 09 ...
Page 26: ...SmartEdge 600 Router Hardware Guide 20 27 153 30 CRA 119 1170 1 Uen A 2010 04 09 ...
Page 108: ...SmartEdge 600 Router Hardware Guide 102 27 153 30 CRA 119 1170 1 Uen A 2010 04 09 ...
Page 112: ...SmartEdge 600 Router Hardware Guide 106 27 153 30 CRA 119 1170 1 Uen A 2010 04 09 ...

