Load your documents (up to 75 pages) into the input tray with the printed side facing
down and the top edge facing into the feeder. See
Loading Documents Directly
for
instructions.
Start Epson Scan. See
Starting a Scan Using Epson Scan
for instructions.
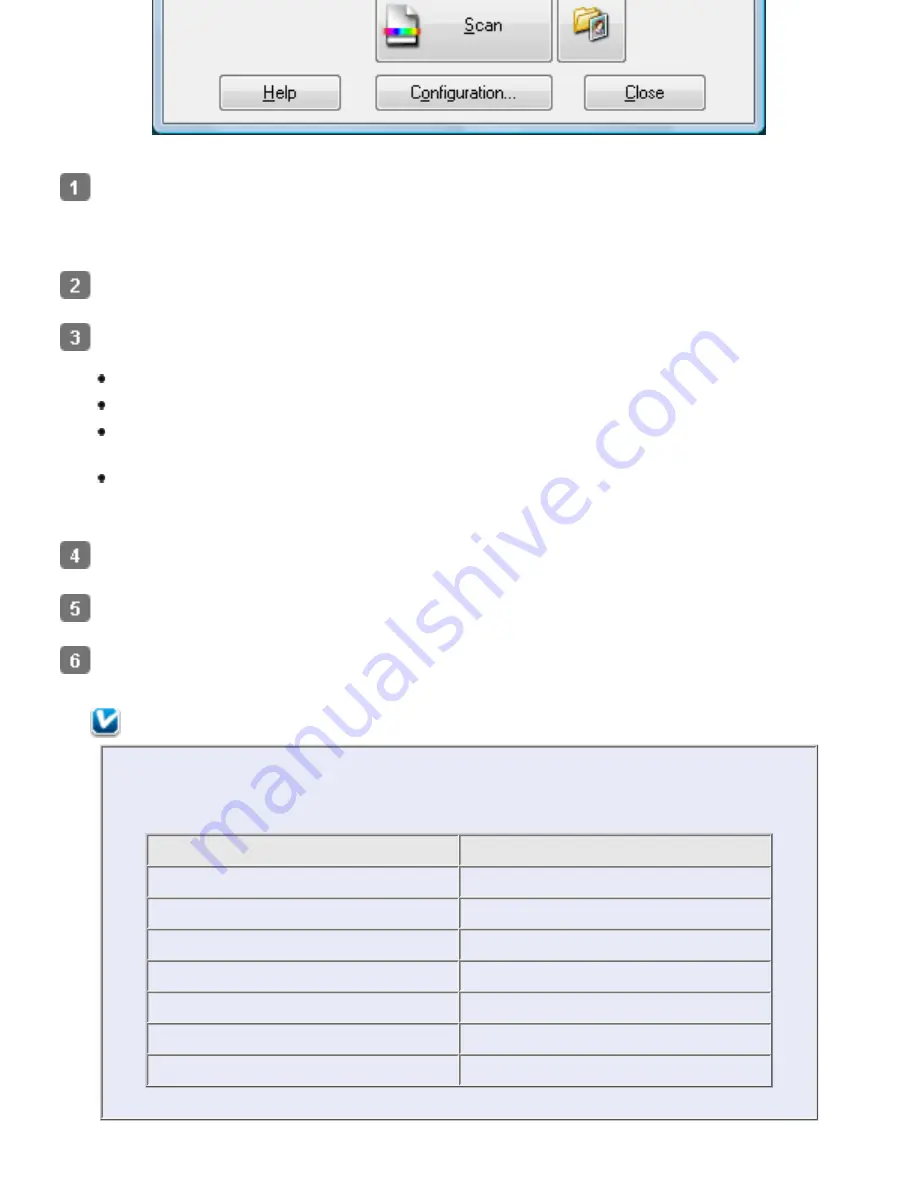
Select one of these settings as the Document Source setting.
Single-Sided
: Select this setting to scan only one side of your document page.
Double-Sided
: Select this setting to scan both sides of your document page.
Carrier Sheet (Single-Sided)
: Select this setting to scan irregularly shaped
documents or documents with folds or wrinkles using the carrier sheet.
Carrier Sheet (Stitch Images)
: Select this setting to scan documents larger than
letter- or A4-size using the carrier sheet. Epson Scan scans both sides of the
document, then outputs a stitched image.
Select the size of your original document as the Size setting.
Select
Portrait
(tall) or
Landscape
(wide) to change the orientation of your document.
Select
Auto
,
Color
,
Grayscale
, or
Black & White
as the Image Type setting.
Note:
If you select
Grayscale
or
Black & White
, you can also select an
Image Option
setting, as described below.
Image Option Setting
Description
None
No Image Option setting is applied.
Dropout: Red
Drops out red from the scan.
Dropout: Green
Drops out green from the scan.
Dropout: Blue
Drops out blue from the scan.
Color Enhance: Red
Enhances red in the scan.
Color Enhance: Green
Enhances green in the scan.
Color Enhance: Blue
Enhances blue in the scan.
Summary of Contents for Pro GT-S80
Page 21: ...b separation pad Top ...
Page 32: ...Caution Do not load business cards or plastic cards in landscape orientation ...
Page 45: ...Click OK ...
Page 60: ...Click Close to exit Epson Scan Top ...
Page 86: ...Press the hook on the separation pad then remove the installed separation pad ...
Page 88: ...Slide and remove the installed paper feed roller Caution ...
Page 90: ...Click OK ...
Page 96: ...Remove the jammed paper Note ...


