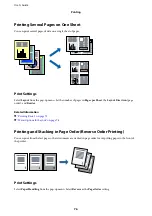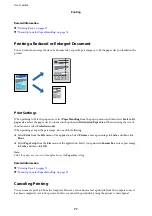
Print Settings
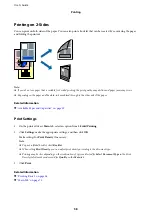
On the printer driver's
Main
tab, select
Job Arranger Lite
. When you start printing, the Job Arranger Lite window
is displayed. With the Job Arranger Lite window opened, open the file that you want to combine with the current
file, and then repeat the above steps.
When you select a print job added to Print Project in the Job Arranger Lite window, you can edit the page layout.
Click
from the
File
menu to start printing.
Note:
If you close the Job Arranger Lite window before adding all the print data to the Print Project, the print job you are currently
working on is canceled. Click
Save
from the
File
menu to save the current job. The extension of the saved files is "ecl".
To open a Print Project, click
Job Arranger Lite
on the printer driver's
Maintenance
tab to open the Job Arranger Lite
window. Next, select
Open
from the
File
menu to select the file.
Related Information
&
&
Adjusting the Print Tone
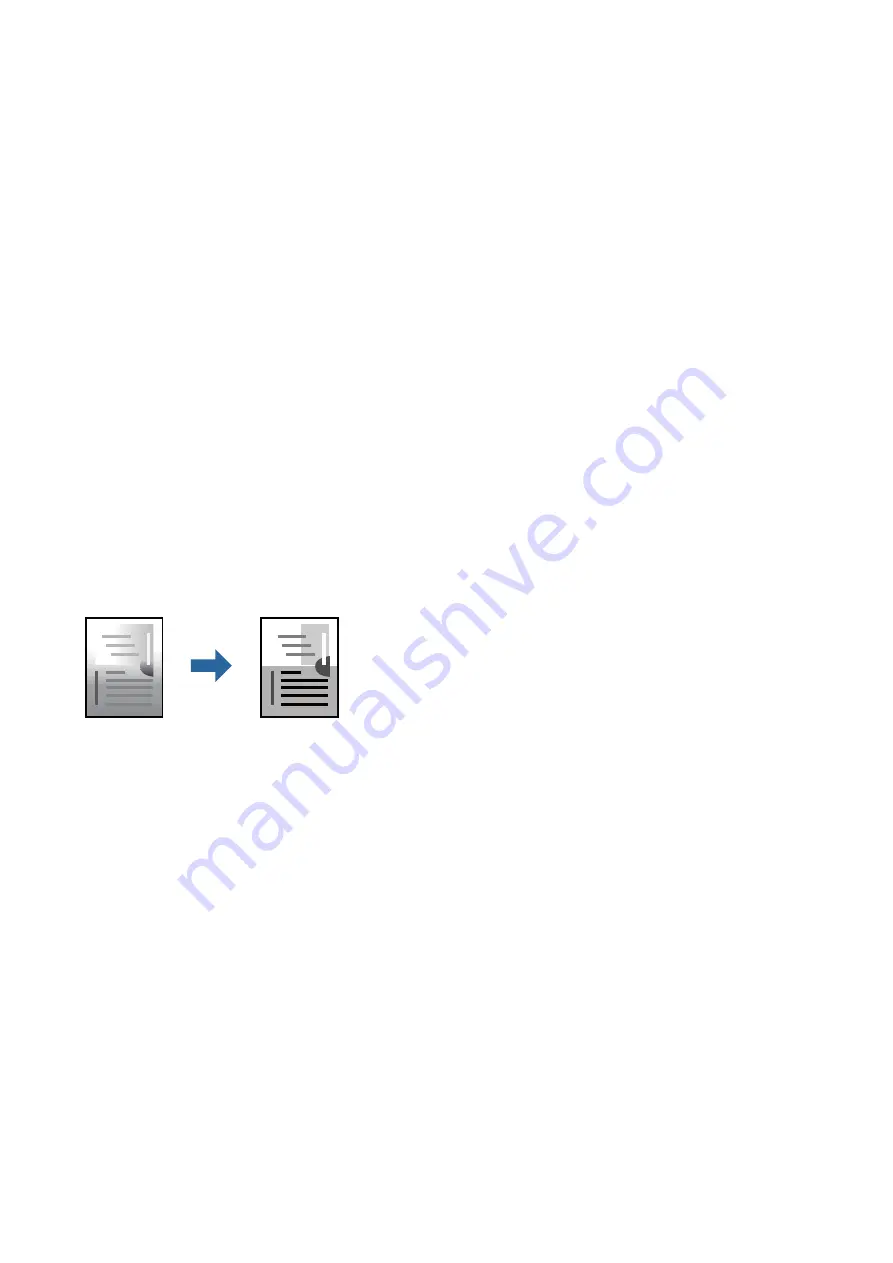
You can adjust the tone used in the print job. These adjustments are not applied to the original data.
Print Settings
On the printer driver's
More Options
tab, select
Custom
as the
Tone Correction
setting. Click
Advanced
to open
the
Tone Correction
window, and then select the method of tone correction.
Note:
❏
Automatic
is selected as default on the
More Options
tab. This setting automatically adjusts the tone to match the paper
type and print quality settings.
Related Information
&
&
User's Guide
Printing
68


