•
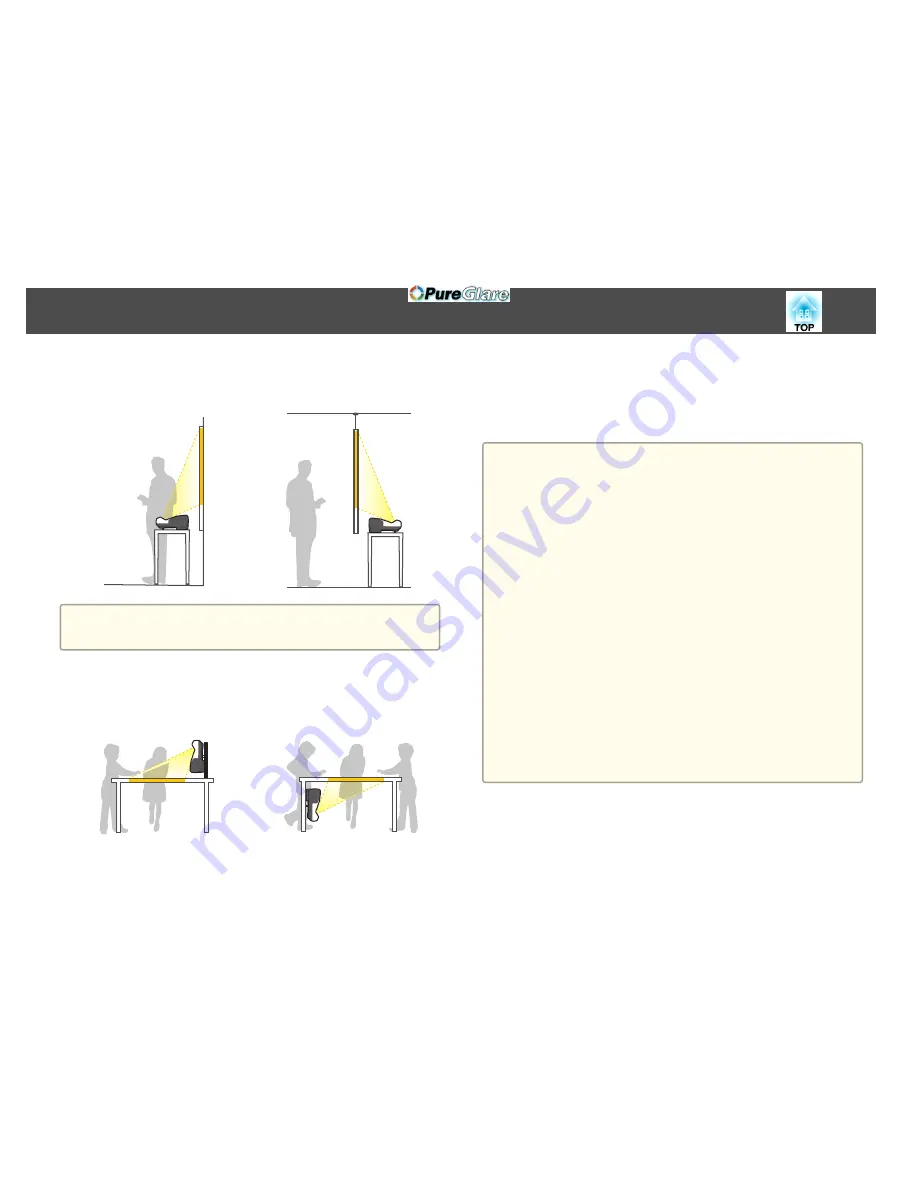
Project images from in front of
the screen. (Front projection)
•
Project images from behind a
translucent screen. (Rear projec‐
tion)
a
Attach the feet when using the projector on a surface such as a desk.
s
"Attaching the Feet (only Models with Feet Supplied)"
p.15
•
Place the projector vertically and
project images from in front of
the screen. (Front/Upside Down
projection)
•
Place the projector vertically and
project images from behind the
screen (Rear/Upside Down pro‐
jection)
When Using the Interactive Features (EB-595Wi/EB-585Wi/
EB-575Wi only)
Project from in front of the screen when using the interactive features. Set
Projection to
Front/Upside Down
or
Front
.
Attention
The interactive features operates by infrared communication. Note the
following points when installing the projector.
•
Make sure there is no strong light or sunlight shining on the Easy Interactive
Function receiver, the projection screen, the projector itself, or the rear of the
projector.
•
Do not install the projector in direct sunlight through a window. This could
cause the interactive features to malfunction.
•
Install the projector so that the Easy Interactive Function receiver is not too
close to fluorescent lights. If the surrounding area is too bright, the
interactive features may not operate correctly.
•
If there is any dust stuck to the Easy Interactive Function receiver, it could
interfere with infrared communication and you may not be able to use the
features normally. Clean the receiver if it is dirty.
s
"Cleaning"
p.171
•
Do not put paint or any stickers on the cover of the Easy Interactive
Function receiver.
•
When using the interactive features, do not use an infrared remote control or
microphone in the same room. The interactive pen could malfunction.
•
Do not use devices that generate powerful noise, such as rotary devices or
transformers, near the projector. You may not be able to operate the
interactive features.
Installing the Projector
27
http://www.pureglare.com.au
Summary of Contents for EB-570
Page 1: ...User s Guide http www pureglare com au ...
Page 10: ...s Optional Accessories p 184 Projector Features 10 http www pureglare com au ...
Page 44: ...Basic Usage This chapter explains how to project and adjust images http www pureglare com au ...
Page 183: ...Appendix http www pureglare com au ...
Page 196: ...Units mm Appearance 196 http www pureglare com au ...
Page 197: ...Without feet With feet Units mm Appearance 197 http www pureglare com au ...


