


89
EN
7.4 Record Mode
7.4.1 Manual Recording
Method One: Click
on the tool bar at the bottom of the live preview interface to enable recording of the camera.
Method Two
: Go to live preview interface and then click the right-click menu “Manually Record On” in the camera window or click
on the tool bar under
the camera window to start recording.
Note:
Click Start
Settings
Record
Mode Settings and then set the manual record time in the interface. Click “Apply” to save the settings.
7.4.2 Timing Recording
Timing Recording
: the system will record automatically according to the schedule. Set the timing record schedule of each camera. See 7.3 Schedule Setting
for details.
7.4.3 Motion Based Recording
Motion Based Recording
: the system will start motion based recording when the motion object appears in the setup schedule. The setup steps are as
follows:
1 Set the motion based recording schedule of each camera. See 7.3 Schedule Setting for details.
2 Enable the motion and set the motion area of each camera. See 9.2.1 Motion Configuration for details.
The camera will start motion based recording once you finish the above settings.
7.4.4 Sensor Based Recording
1 Set the sensor based recording schedule of each camera. See 7.3 Schedule Setting for details.
2 Set the NO/NC type of the sensor, enable the sensor alarm and then check and configure
the “Record”. See 9.1 Sensor Alarm for details.
7.5 Disk Management
Click Start
Settings
Disk
Disk Management to go to disk management interface. You can view the NVR’s disk number and disk status and so on in the
interface. Click “Formatting” button to format the HDD.
Note
:
1. The new HDD should be formatted for normal use.
2. For normal use of the HDD which has been used in other NVR, if the NVR is of the same model with the new NVR, please import the configuration file of
the NVR to the new NVR or format the HDD; if the models of the two NVRs are different, please format the HDD.
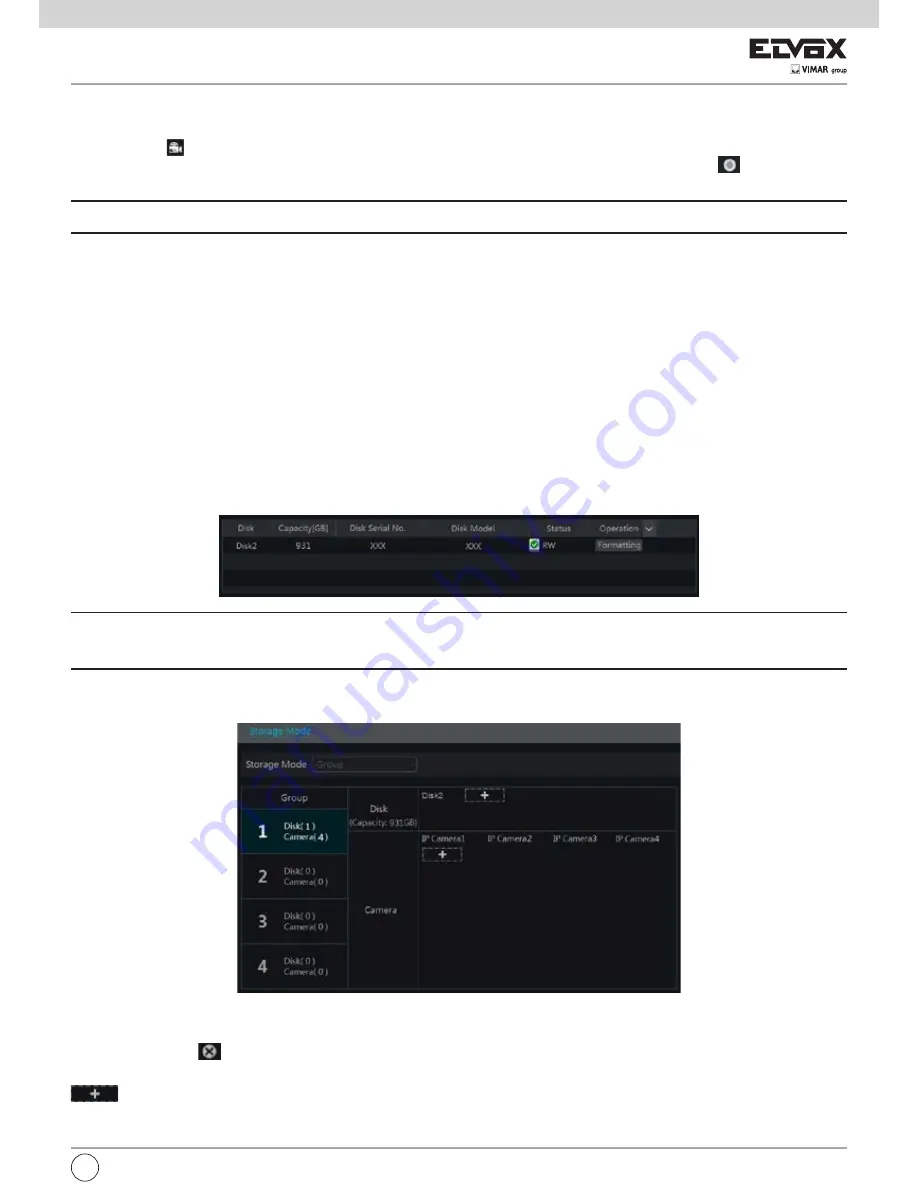
7.5.1 Storage Mode Configuration
Click Start
Settings
Disk
Storage Mode to go to the interface as shown below.
There are all four disk groups. By using disk group, you can correspond the camera to disk (the record data of the camera in the group will be stored into the
disks in the same group).
The added disks and cameras will be added into group one automatically. The disks and cameras in the groups can be deleted except group one (select a
disk group and then click
on the top right corner of the added disk or camera to delete it from the group). The deleted disks and cameras will be moved into group one automatically.
Each group can add the disks and cameras from other groups. Each disk and camera can only be added into one group. Select a disk group and then click
in the disk or camera row to pop up a window. Check the disks or cameras in the window and then click “Add”.
Summary of Contents for 46241.F16H
Page 122: ...120 EN ...
Page 123: ...121 EN ...


