


111
EN
3- Open IE browser on a computer, input the NAT server address
http://www.autonat.com/n9000
in the IE address bar and then press enter to go to the
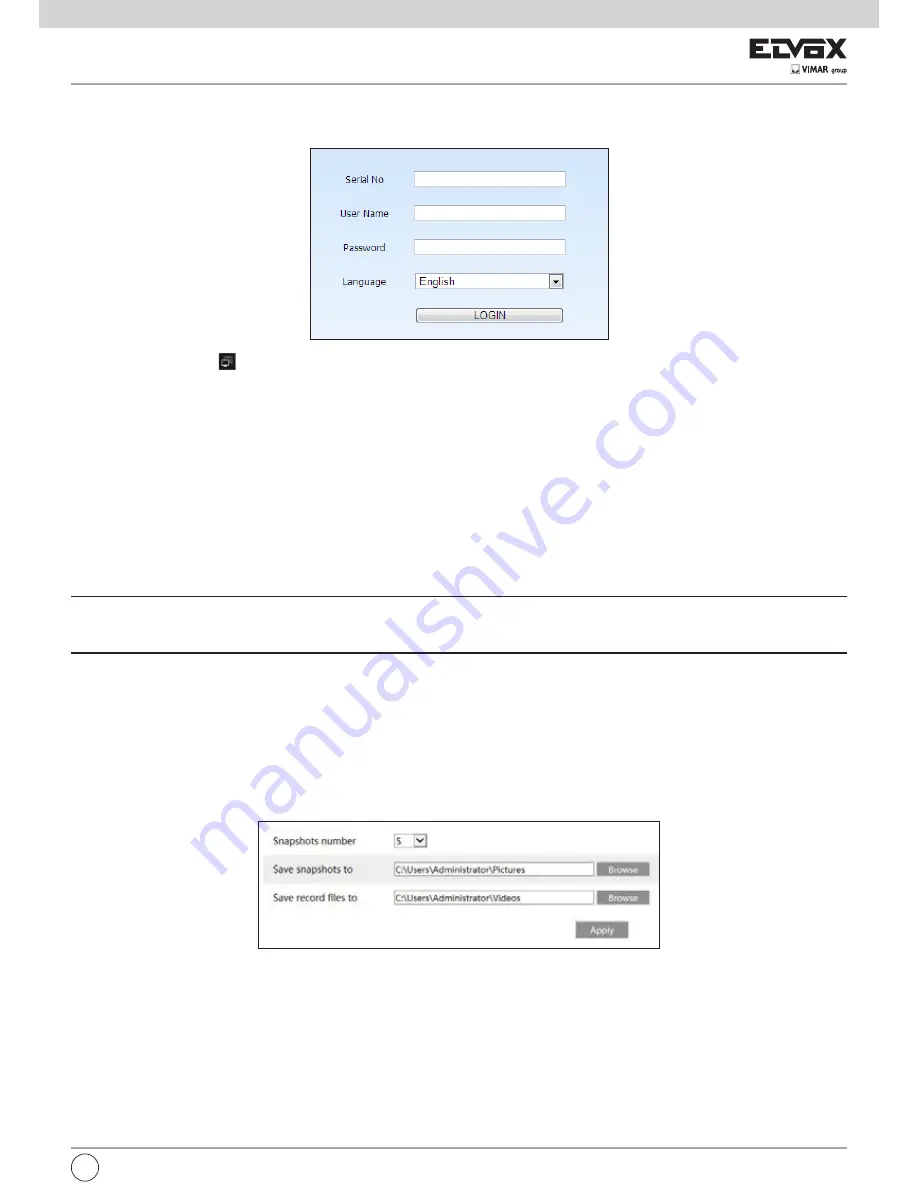
interface as shown below (the relative components will be downloaded automatically if you access the NVR through NAT for the first time; you can refer to
Q8 in Appendix A FAQ for details if the components cannot be downloaded automatically).
Input the serial number (click
on the tool bar at the bottom of the live preview interface to see the serial number of the NVR), user name (the user name
of the NVR,
admin
by default) and password (the password of the NVR,
123456
by default) of the NVR, select the display language and then click “LOGIN”
button to go the web client interface.
• PPPoE Access
1- Click Start
Settings
Network
TCP/IPv4 to go to the “TCP/IPv4” interface. Check “Enable” in the “PPPoE settings” and then input the username and
password you get from your ISP. Click “Apply” to save the settings.
2- Click Start
Settings
Network
Network Status to view the IP address of the NVR.
3- Open IE browser on a computer, input the IP address of the NVR like http://210.21.229.138 in the IE address bar and then press enter to go to the login
interface. Input the username and password of the NVR in the interface and then click “Login” to go to the live preview interface.
• Router Access
1- Click Start
Settings
Network
TCP/IPv4 to go to the “TCP/IPv4” interface. Set the IP address, subnet mask, gateway, preferred DNS and alternate
DNS of the NVR.
2- Set the HTTP port (it is suggested to modify the HTTP port because the default HTTP port 80 might be taken up) and enable UPnP function in both the
NVR and the router. If the UPnP function is not available in the router, you need to forward the LAN IP address, HTTP port and server port of the NVR to the
router. Port mapping settings may be different in different routers, so please refer to the user manual of the router for details.
3- Get the WAN IP address of the NVR from the router. Open IE browser on a computer, input the WAN IP address plus HTTP port like http://116.30.18.215:100
in the IE address bar and then press enter to go to the login interface. Input the username and password of the NVR in the interface and then click “Login” to
go to the live preview interface.
Note:
If the WAN IP address is a dynamic IP address, it is necessary for you to use the domain name to access the NVR. Click Start
Settings
Network
DDNS
to set DDNS (see 11.1.3 DDNS Configuration for details). By using DDNS function you can use the domain name plus HTTP port like http://mynvr.dvrdydns.
com:100 to access the NVR via internet.
12.4 Web Remote Control
The supported browsers of the remote surveillance are IE8/9/10/11, Firefox, Opera and Chrome (available only for the versions lower than 45) in Windows
system and Safari in MAC system. When you access the NVR through IE for the first time, you need to download and install the relative components for
normal preview and playback. Please refer to the tips in the remote interfaces for details. The buttons and icons on the top right corner of the remote interface
are introduced as follows.
admin:
the current login username.
Logout:
click it to log out and return to the login interface.
Modify Password:
click it to change the password of the current login user. Input current password and then set a new password in the popup window.
Click “OK” button to save the new password.
Local Settings:
click it to change the local settings. Set the snapshot number and click “Browse” to set the snapshot path and record path as shown below.
Click “Apply” button to save the settings.
12.4.1 Remote Preview
Click “Live Display” in the remote interface to go to the preview interface. The preview interface consists of the four areas marked in the following picture.
Summary of Contents for 46241.F16H
Page 122: ...120 EN ...
Page 123: ...121 EN ...


