Creating Your Own Label
11
To change the font for the address:
1.
Click the recipient address object.
The
Address Settings
dialog box is displayed.
2.
Click the
Font
button and select
All Lines
from the drop-
down menu.
The
Font
dialog box is displayed.
3.
If
Arial
is not selected, select
Arial
from the
Font
list and
Bold
from the
Font Style
list.
4.
Click
OK
to close the
Font
dialog box.
5.
Click
OK
to close the
Address
Settings
dialog box.
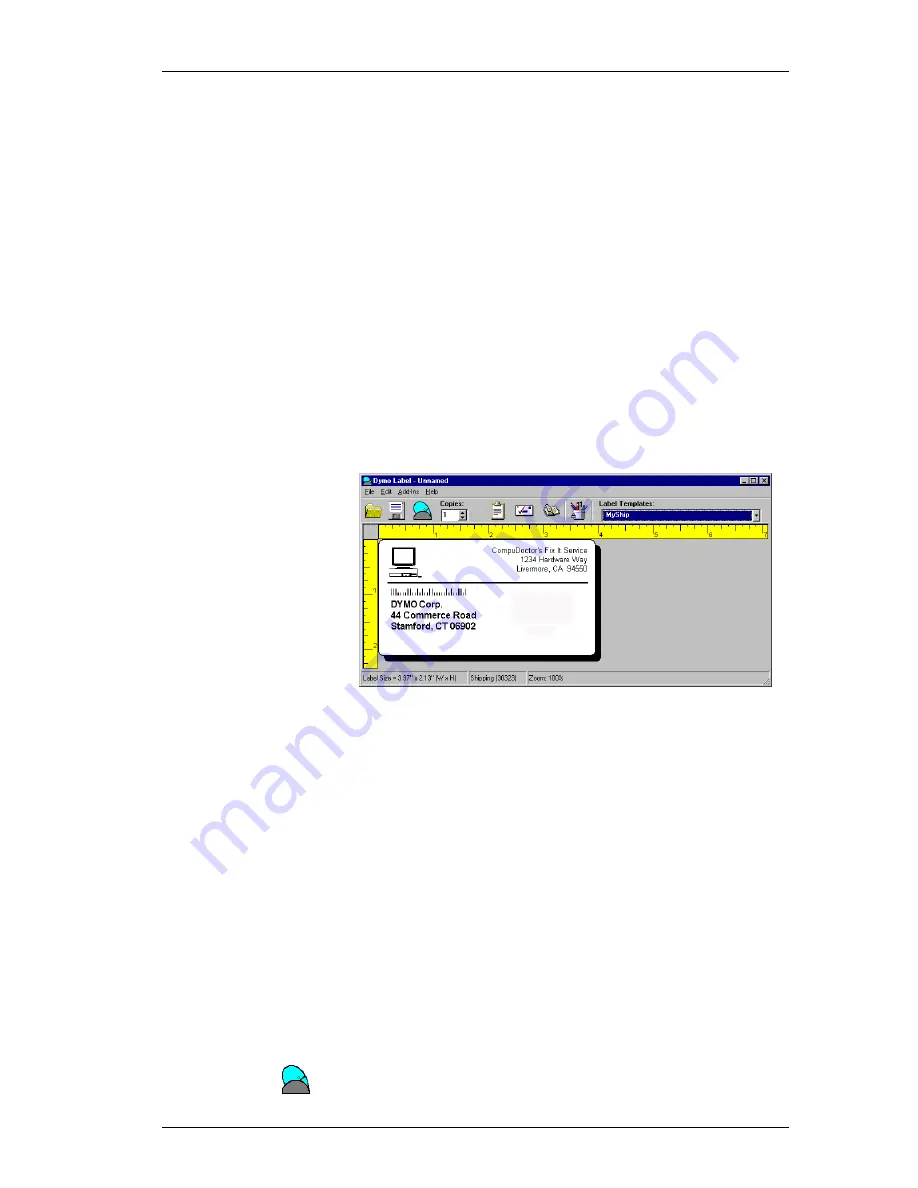
The address is now formatted with Arial Bold type on the
label. Also, a POSTNET bar code encoding the address
appears above the address.
Printing the
Label
Now that you have customized the label, you are ready to
print.
"
You can only print this shipping label on EL60, Turbo,
330, and 330 Turbo printers. If you have an EL40 or 300
printer, skip this section.
Before you print the label, make sure:
!
The LabelWriter printer is connected to your computer
and turned on.
!
You have properly loaded shipping labels in the printer.
If necessary, see the Quick Start Card for information on
how to set up your printer.
To print the label:
!
Click the
button on the Main toolbar.
Summary of Contents for LabelWriter 300
Page 54: ...Chapter 6 Using LabelWriter with Other Applications 50 ...
Page 68: ...Index 64 ...


