Page 82
Installation Instructions
Chapter 4
2. On the
Point Dish and Signal Strength
menu, use the Up/Down/
Left/Right arrow buttons to move the highlight to the
Satellite
field
and choose the satellite at which you would like to aim, for
example
61.5
.
3. Enter your zip code in the
ZIP
Code
field.
4. The receiver displays the azimuth and elevation angles on the menu.
Write down these numbers as you will use them later in this procedure.
Azimuth:__________ Elevation:__________
5. Using these azimuth, and elevation angles, find a location for the
satellite dish. Then, use the elevation angle to find out how high the
satellite is in the sky from your location. Make sure nothing blocks the
line of sight to the satellites.
6. Mount the satellite dish following the instructions that came with it.
Connect the RG-6 cable directly from the LNBF to the
Satellite In
port on the receiver’s back panel. Make sure there are no multi-dish
switches between the LNBF and the receiver.
7. When the dish is mounted, you should still be on the
Point
Dish/Signal
menu. If not, open the
Main Menu
and press 6-1-1 on
the remote.
8. Look at the
Signal Strength
bar. Turn the dish back and forth very
slowly
,
until the signal strength bar turns green.This shows that you
have found the signal.
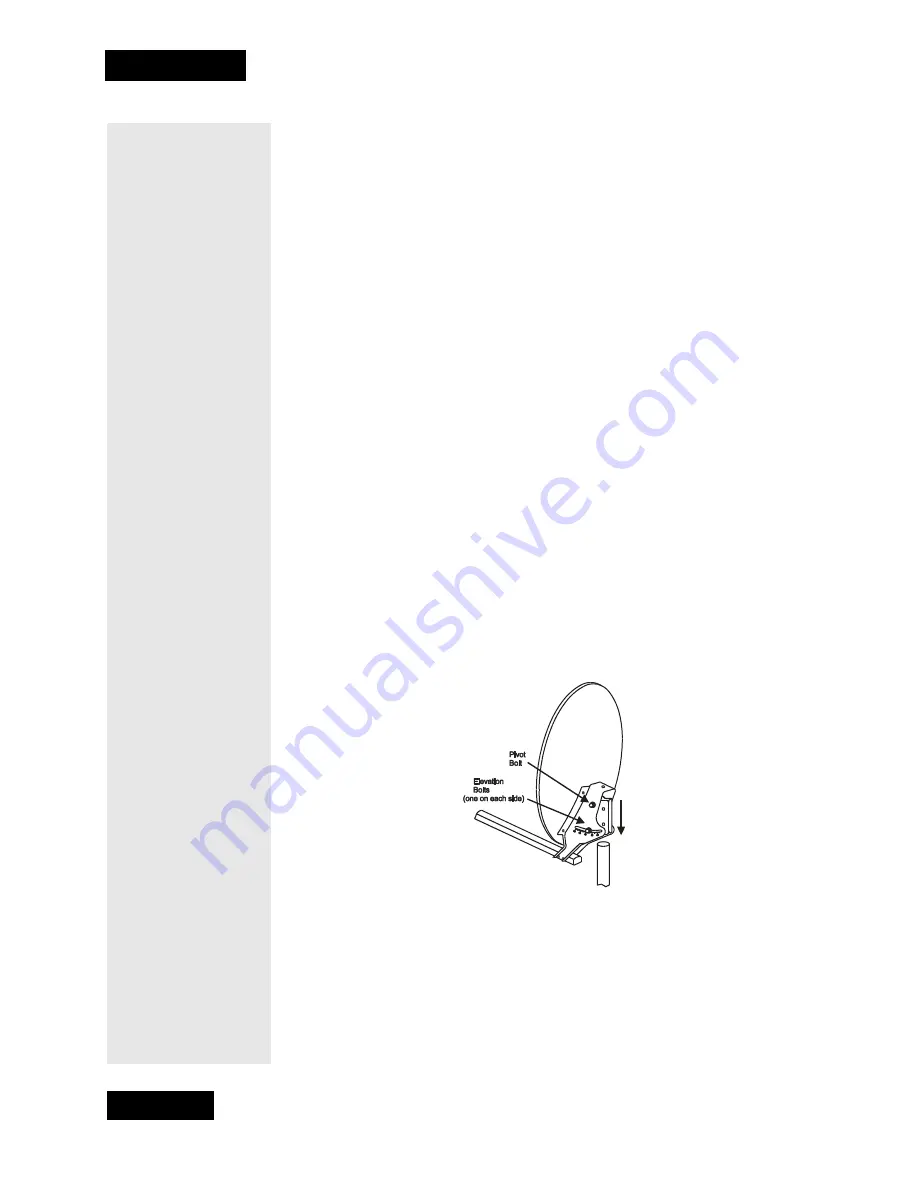
Note: If you cannot find the signal, turn the dish back to the original azimuth
setting. Then, loosen both elevation bolts just enough to be able to tilt the
dish.
Tilt the dish up by two degrees, and then tighten both bolts. Now, try turning
the dish back and forth again. Repeat these steps, raising and lowering the
elevation, until you find the satellite signal.
9. Once you have a signal, turn the dish assembly back and forth very
slightly until the signal strength bar displays the strongest possible
signal strength. Tighten the mast clamp bolts. Then, loosen the
elevation bolts and adjust the elevation of the dish up and down
slightly until the signal strength bar displays a strong signal. Tighten
Summary of Contents for DishPro
Page 1: ......
Page 18: ...Page 16 Chapter 2 The Parts of the System Notes...
Page 96: ...Page 94 Installation Instructions Chapter 4 Notes...
Page 129: ...Page 127...
Page 130: ...Page 128 Appendix B Notes...
Page 137: ...Page 135 Index Notes...
Page 138: ...Index Page 136 Notes...


