Getting Started
−
RAID Array 310 for Windows NT
−
Intel
3
−
6
EK
−
SMRAA
−
IG. A01
3.6
Creating an Initial Configuration
The following steps describe creating an initial configuration for your subsystem.
NOTES
If you have not already done so, you may wish to take this oppor-
tunity now to plan how you are going to configure your system us-
ing disks (JBODs), Stripesets, Mirrorsets, RAIDsets, or combina-
tions. This will allow you to better make use of the examples given.
For background information relative to the above terms, refer to
the
StorageWorks RAID Array 310 Configuration and Maintenance
Guide (EK
−
SMCS2
−
UG. A01).
The procedures described in this section are summary in nature.
For more information, refer to the manual,
RAID Manager for Al-
pha/Intel User’s Guide (AA-QU63A-TE).
3.6.1
Displaying Physical/Logical View of System
The RAID Manager allows you to view your configuration in either a physical view or a
logical view. The examples shown use the physical view. Select physical view by performing
the following steps:
1. Activate the RAID Manager by clicking on the
RAID Manager
icon (typically accessed
from the Windows NT Program Manager).
The screen momentarily displays the message: Please Wait. Scanning Your System. The
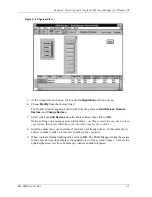
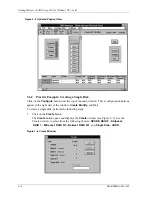
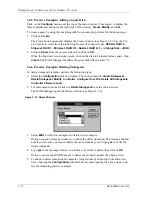
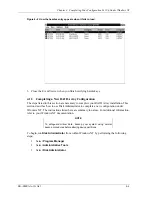
RAID Manager main window appears, similar to the window shown in Figure 3–1.
2. Click on the
Settings
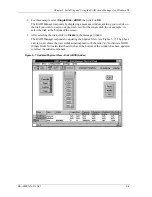
pull-down menu. From the Settings pull-down menu choices,
choose
Physical View Preferred
(for our examples).
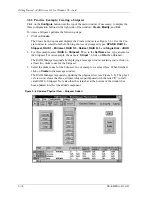
3. Return to the main window and again click on the Settings pull-down menu. Choose
Select Physical View, HSZ20, so that the RAID Manager displays the correct enclosure
type in the physical view.
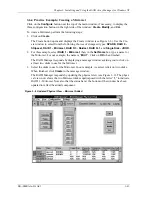
4. Click on the
Show
Detail button to cause the physical view to be displayed.
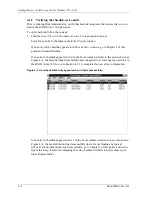
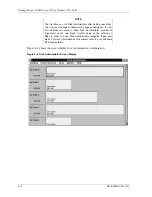
In the example shown, Figure 3
−
4, the RAID Manager does not display any disks, al-
though disks may already exist in your enclosure. The RAID Manager displays disks
only after you add them through the RAID Manager.

