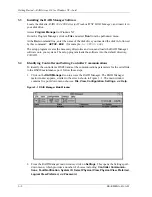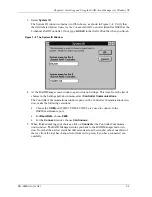
Getting Started
−
RAID Array 310 for Windows NT
−
Intel
3
−
4
EK
−
SMRAA
−
IG. A01
3.5
Setting the Controller Configuration
At the RAID Manager main window, click on the
Configuration
pull-down menu. The
Configuration
pull-down menu provides the following choices:
Create Storageset
,
Delete
Storageset
,
Modify
,
Controller
,
Configure from File
,
Delete All Storagesets
,
Controller
Firmware Load
.
Select the choice,
Controller
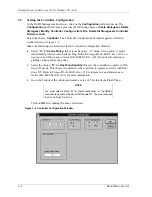
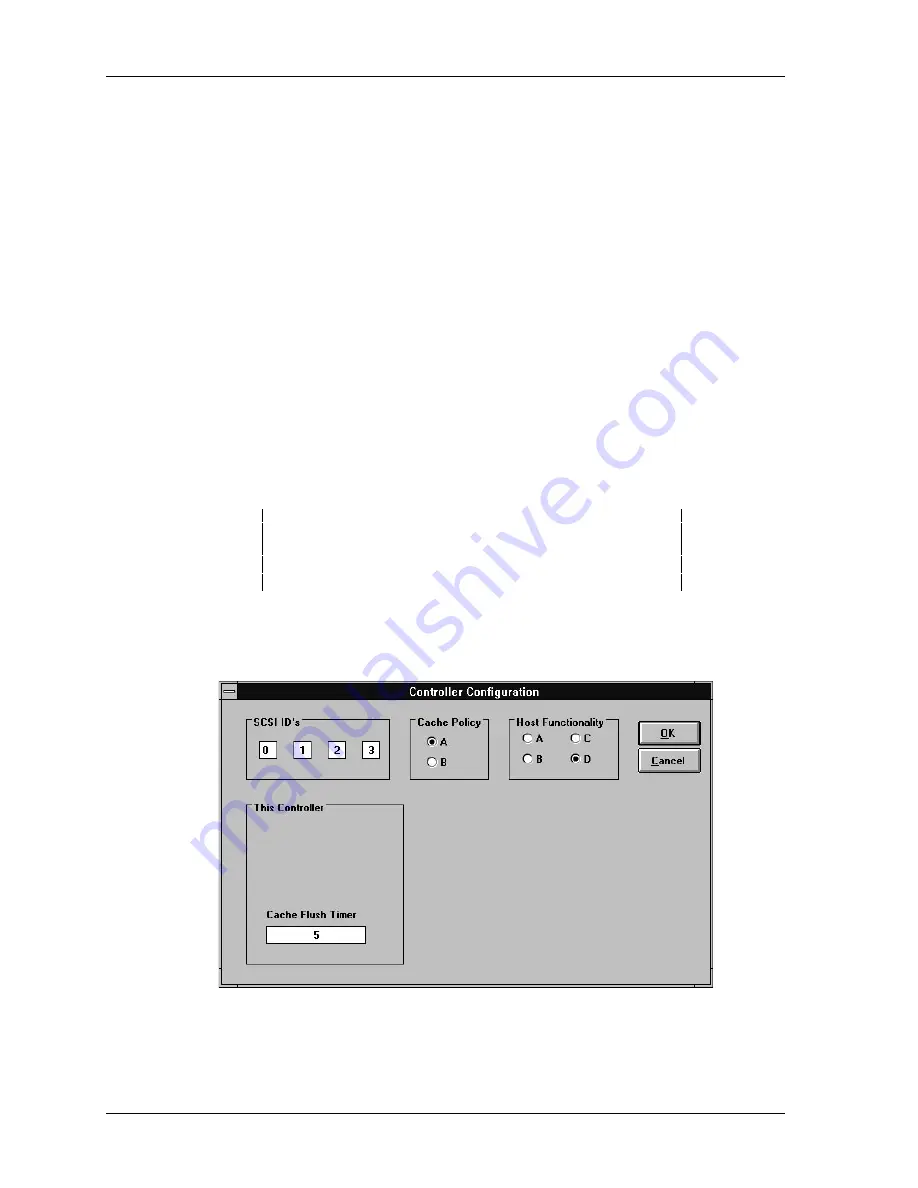
. The Controller Configuration Window appears, similar to
window shown in Figure 3–3.
Make the following two selections in the Controller Configuration Window:
•
•
Select “
A
” for
Cache Policy;
this sets cache policy “A” mode. Cache policy A mode
(the default) provides write-back caching. Refer to StorageWorks RAID Array 310 Con-
figuration and Maintenance Guide (EK
−
SMCS2
−
UG. A01) for more information re-
garding caching and cache policy.
•
Select the choice, “
D
” for
Host Functionality
; this sets the controller to operate in Win-
dows NT mode. This choice is required for the controller to operate correctly with Win-
dows NT. Refer to StorageWorks RAID Array 310 Configuration and Maintenance
Guide (EK
−
SMCS2
−
UG. A01) for more information.
•
Go to the bottom of the window and enter a value of 5 for the Cache Flush Timer.
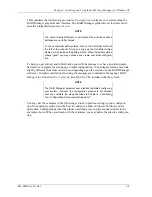
NOTE
You must select choice “D” for Host Functionality for the HSZ20
controller to operate correctly with Windows NT
. You must also set
the Cache Flush Timer to 5.
Click on
OK
after making the above selections.
Figure 3–3 Controller Configuration Window

