Getting Started – RAID Array 310 for Windows NT – Intel
1–6
EK–SMRAA–IG. A01
1.7
Connecting the CLI Serial Interface
NOTE
You need to connect the serial interface no matter how you access
the RAID controller, whether through a terminal, Windows NT
terminal or the RAID Manager software.
Follow the steps below to connect the RAID Array 310 to a serial port on the Intel-based
host computer.
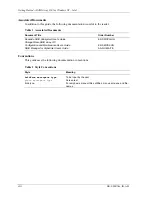
1. Locate the cabling kit that came with the RAID subsystem. The kit should contain the
following components:
Table 1–2 Cabling Kit Components
Qty
Digital Part No.
Description
1
BC16E–10
10-foot Terminal Cable
2
H8571–J
9-pin "J" Female to Cable Connector
2. Use the components listed in Table 1–2 to construct a connecting cable as follows:
attach one 9-pin female connector to an end of the 10-foot terminal cable, attach a second
9-pin female connector to the other end of the cable.
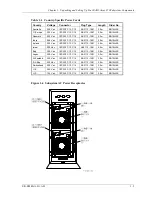
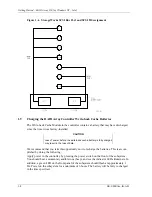
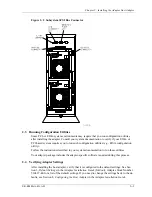
3. Plug one connector into the CLI serial connector on the rear panel of the RAID Array
310 (see Figure 1–5).
4. Plug the other end of the cable into an available 9-pin serial port on your system or ter-
minal emulator. Note which serial port you use, because you will need that information
when using the communications program.

