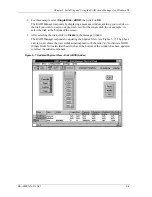
Chapter3: Installing and Using the RAID Array Manager for Windows NT
EK
−
SMRAA
−
IG. A01
3
−
3
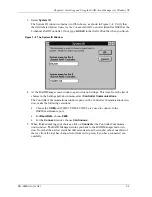
3. Select
System ID
.
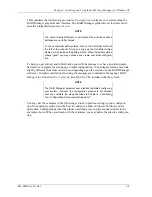
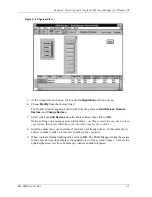
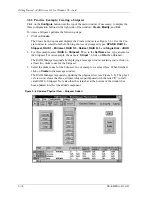
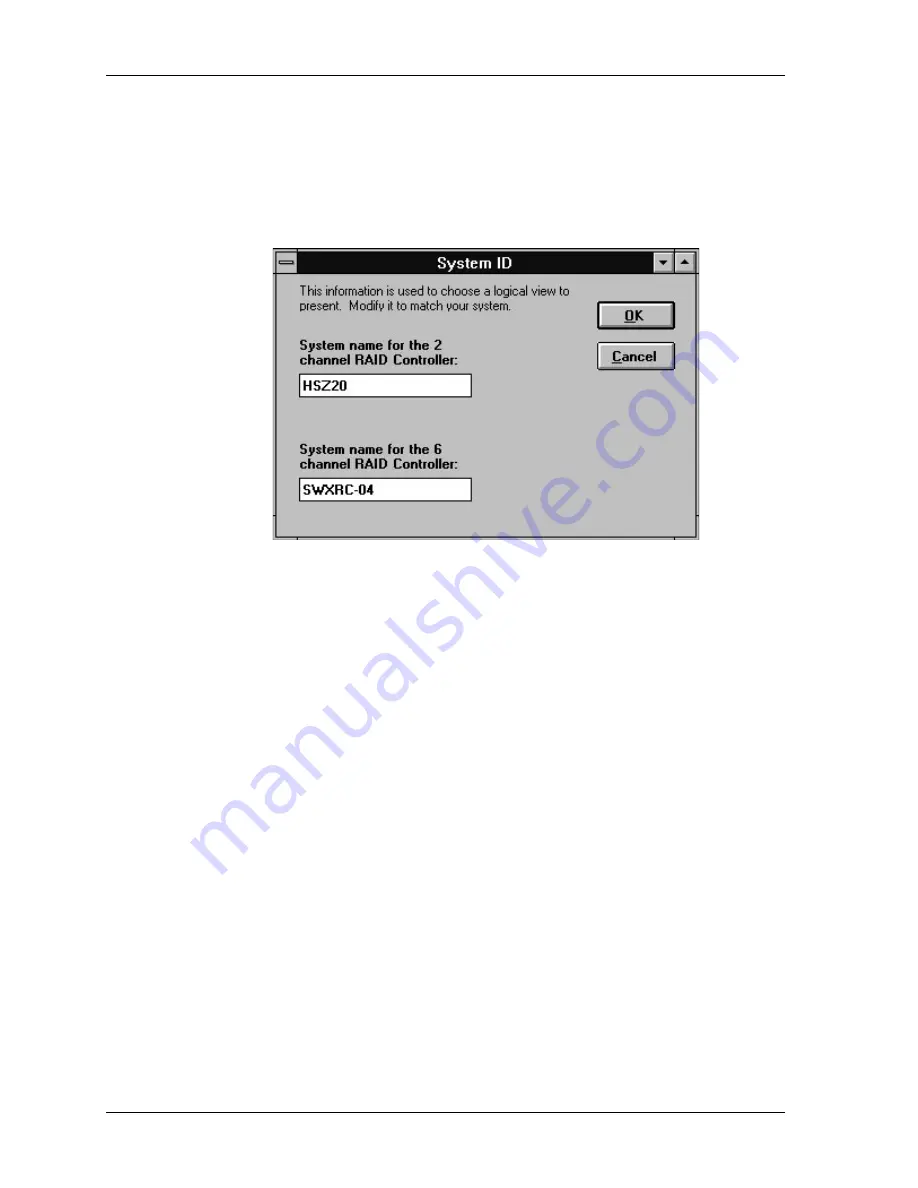
The System ID window contains two fill-in boxes, as shown in Figure 3
−
2. Verify that
the field labeled System Name for the 2 channel RAID Controller identifies HSZ20 as the
2-channel RAID Controller. If not, type:
HSZ20
in that field. Click Ok when you finish.
Figure 3
−−
2 The System ID Window
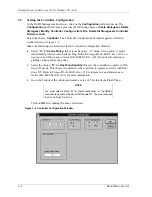
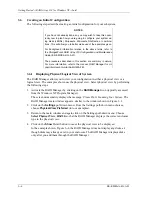
4. At the RAID Manager main window, again click on Settings. This time, from the list of
choices in the Settings pull-down menu, select
Controller Communications
.
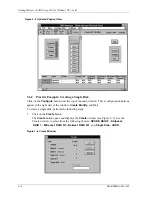
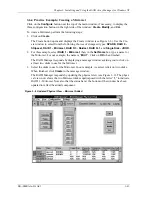
The Controller Communications window opens. At the Controller Communications win-
dow, make the following selections:
•
Choose the
COM
port (COM1, COM2, COM3, etc.) used to connect to the
HSZ20 maintenance port.
•
For
Baud Rate
, choose
9600
.
•
For the
Connect
interval, choose
Continuous
.
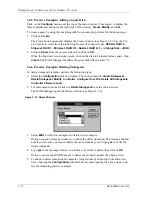
5. When finished making your choices, click on
Connect
at the Controller Communica-
tions window. The RAID Manager returns you back to the RAID Manager main win-
dow. Note that the narrow status bar that extends across the window (about one third of
the way from the top) has changed color from red to green, if you have connected suc-
cessfully.

