


76
www.digiop.com
APPENDIX E: CONFIGURING DIGIOP® AND BLACK BRAND IP CAMERA ADDRESS
4.
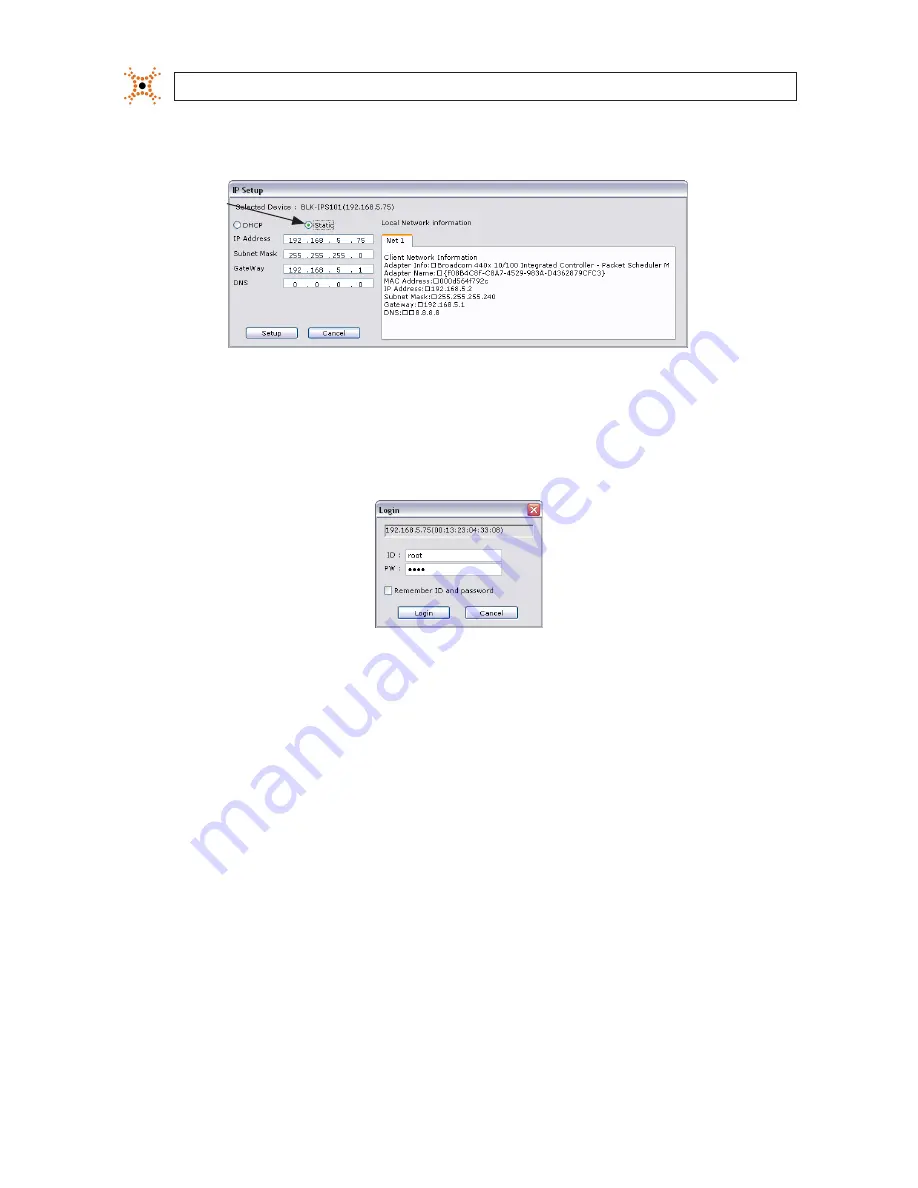
In the IP Setup window, click the
Static
option bullet to select this option.
Static
Option
If you have other compatible, network settings you want to apply to the device, enter them in the appropriate locations. Click
Setup
to save settings.
5.
In the
Login
window, enter the ID and PW (password) for your camera and click
Login
. The default administrator values for
the ID and PW are
root
and
pass
. After entering ID and PW, the IP Setup window closes.
6.
In the IPAdmin Tool window, click
Refresh
and verify that the entry representing the camera now shows the new IP address.
E.4 Connect to the camera with IE
To further test the connectability of the camera (network settings) and verify video streaming:
1.
Open Microsoft Internet Explorer (IE).
2.
In the Internet address field, enter the newly configured IP address for your camera in the format:
http://
<IP address>/
Where <IP address> is the IP address of your camera. For example, if the new IP address of the camera is 192.168.1.201,
enter:
http://192.168.1.201
3.
If prompted to install an ActiveX control such as AxNVC.cab, follow screen prompts to install the software.


