


7
NVR and hDVR Systems Setup Guide
SECTION 3: SYSTEM SETUP
3.1 Check LAN for default IP address compatibility
All IP devices (computers, cameras, encoders, etc.) are initially setup with factory default network settings. Some devices are
preset with fixed (static) IP address, while others acquire their network settings through a DHCP server. For instance, all DIGIOP® IP
cameras and encoders are factory configured to acquire an IP address from a DHCP server, if one is present, or default to the factory
preset IP address 192.168.0.100. To avoid addressing conflicts on networks without DHCP, perform the following steps to check the
network before connecting your camera to ensure that network conflicts won’t occur. On networks with DHCP, skip to section 3.2.
1.
At a Microsoft Windows computer attached to the LAN subnet where the camera will be connected (surveillance network),
open a Command Prompt window.
a.
Click the Windows Start button. If using Windows XP, select
Run
.
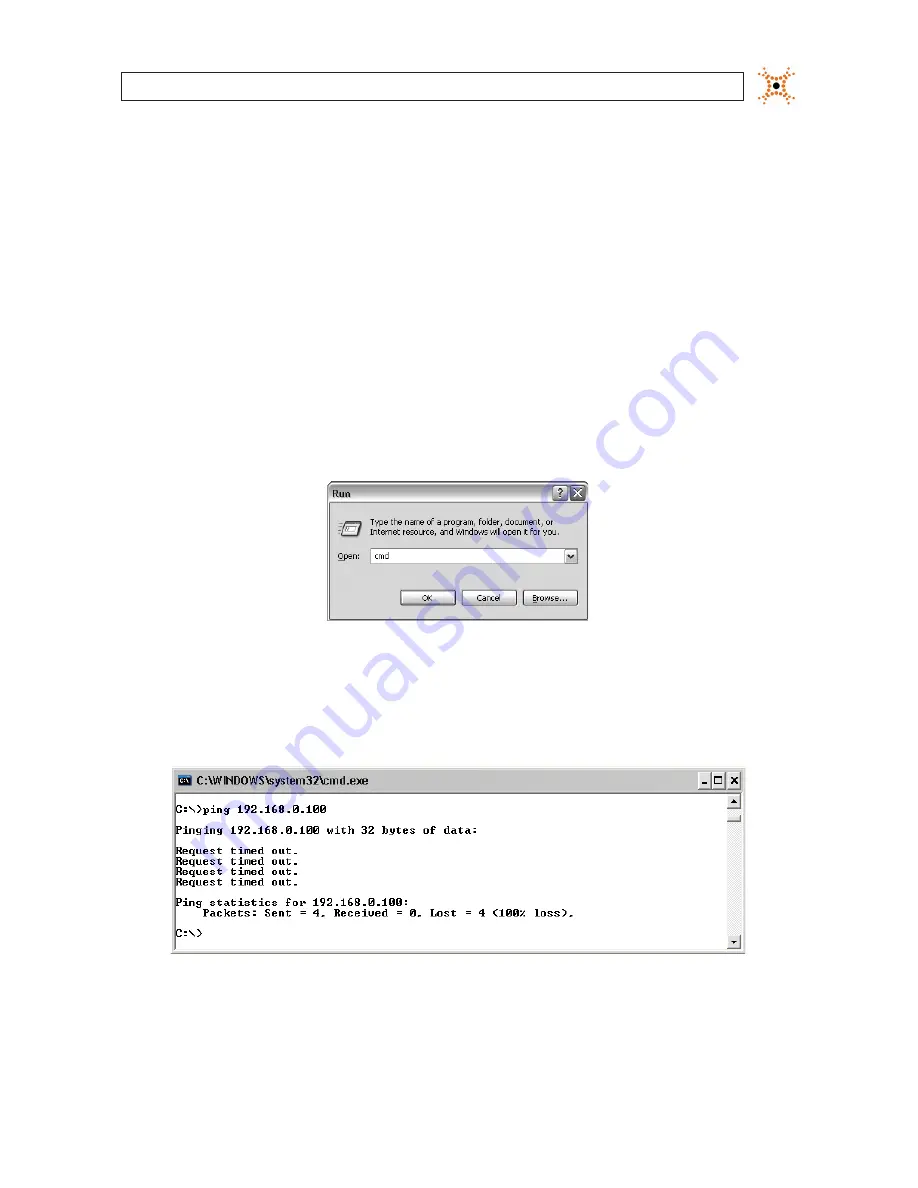
b.
In the “Search..” field (Windows Vista or Windows 7), or
Open
field (Windows XP), enter “
cmd”
, then click
OK
.
2.
At the command prompt, use the
ping
command to see if the default IP address of your IP device is in use. If the default
static IP address is 192.168.0.100, enter:
ping 192.168.0.100
The
“Request timed out”
response indicates that the IP address is not currently in use and the camera can probably be
connected without causing conflicts.


