26
Using the Main Menu
You must port forward the TCP (Client) Port
and HTTP Ports to enable remote access to
the system.
To configure ports:
1. Configure the
TCP Port (Client)
,
HTTP
Port
,
UDP Port
, and
RTSP Port
fields as
needed.
NOTE:
Please note that if the HTTP is port
is anything other than 80, you must enter
http:// before the camera’s IP address and
colon (:) and the HTTP port after the IP
address when connecting using an Internet
browser (e.g. if the HTTP port is
85
, enter
http://192.168.x.x:85
).
2. Click
Save
. The system will restart to
update the ports used.
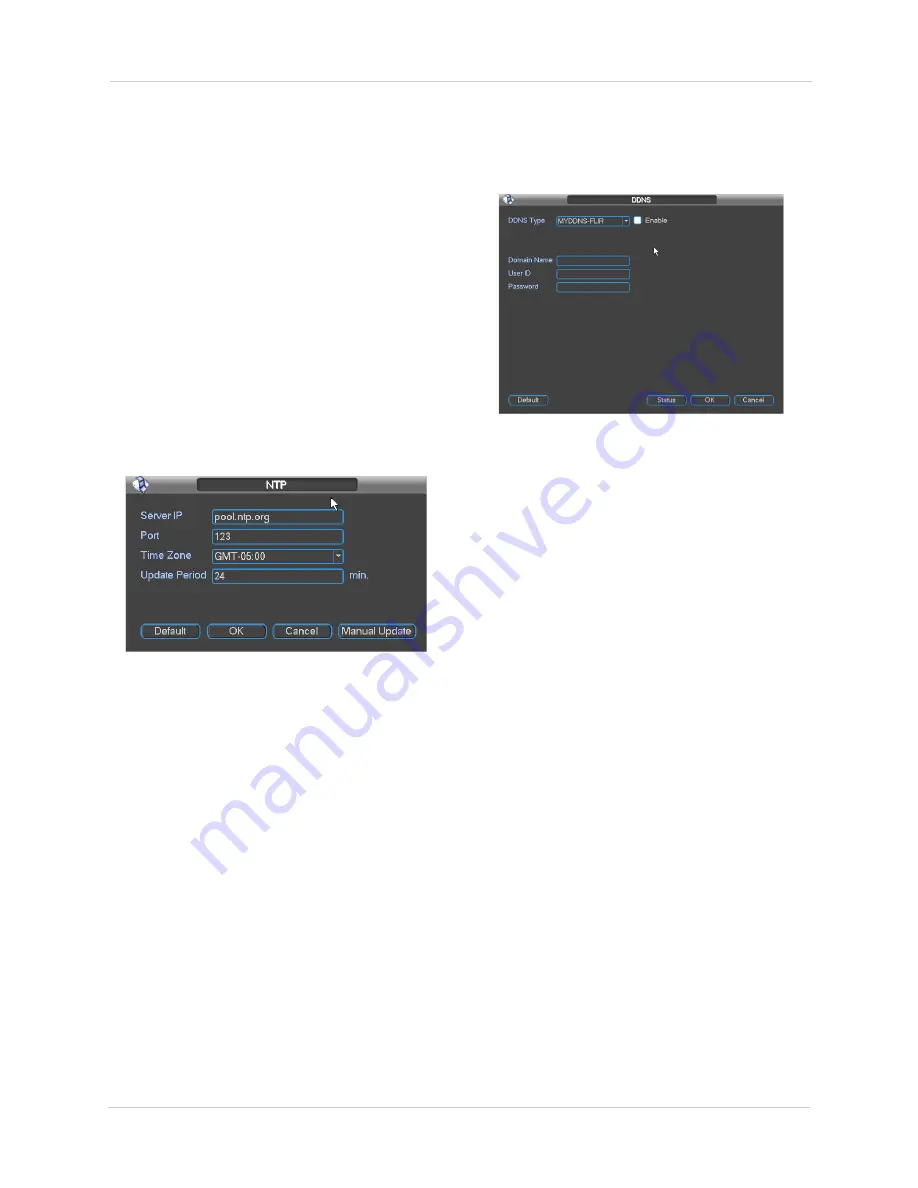
Configuring NTP
You can sync the system clock with an Internet
NTP time server.
To sync the system with a time server:
1. Click
Network Setting
.
2. Check
NTP
.
3. Double-click
NTP
to open the
configuration menu.
4. Configure the following:
• Under
Server IP
, enter the
IP or DNS
address of the NTP server
.
• Under
Port
, enter the NTP server port
number.
• Under
Time Zone
, select your time zone.
• Under
Update Period
, enter the interval
your system will sync the time with the
selected server.
TIP:
Click
Manual Update
to test the server
settings entered and manually sync the system
time.
5. Click
OK
. Click
Save
to save your changes.
Configuring DDNS
The DDNS Setup window allows you to enter
your FLIR DDNS settings in the NVR. This step
is required for remote access.
Prerequisites:
• Create a DDNS account. For details,
“Appendix D: Setting Up DDNS Service” on
page 98.
• Port forward ports on your router to NVR’s
IP address (by default, ports
35000
and
80
).
• Have your DDNS account name, password,
and domain name ready.
To configure DDNS settings:
1. Click
Network Setting
.
2. Check
DDNS
.
3. Double-click
DDNS
.
4. Ensure
Enable
is checked. The box will be
white when DDNS is enabled.
5. Under
Domain Name
, enter the
Domain
Name
from the confirmation email you
received after registering for DDNS.
6. Under
User ID
, enter the
User Name
from
the confirmation email.
7. Under
Password
, enter the
Password
from the confirmation email.
8. Click
OK
.
9. Click
OK
.
10. Click
Save
.
Summary of Contents for DNR200 Series
Page 49: ...39 Using the Main Menu...


