176
Appendix
4
At the
Boot Device Menu
, use the up- and down-arrow keys or press the appropriate number on the
keyboard to highlight the device that is to be used for the current boot only, and then press <Enter>.
For example, if you are booting to a USB memory key, highlight
USB Flash Device
and press
<Enter>.
NOTE:
To boot to a USB device, the device must be bootable. To make sure that your device is bootable, check the
device documentation.
Changing Boot Sequence for Future Boots
1
Enter system setup (see "Entering System Setup" on page 168).
2
Use the arrow keys to highlight the
Boot Sequence
menu option and press <Enter> to access the
menu.
NOTE:
Write down your current boot sequence in case you want to restore it.
3
Press the up- and down-arrow keys to move through the list of devices.
4
Press the spacebar to enable or disable a device (enabled devices have a checkmark).
5
Press plus (+) or minus (–) to move a selected device up or down the list.
Clearing Forgotten Passwords
CAUTION:
Before you begin any of the procedures in this section, follow the safety instructions in the
Product
Information Guide
.
NOTICE:
This process erases both the system and setup passwords
1
Follow the procedures in "Before You Begin" on page 85.
2
Remove the computer cover (see "Removing the Computer Cover" on page 86).
3
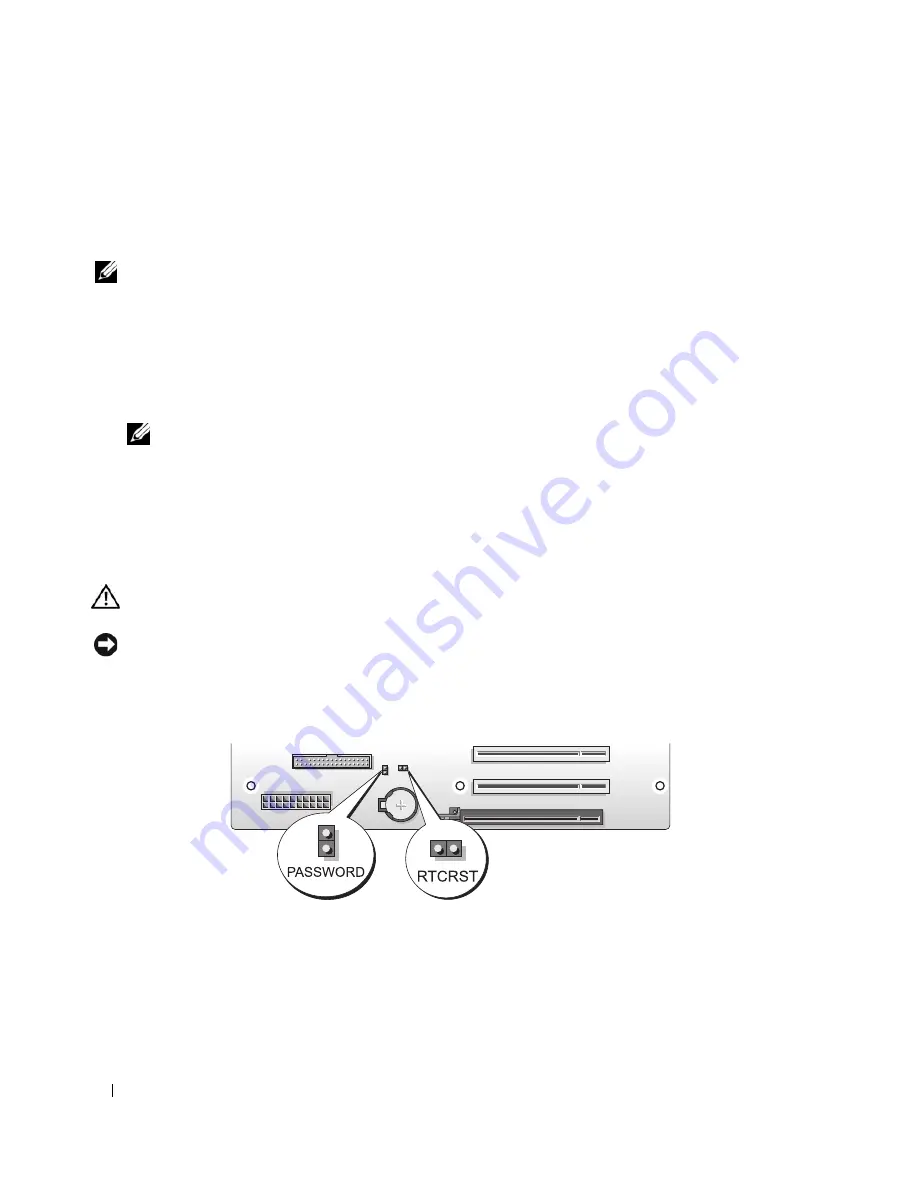
Locate the 2-pin password jumper (PASSWORD) on the system board (see "System Board
Components" on page 89), then remove the jumper plug and set the plug aside.
4
Close the computer cover.
5
Connect your keyboard and mouse, then connect your computer and monitor to electrical outlets and
turn them on.
Summary of Contents for XPS 720
Page 1: ...w w w d e l l c o m s u p p o r t d e l l c o m Dell XPS 720 Owner s Manual Model DCDO ...
Page 48: ...48 Setting Up and Using Your Computer ...
Page 50: ...50 Optimizing for Greater Performance ...
Page 52: ...52 Dell QuickSet ...
Page 84: ...84 Troubleshooting ...
Page 162: ...162 Removing and Installing Parts ...
Page 220: ...20 Index 220 Index ...


