15
Set Up Menus
To view other information and to change parameters we must first press the [FUNC] button. When the
[FUNC] button is pressed it will illuminate green, as will one of the Wipe Pattern / Function Selector buttons.
The first time the [FUNC] button is pressed on first boot up, the TIME button will be
illuminated, (this corresponds to the example LCD panel on the previous page). We
will look at the TIME Menu a bit later, once other settings are complete.
First we will look at the SET UP menu options.
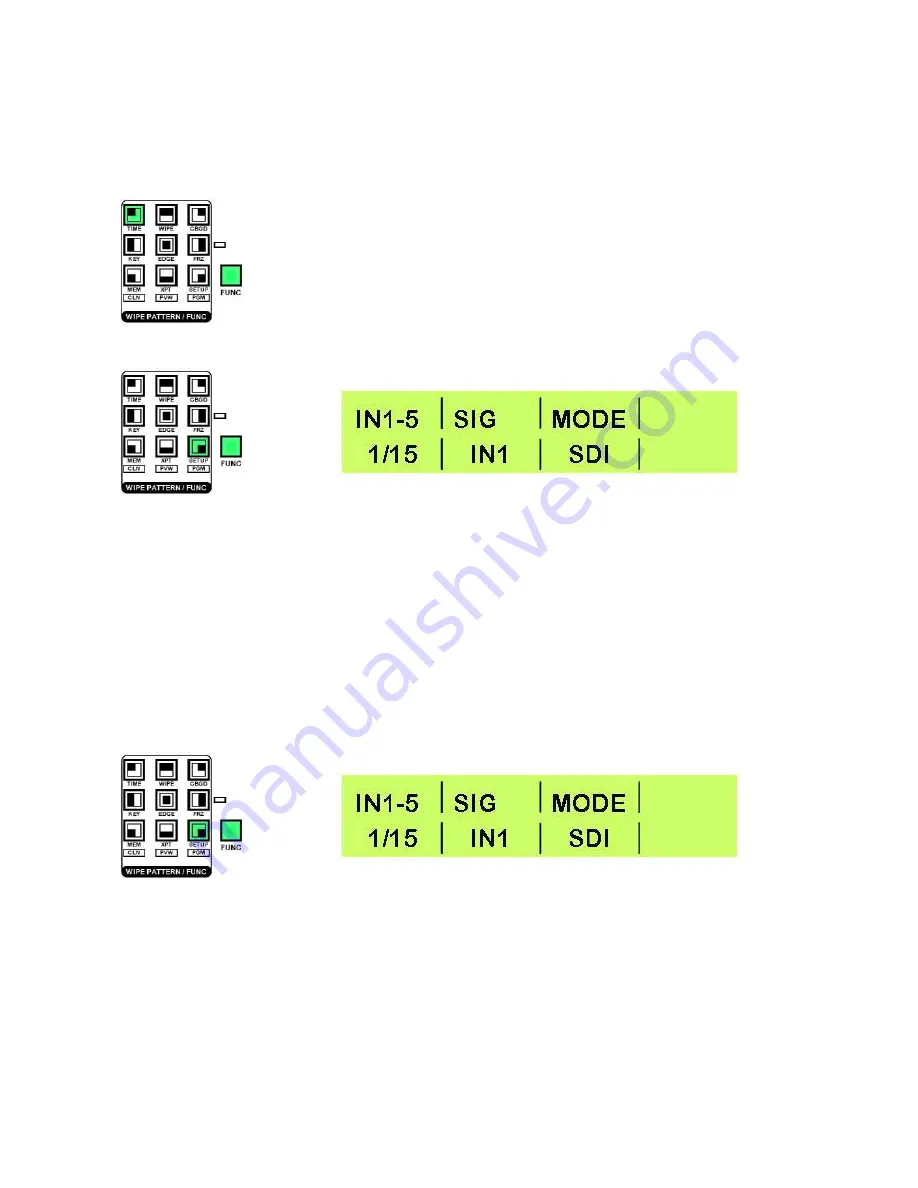
Press the [FUNC] button, so that it is illuminated, and then press the [SET UP] button,
so that it is also illuminated.
The buttons, and the LCD panel should look like this:
The LCD panel shows information in a uniform fashion.
In the upper left corner is the menu name, which refers to the section that the menu adjusts - In the example
above
IN1-5
which refers to Inputs 1 to 5.
In the lower left corner is the page number and the total number of pages, for the selected menu - In the
example above
1/15
which means we are on page 1 of the Set Up Menu, and there are a total of 15.
The rest of the display will vary according to the adjustments that can be made in the particular menu.
To navigate the various menu pages rotate Adjustment Knob F1, and to adjust parameters rotate Adjustment
Knobs F2 / F3 / F4 (
12
).
Set Up Menu 1/15
- Inputs 1 to 5
This menu is for reference only, as inputs 1 to 5 are automatically SDI.
To leave the menu press the [FUNC] button so that it is no longer illuminated.


