background image

© Danfoss 05-2011                                 

AK-EM 100 Installation Guide

23

RC8BX402       

The next stage (if the AK-EM10 unit has not been already installed previously) is to upload all of the 
background images, graphics and templates to the site. Go into the Administration section and choose 
Images/Upload, and browse to the images in your directory for upload. Make sure to check the box for 
any images which will be used for backgrounds so that they will be stored in the correct location.

3.3.1 Importing Templates

1. While in still in Edit mode, select the ‘Administration’ button, then select the ‘Templates’ option, 

then the ‘Import’ button.

2. Browse to the Template .zip file to upload.

3. Give the template a name in the field below to allow it to appear in the template list. 

4. When the ‘Go’ button is pressed, the template will be added to the template list. 

5. Repeat the process until all of the templates are loaded.

6. To view all of the available templates, press the ‘Edit’ button to display the drop down menu with 

all of the templates. This list will also include all of the Template Objects. 

(Refer to section 3.7 for 

more information regarding Template Objects.)

3.3.2 Importing Images

1. While still in the Administration section, press the ‘Images’ button, then the ‘Upload’ button.

2. Browse to the image to upload.

3. Give the image a Title.

4. If the image is to be used as a background, then check the box. When selecting backgrounds for 

templates or mimics in the future, only those that are specified as backgrounds will be available.

5. Press the ‘Go’ button when finished to upload the image.

6. Repeat the stages until all images are uploaded. Once the images are loaded, the background can 

be added to the top level mimic.


The top level mimic can to be set up first by adding a background image as this acts as a platform from 
which the other mimics are linked. 

1. While still in Edit mode, press the ‘Mimic’ button, select the top level mimic from the drop down 

list, and then press the ‘Go’ button.

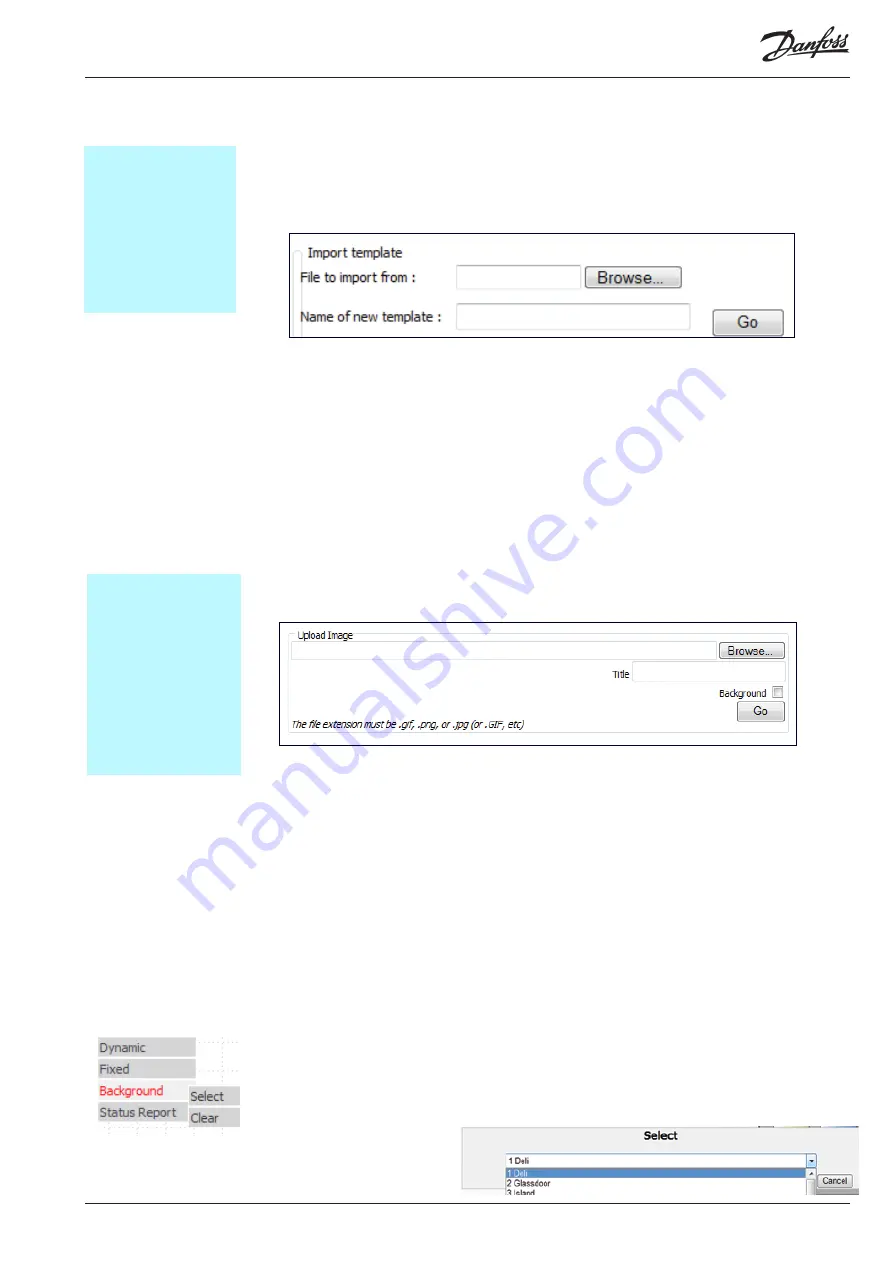
2. Press the ‘Edit’ button and right click anywhere on the empty mimic and select  ‘Background’ / 

‘Select’.

3. Choose the store layout image from the list of background images you have previously loaded and 

press the ‘OK’ button. 

Hint

Have a plan of the overall 
layout for the mimic. This 
makes linking, templates, 
parameter configuration 
etc, easier once all of the 
images are downloaded 
at once.

Hint

Images can be created 
using a variety of formats, 
although jpegs or gifs are 
the preferred choice. It is 
advised not to use .bmp 
format as these images 
tend to be larger in size 
and will take longer to 
load onto the page.

3.3 Uploading Templates and
 Images 

3.4 Adding background image 
to the Top Level Mimic

Summary of Contents for AK-EM 100

Page 1: ...Installation guide REFRIGERATION AND AIR CONDITIONING Store Configuration Guide AK EM 100...

Page 2: ...dding Fixed Text 27 3 6 6 Adding a Background 27 3 6 7 Status Report 28 3 7 Template Objects 28 3 7 1 Adding a Template Object 28 3 8 Creating a Mimic based Template 29 3 9 Edit Mimics 29 3 9 1 Add an...

Page 3: ...e of daily users to monitor data alarms and reports either locally or remotely regarding all of their refrigeration equipment Advantages of the AK EM 100 complete overview of store alarm monitoring pr...

Page 4: ...he set up of the Gateways From here multiple gateways can be added and configured to the AK EM 100 as well as the connection addresses to the gateway There is also a link to the advanced settings opti...

Page 5: ...press the Save button to store the settings Once these settings are set up the Gateway details can be entered When the AK EM 100 s site details are entered the next task is to add the Gateways An AK E...

Page 6: ...ot needed for ADAP KOOL Destination Name Applies only to System Manager Pass Code Applies only to System Manager Account Password No account number is necessary while a password is optional for access...

Page 7: ...st of assets Delete Remove a single asset from the list by pressing the Delete button on the asset s row Build Site When pressed it will populate the database with the asset descriptions 1 3 2 Adding...

Page 8: ...be added if Connection Type is Serial Connection Type Choose a connection type either ethernet or serial port Whatever is selected will be shown in the Name s title If a gateway is already being used...

Page 9: ...tered is to perform a network discovery which will determine what controllers are available in the Gateway 1 To begin the discovery press the Start button for Network Upload In the new dialogue box pr...

Page 10: ...vailable alarm configuration and data runs 2 These will connect and run continuously according to each upload interval The status will change to Running and will remain so until stopped 3 When the who...

Page 11: ...ost log details icon will show you the Log Details page for all assets together 1 5 1 Editing Log Files 1 When viewing an assets log details press the Edit button to show the logs details 2 This will...

Page 12: ...rting a new set of logs which contain the same points from similar controllers Copying log data can only be used by controllers which share the same Code Id and version number only on similar assets a...

Page 13: ...ser name for remote access The Asset Configuration screen can be accessed by either clicking on the link in the Additional Tasks section or by clicking on an individual asset name from the network lis...

Page 14: ...value indicating that it will be updated once back on line When it is online it will take a few seconds to update HACCP HACCP points are automatically filtered refer to section 1 5 during the set up o...

Page 15: ...on setting or settings and should be entered numerically separated by a comma so that when a defrost cycle takes place a defrost symbol will be shown in the HACCP reports and not fluctuating temperatu...

Page 16: ...e can also be saved locally as well as uploaded using the appropriate section Note Copied asset s settings and values will only update if the system is on line if not they will display the old values...

Page 17: ...re taken from each controller type However there may be occasions when additional DES files will need to be added manually to the AK EM 100 if certain DES files do not exist within the system for some...

Page 18: ...w them to have access to different parts of the system So the first thing to do in user administration is to create the user groups so that users can be allocated into groups 2 6 1 Group Management 1...

Page 19: ...elect the type of alarms the user will have access to Beeps On New Alarm Choose whether to have the machine beep every time a new alarm is added to the list Week One The week number appears as a digit...

Page 20: ...he number of rings Local and Remote IP addresses should already be populated so simply enter the User Name and Password e g Admin and AK EM 100 respectively the IP addresses and check the Enable box 2...

Page 21: ...for the details to be gathered and then right click on the link to save locally as a hardcopy This section allows you to print out an assets details in a print friendly table 1 Select an asset to pri...

Page 22: ...create individual mimics from scratch Templates allow predefined mimics such as freezer units to be imported which then only have to be linked to the main mimic as well as individual assets to be conf...

Page 23: ...en the Upload button 2 Browse to the image to upload 3 Give the image a Title 4 If the image is to be used as a background then check the box When selecting backgrounds for templates or mimics in the...

Page 24: ...object template e g a template which can group a series of parameters which are widely used and can be inserted into a mimic as a group instead of going through each parameter individually This examp...

Page 25: ...name of the point acting as a guide or reference 7 Check the Prefix Parameter Text box to add the parameter s name to the value This will be shown once the asset and point are applied to a mimic 8 Whe...

Page 26: ...for indicate the first state For example a freezer s defrost cycle could be illustrated by indicating a normal state and a defrost state so it would be 0 or 1 or the correct enumeration for Normal or...

Page 27: ...for the default image size 5 Enter text for the tool tip and press OK 6 Drag the image to the desired location on the template Right clicking on the image allows you to edit the image or remove it 3...

Page 28: ...same multivalue set up is often desired for a large list of controllers Currently if the same multivalue set up is wanted for a list of controllers it must be made for each controller The template obj...

Page 29: ...ich needs to be changed and select the correct point from the respective drop down list 6 Make any additional changes to the mimic as necessary These additions include adding Alarms Parameters Static...

Page 30: ...Create Multiple This allows you to view the same point across all assets which share the same Code ID and Version number This is instead of having to create the same number points many times for diffe...

Page 31: ...tatus Report option The table displays all the of the points within the current page of the mimic and provides a quick view of the overall store It shows information such as the element name the point...

Page 32: ...view the same point or series of points images etc across all assets which share the same Code ID and Version number This is instead of having to create the same number points many times for differen...

Page 33: ...e modified Rename This option allows you to change the name of the mimic Select the mimic from the list and enter a new name in the text field underneath it Press the Go button when finished Once a mi...

Page 34: ...one a message will be displayed to say that the import has been import successfully and the template will be added to the template list Delete Templates can be deleted from the system but only those t...

Page 35: ...f necessary Like renaming an image first select an image in the Select section to be replaced then press the Replace button Browse to the new image which will replace the selected which must be a gif...

Page 36: ...ic and then lists all of the other mimics which are referenced from other mimics or the top level mimic Below that are the mimics which are not referenced from anything Only mimics that are not refere...

Page 37: ...ighest priority to lowest Important Medium or Information 2 To alter the severity of an alarm select from either critical or caution 3 Press the Save button at the bottom of the page to store the sett...

Page 38: ...ing the features here The Event Log provides a record of actions by any of the users within a specified time period and displays a table of the actions taken on what page and what time There are sever...

Page 39: ...xt field 4 Press the Modify button when finished to save the entry 5 Pressing the Delete button will remove the English entry as well as all other language translations The Language Admin section is a...

Page 40: ...ton to open the Import Export Phrase Translations page Export 1 Select individual languages multiple languages or all languages by using the tick boxes 2 Click GO to initiate the export 3 Right click...

Page 41: ...rature threshold where the HACCP report will display it s coloured range if the temp goes outside either of the levels 2 Keep the setting at Default for the normal HACCP report 3 Press the Save button...

Page 42: ...t HACCP report 4 8 4 Import Export Food Types You can export and import the Food Type list as an XML file This can be a way of easily exporting a list from a completed site onto a new similar site wit...

Page 43: ...commissioners It is where processes can be monitored and started or stopped if absolutely necessary and also includes logs of these processes Refer to section 3 for more information regarding the set...

Page 44: ...vanced Details Basic Details The basic details page gives access to measurements and settings belonging to an asset s controllers Settings are identified by fields with a white background where you ca...

Page 45: ...ite select which language translation and which manual to look at either the User Manual or Commissioning Manual from the table The manual will open within the same browser window as the EM100 so it i...

Page 46: ...rst performing asset Trending Depicts a graph of a point s which updates automatically to provide live data for a set period of time Used for closely monitoring points Graphs Displays a graph for one...

Page 47: ...ters can be configured In this initial configuration stage it is not necessary for the Commissioning Engineer to adjust the set point values with great accuracy but just enough to have the system up a...

Page 48: ...100 Installation Guide 48 RC8BX402 9 AK EM 100 Technical Specification 1GHz VIA CPU 1GB RAM 40 GB hard disk 1 10 100Mbit network PSU supply 60W max Operation Temperature 0 40 C Operation Humidity 5 9...

Page 49: ...he reboot process immediately On this page the user has 3 options 1 Do nothing and a re boot will take place in 10 minutes and a count down will be shown on the page 2 Select the Re Boot Now button wh...

Page 50: ...w describe how to communicate with an AK EM 100 to extract data from the system Hardware Setup Plug the AK EM 100 into the mains network and connect the AK EM 100 to a keyboard mouse monitor and netwo...

Page 51: ...boot 969 1118 48 App A 19 1 08 006 New Coms Tool box image Updated image 4 1 1 19 1 08 007 New Site Details image Updated image 5 1 2 19 11 08 009 New image for Network List Updated Image 7 1 3 1 19 1...

Page 52: ...2 7 21 11 08 030 Export all asset details Ability to export all details into an XML file EM1715 21 2 8 21 11 08 031 Added text to right click options on mimic Updated clearing a back ground image fro...

Page 53: ...1 08 049 Menu Options Added MPH warning 46 7 26 11 08 050 Adding a para meter to a mimic template Added link to template option EM1705 25 3 6 1 26 11 08 051 Adding Object Templates Link template objec...

Page 54: ...reserves the right to alter its products without notice This also applies to products already on order provided that such alternations can be made without subsequential changes being necessary in spe...

Reviews: