© Danfoss 05-2011
AK-EM 100 Installation Guide
17
RC8BX402
2.3 Upload DES file
2.4 Save Configuration
4. The screen will then automatically update to the name structure contained in the customised DES file.
If a custom DES file has already been selected, the fields will be amended (unless manually changed). If a
new custom DES file is required and the manual amendments in the Display Names are to be overwritten,
then the following procedure is necessary:
1. Highlight the text in the ‘Display Name’ column and delete the entry pressing the ‘Return’ key to save.
This will revert back to the original text and not the text from the previously loaded Custom file.
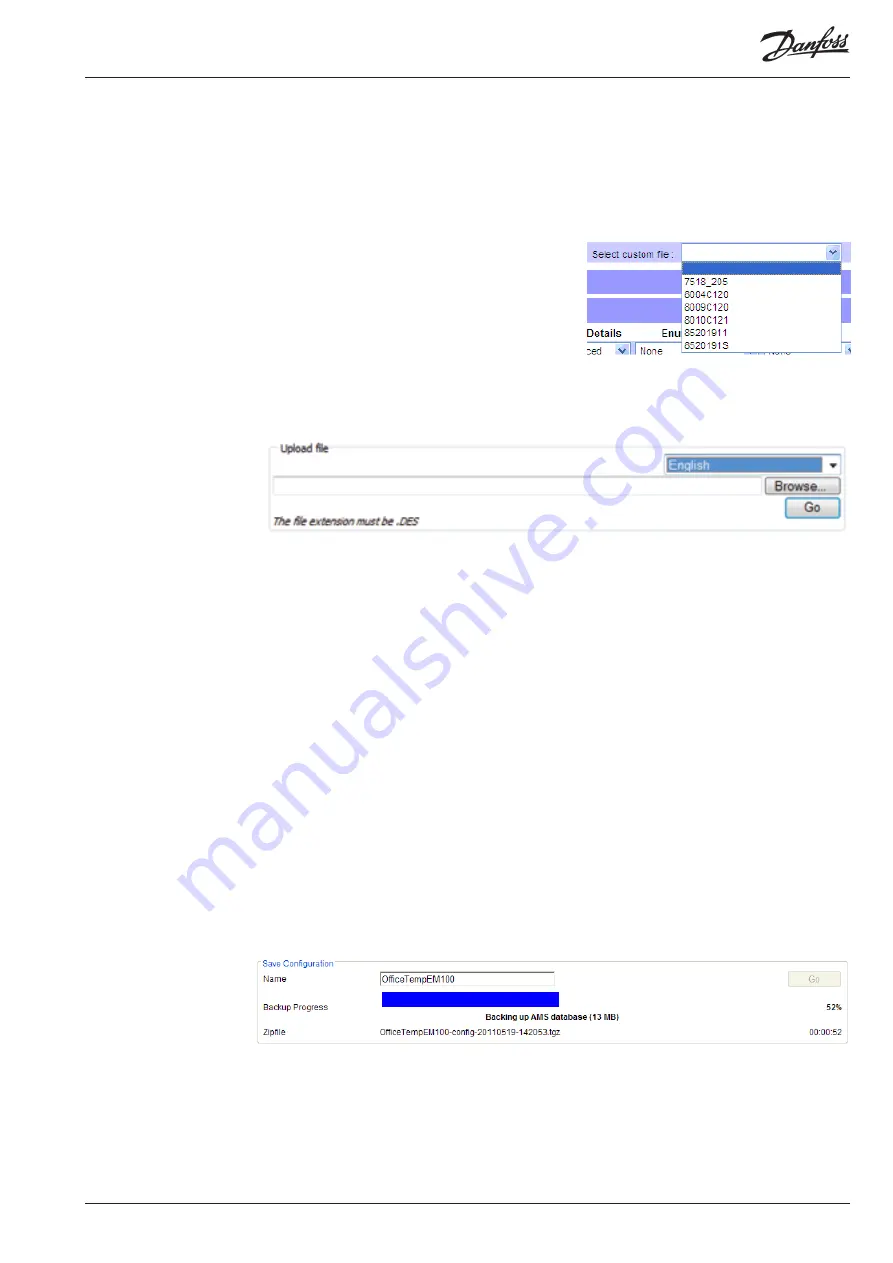
2. Then De-select the custom DES file by clicking on the
empty selection (right). This will put back the original
text (unless manually changed).
3. Now Re-select the newly required Custom DES file
from the drop down list.
The information for the DES file is automatically taken from the controllers during the Network Discovery
runs, where during these runs, all parameter details and languages are taken from each controller type.
However, there may be occasions when additional DES files will need to be added manually to the AK-EM
100 if certain DES files do not exist within the system for some controllers.
They can be added by clicking on the ‘Upload DES file’ link.
1. Select which language folder you want the DES file to upload to the from the drop down menu. It is
important to store the correct DES file into the corresponding language folder, i.e. a French DES file
stored in the French folder in the AK-EM 100.
2. Browse to the location of the DES file. Make sure the DES file extension is in uppercase.
3. Press the ‘Go’ button to upload the file to the AK-EM 100.
Once you are happy with the overall set up of the EM100, the settings can be saved as a means of safety
and for transferring settings to similar sites. If something were to go wrong, then the saved file can be
reloaded and reinstate the saved configuration to the previously working state.
Saved files automatically have the time and date appended to the file name as an indication of when it
took place.
1. Update the Save Configuration “Name” if required.
2. Click “Go” to initialise the backup.
3. When completed, click on the tgz file link to save locally.
2.2 Loading a New DES file


